10 Sequoia Elastomer Replacement
ACUSON Sequoia US02-109.841.01.01.02 Siemens
02.04 sd
Page 10 of 16
Medical Solutions USA, Inc.
5. Lift user interface clear of chassis.
6. Turn user interface over (knobs/buttons down).
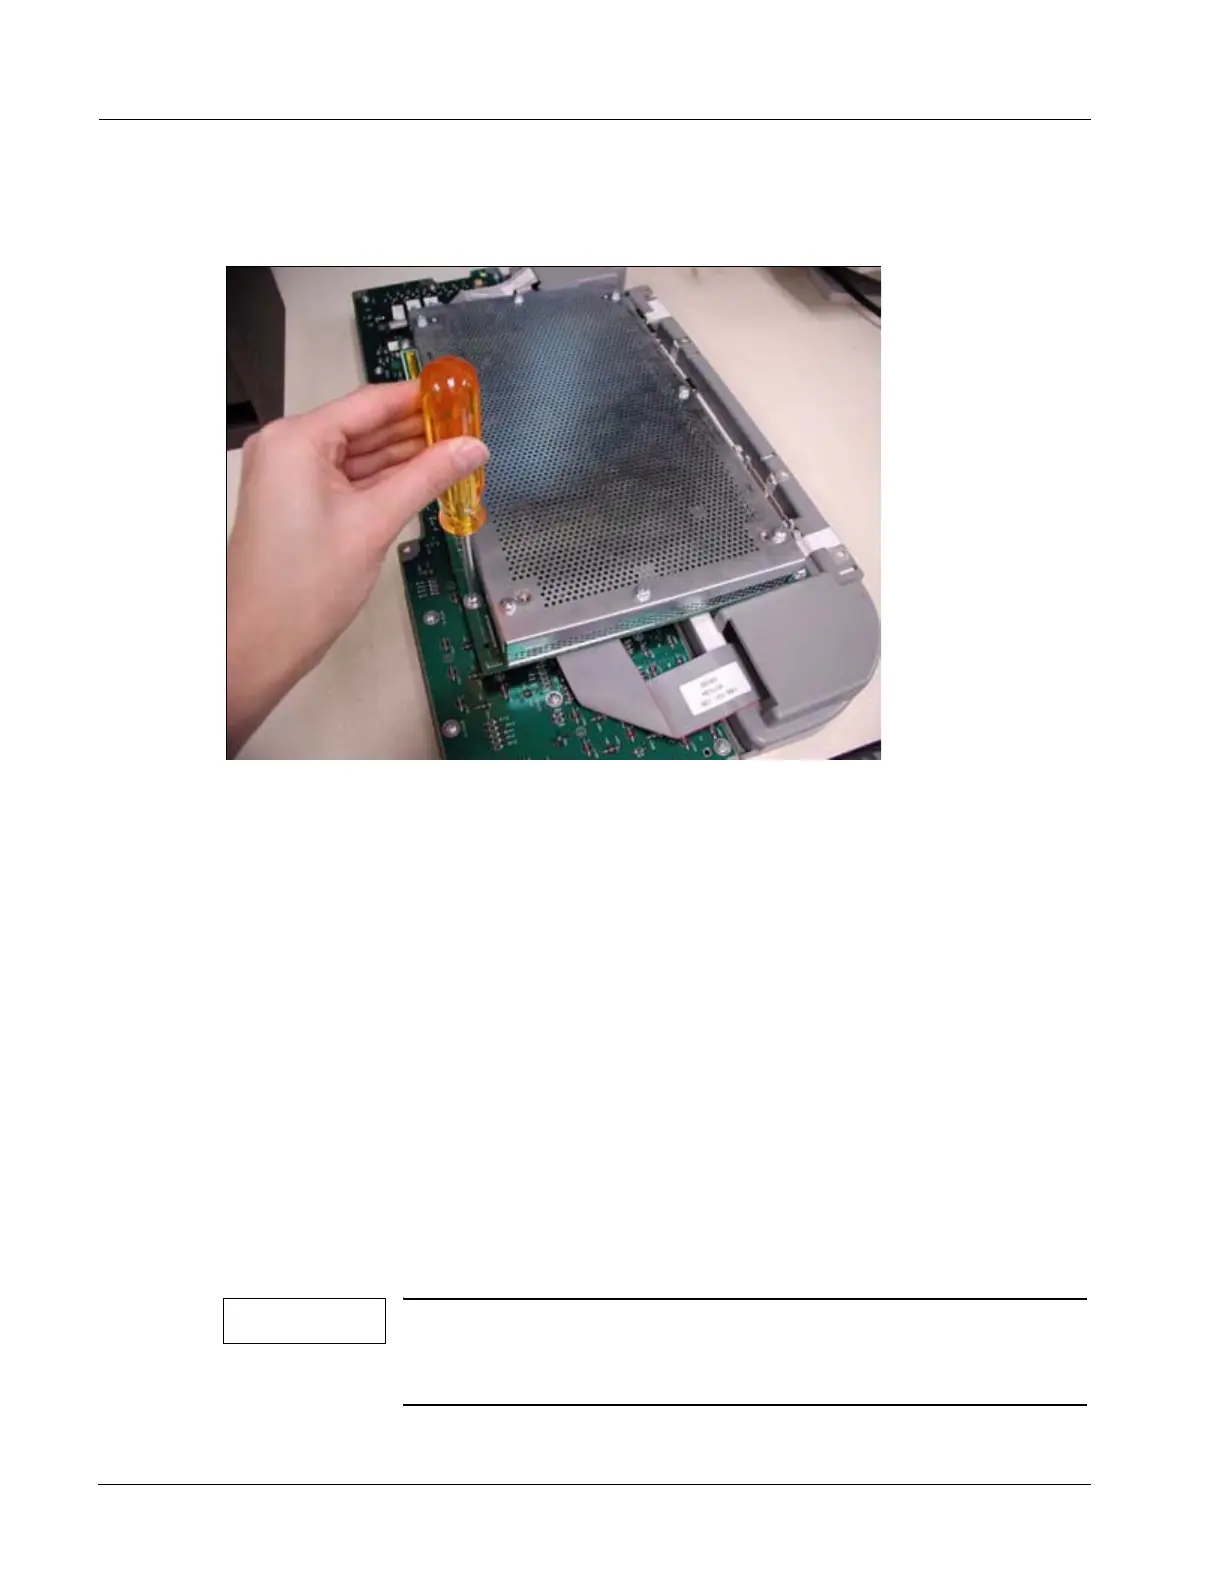
7. Remove screws securing the FPP to switch assembly.
Fig. 6: FPP and Switch Assembly
8. Carefully but firmly separate the FPP from the switch assembly. The two assemblies
are joined by four 80 pin connectors.
9. Remove the DGC caps by placing a flathead screwdriver underneath each cap and
gently pushing upward.
10. Remove the DGC bezel by placing a flathead screwdriver underneath the bezel and
gently pushing upward.
11. Remove the seven plastic encoder knobs by gently pulling upward.
12. Remove the UI overlay.
13. Using a 1/2-inch or 13 mm hollow shaft socket, remove the mounting nut from the en-
coder.
14. Turn the UI assembly over.
15. Remove all 31 screws holding the UI board in place.
16. Remove the UIP UDC ribbon cable, J5 ribbon cable, and UPD UDQ ribbon cable from
the UI board.
17. Lift each of the seven rotary encoders and its crown washer out of the UI assembly.
NOTE
It is important to mark each encoder ribbon cable with the loca-
tion number that can be found near the connector base i.e. J9,
J10.

 Loading...