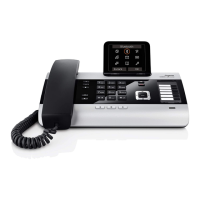
31
First steps
Gigaset DX800A all in one / GRC EN / A31008-N3100-T101-1-7619 / starting.fm / 31.08.10
Version 4, 16.09.2005
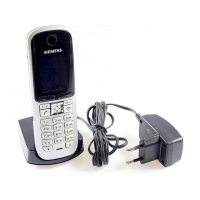
If the handset has been successfully registered on the base, you will see the follow-
ing display (for approx. three seconds):
Then "Register a handset?" is shown in the display again (see above/page 30).
¤ Press the display key §Yes§ if you wish to register another handset and perform
the steps listed above with this additional handset.
Press §No§ to close the registration wizard and start the connection wizard.
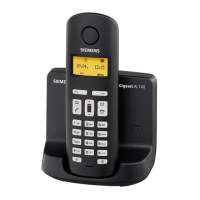
Once a Gigaset handset has been suc-
cessfully registered, it will change to
idle status. The handset's internal name
is shown on the display (INT 2, INT 3
to INT 7).
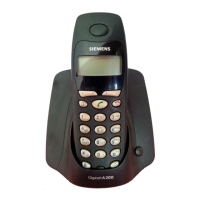
Please note
u By default, the base is assigned the internal name INT 1 and the internal
number 1.
u The base assigns the lowest free internal number to the handset
(possible numbers: 2–7). The handset's internal name is shown in the display
e.g., INT 2. This means that the handset has been assigned the internal
number 2.
u You can change the internal numbers and names later (¢ page 114).
Registration
‰
Handset registered
 Loading...