en Cleaning and servicing
64
6.
Tip
If you press both brackets in, you
can then remove the mechanical
fill level indicator more easily.
Remove the mechanical fill level in-
dicator and clean with a damp
cloth.
7. Assemble the drip tray, drip plate,
coffee dregs container and mech-
anical fill level indicator and insert
in the appliance.
8. Close the door.
Cleaning the ground coffee com-
partment
Tip:You can clean the ground coffee
compartment in the dishwasher.
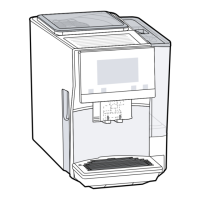
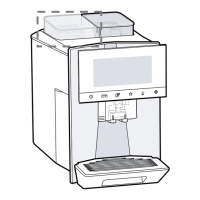
1. Pull out the ground coffee com-
partment by the open lid.
→Fig.
5
2. Clean the ground coffee compart-
ment with washing-up liquid.
→Fig.
6
3. Dry the ground coffee compart-
ment and insert it into the appli-
ance.
Cleaning the milk system
Clean the milk system regularly.
WARNING
Risk of burns!
The milk system can become ex-
tremely hot.
▶
Never touch the milk system when
it is hot.
▶
Allow the hot milk system to cool
down before touching it.
ATTENTION!
The appliance may be damaged by
improper cleaning.
▶
Do not put the cover of the outlet
system in the dishwasher.
Tips
¡ If you want to give the milk system
a particularly thorough clean, you
can use the "Clean milk system"
service programme.
→"Using the milk system cleaning
programme", Page67
¡ All of the milk system's compon-
ents are dishwasher-safe.
¡ Find out how to clean the milk con-
tainer.
→"Cleaning the milk container",
Page65
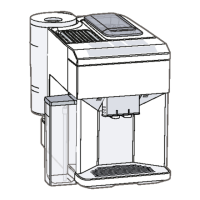
1. Remove the milk container from
the appliance.
→Fig.
7
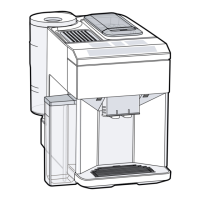
2. Slide the outlet system right down.
3. Hold the bottom of the cover and
pull it forwards and out.
→Fig.
8
4. Pull the white adapter and the milk
system forwards and out.
→Fig.
9
5. Dismantle the milk system into its
components.
→Fig.
10
6. Clean the components with deter-
gent solution and a soft cloth.
→Fig.
11
7. Rinse all components with clean
water and dry.
→Fig.
12
 Loading...
