Usermanual Motors 902x_903x Page 11
6 Programming and Operating of
SG 9020/9021 and SG 9030/9031
Motors
6.1 Main Overview
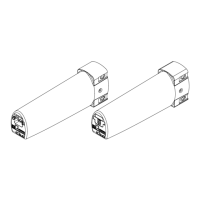
After installation of a motor onto the designated Curtain Track System,
the end stops – and if required, the intermediate positions can be
programmed. This programming can be carried out in several ways:
by means of the programming buttons on the motor, by means of the
optional available Programming Cable SG 5651 or by means of the
Radio Remote Control System SG 9940.
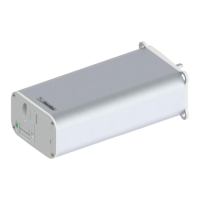
6.2 Programming by means of Programming Buttons
on Motor or Programming Cable SG 5651
The following table shows the different steps required to program
the nal stops regardless of mains or low voltage switch type. If the
Programming Cable SG 5651 is used to program the end stops, it
is required to plug it into the Low Voltage Switch connection before
programming.
To do Signal
Step
1
2
3
4
5
6
Check if the DIP switch setting is correct
(Setting according to Chapter 5.8).
Disconnect power supply of the motor for 5
seconds and make sure that the motor will
have permanent power supply when
reconnected. Typically unplug power
lead from motor.
Reconnect to power supply and
simultaneously push programming
button 1 or 2.
Simultaneously press both buttons (1&2)
and hold depressed for > 6 seconds.
After 3 seconds motor will sound and the
light will flash. Do not release the buttons.
Wait until motor sounds and light flashes
for the second time. Motor is then in pro-
gramming mode for 3 minutes.
Use programming button 1 to drive the
system to the first end stop position.
Then press both buttons simultaneously
for 3 seconds. This end position is
then stored.
Use programming button 2 to drive the
system to the other end stop position.
Then press both buttons simultaneously
for 3 seconds. This end position is
then stored.
Acoustic Signal,
LED blinks
Acoustic Signal
and LED blinks
after 3 and 6 seconds
respectively
Acoustic Signal
and LED blinks 1 x
Acoustic Signal
and LED blinks 1 x