Getting Started with Silhouette Alta®
9
Object Tools
When you click on a 3D object, there are object tools that appear in the toolbar below the document
tools.
You can cycle through these transform tools to flip or rotate objects or text.
To group multiple objects so that you can move them all at once, hold down Shift, click
on each object you wish to group together, and select the group icon. To ungroup the
objects, make sure the box with the objects is selected, and select the Ungroup icon.
If you wish to copy an object, you can click the duplicate icon when an object is selected.
When an object is selected, you can click on this icon to delete the object.
To bring an object back to the level of the print bed base, click the icon with the arrow
pointing down to the print bed. To center the icon in the middle of the print bed, click
the icon that looks like a target.
Document Tools
At the top of the Silhouette 3D® software screen, there are tools to help you with certain view
functions in the document.
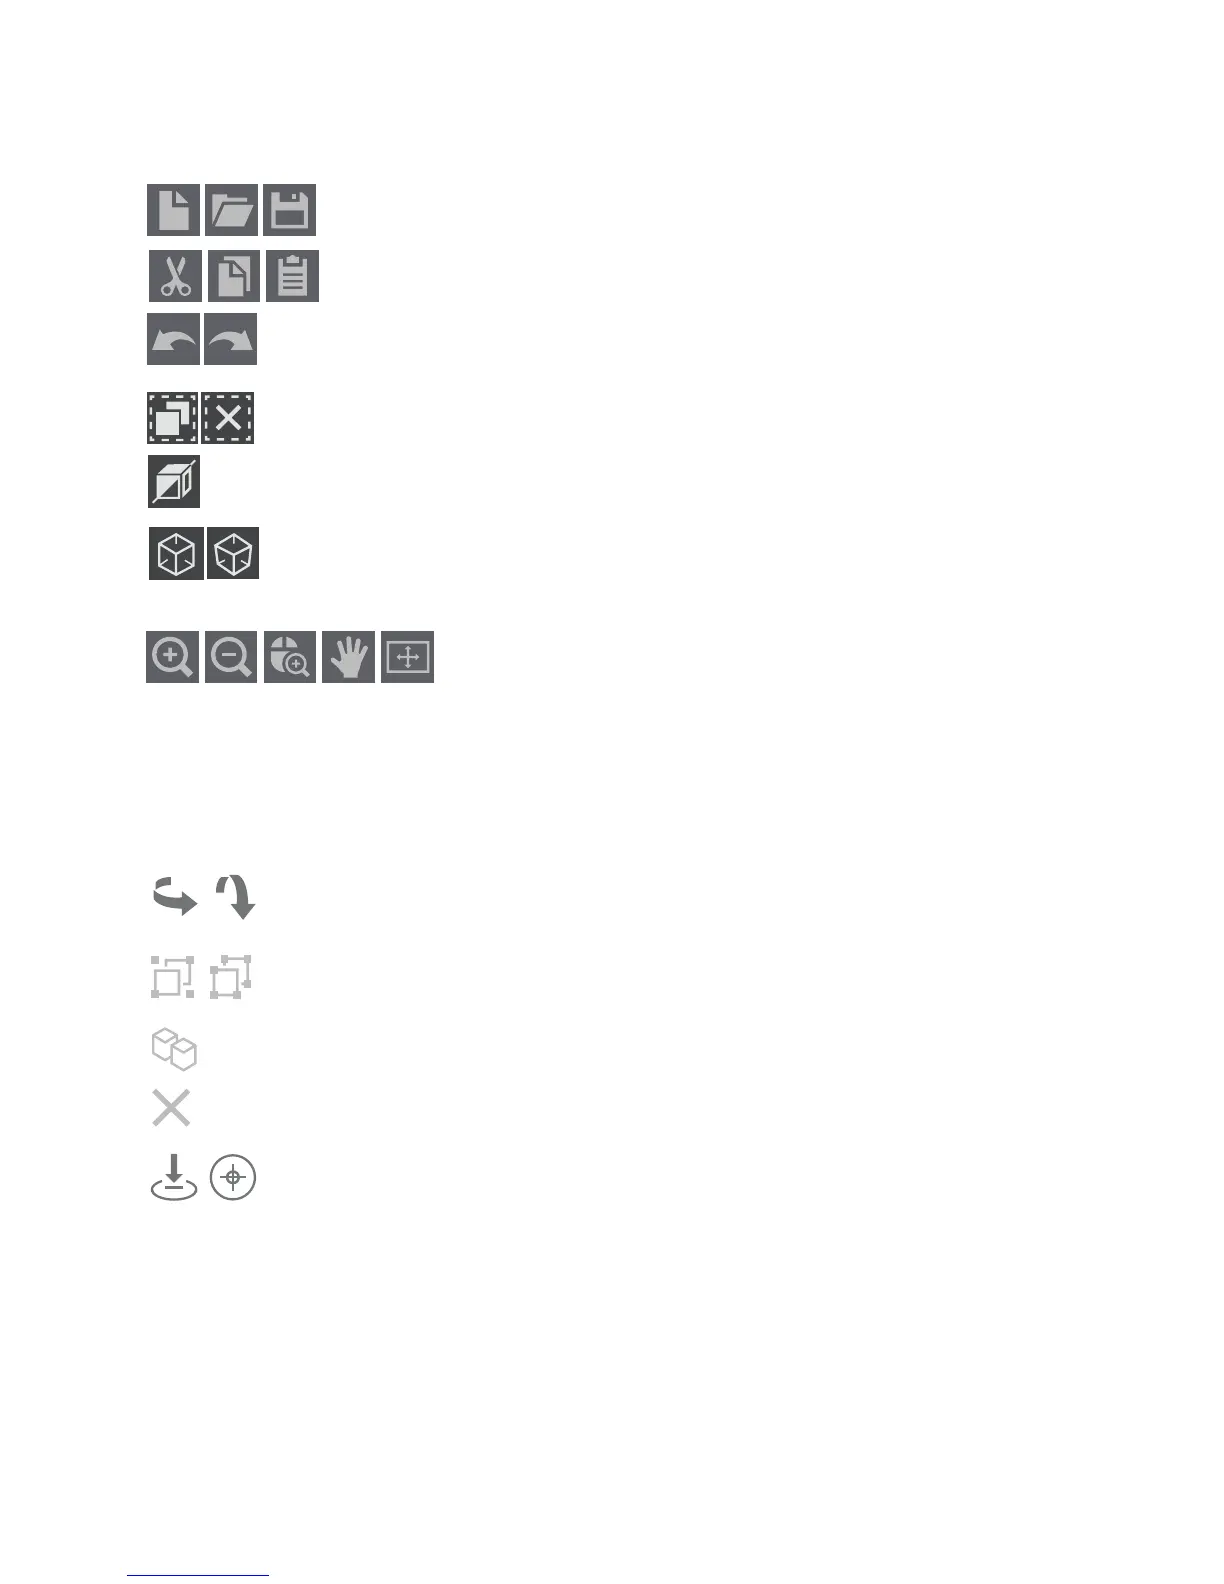
Use these tools to create a new document, open an existing document, or save
your current document.
You can use these tools to cut, copy, and paste designs to the design area.
To undo the previous action you just made, you can click on the arrow turning to the
left. To redo an action you just undid, click on the arrow turning to the right.
The icon on the left helps you select all of the objects, and the icon on the left deselcts
all of the objects you may have selected.
To display or hide the wireframe view, click on this icon.
The icon on the left changes the display to an orthographic view, meaning it will be
easier to see the true distance between objects. The icon on the right changes the
display to perspective view, which is the default view.
Click on any of these tools to change your view of the design area.
From left to right, the tools are zoom in, zoom out, selection zoom,
pan, and fit to page.
 Loading...