Getting Started with Silhouette Alta®
21
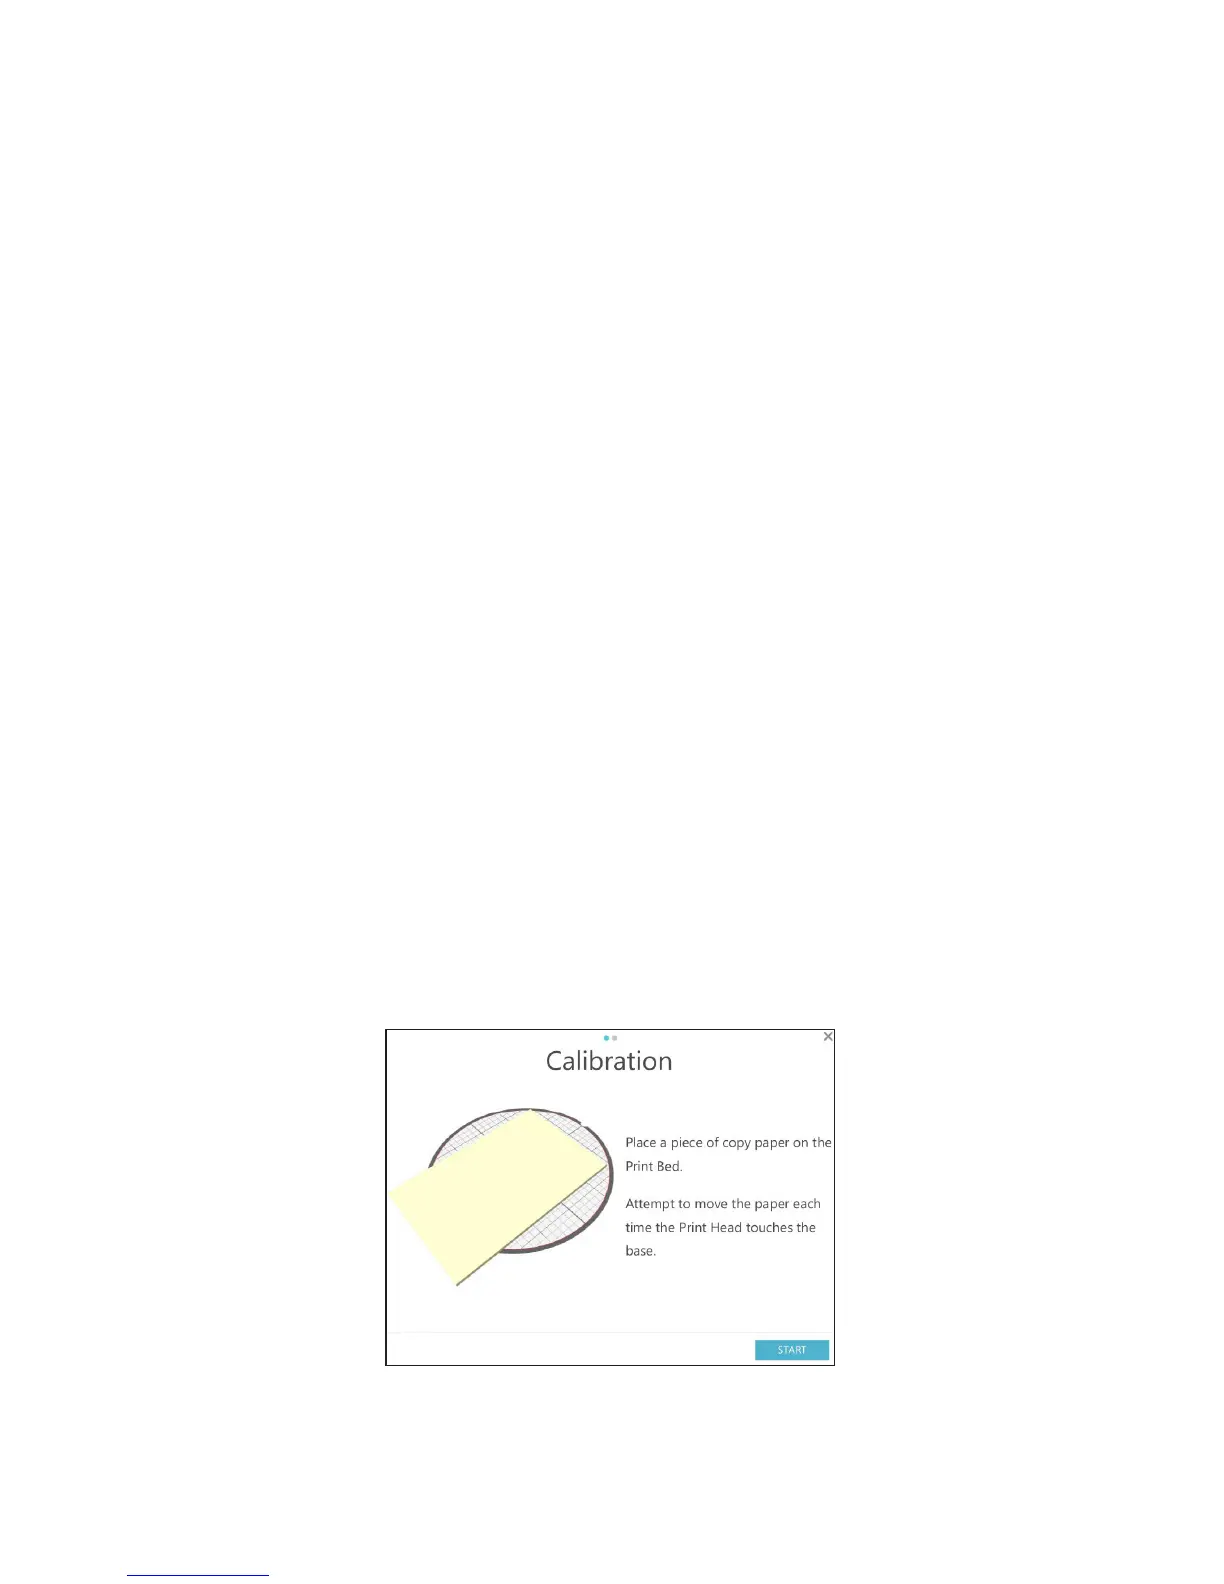
Calibrating the Alta
Your Silhouette Alta comes precalibrated, but there may be an instance when you have to recalibrate it
manually. To check the calibration, go to the 3D Print tab in Silhouette 3D®. Go to the box on the upper
right-hand side and make sure your machine is selected. Then click on the circle icon with three dots in
the left-hand corner of the box. The software will tell you to take a piece of copy paper, cut it in half length-
wise, and place it on the print bed. The paper is what you will use to test the optimal position of the print
head. Don’t use a folded up piece of paper. If the piece of paper you are using is too thick, the calibration
will be off. When you’ve got a piece of paper ready, click Start in Silhouette 3D®.
Hold the paper on one end. The machine will move the print head to three different points: the front-
left position, the front-right position, and the back position. When the print head goes to each position,
attempt to slide the paper under the print head to see whether you can move it. The paper shouldn’t be too
easy to move. You should feel some resistance when you try to move it, but the paper shouldn’t be so hard
to move that you bend or damage it.
In the software, indicate whether moving the paper at each point is easy, normal, or hard and click Next.
The software will then tell you which section needs to be adjusted.
Printing Your Design
After you are done making any adjustments to your print settings, save any changes. Silhouette 3D® will
build a 3D model according to the print settings you input, and you’ll be able to see how the printer will
construct and print your object. Click the Play button at the bottom of the page and watch to see how the
printer will print your object.
In the upper right-hand corner, there is a box that shows you the status of the Silhouette Alta® as well as
the estimate of the filament length in meters and an estimate of the total printing time.
When the machine has heated the filament to the indicated temperature set in the print settings, the
machine will begin to print the design.
After your machine is done printing the design, give the design a few minutes to cool. Then gently remove
the design from the platform. Begin to break away the first layer and any support or hanging pieces to
reveal your printed design.