Getting Started with Silhouette Alta®
19
Selecting the Print Settings
When you first open the 3D Print tab, you’ll notice that any designs, both on your print bed and in the
gray holding area, are still there, but each object will be put into its own print job unless you group objects
together prior to going to the 3D print step.
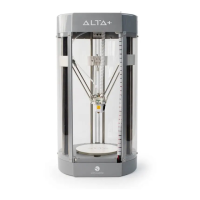
You’ll also notice that a box comes up with a list of your print settings. Here you can change the type of
print settings you want and change your filament, if necessary.
Silhouette 3D® has default print settings, which are the recommended settings, for each print type, but you
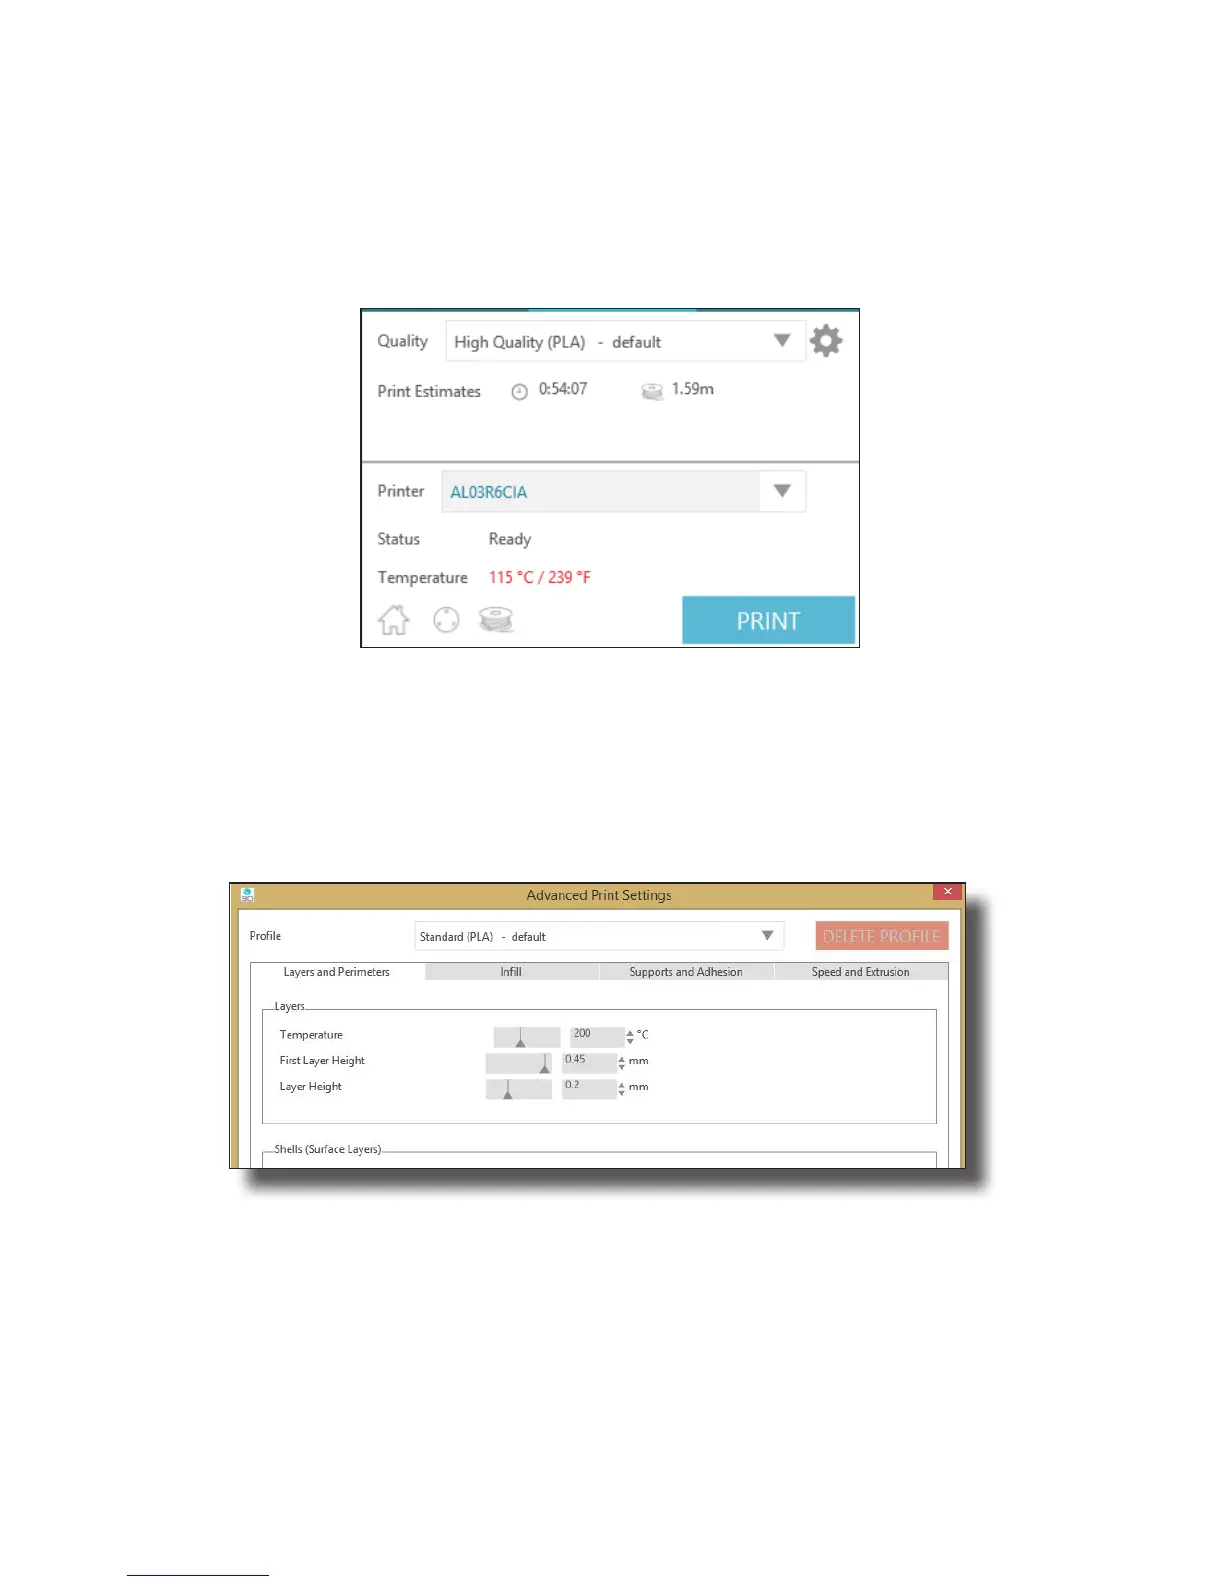
can adjust these settings by clicking on the plus sign on the right of the drop-down menu.
Select the profile you wish to change. There are four different sections: Layers and Perimeters, Infill,
Support Material, and Speed and Extrusion. After you are done making any adjustments, you can click the
Save Settings button to save a new print profile.
 Loading...