9
GB
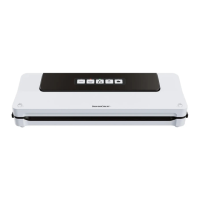
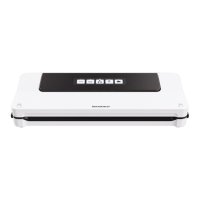
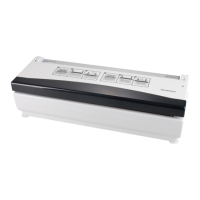
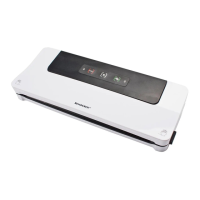
8.2 Vacuum-packing
vacuum containers and
bags (with valve)
This function allows you to vacuum-pack
vacuum containers and bags with valves
from various different manufacturers. For the
different valves, the following adapters are
included in the items supplied:
DANGER! Risk of electric
shock due to moisture!
~ Ensure that no liquid is sucked in during
the extraction of air. If this nevertheless
occurs, immediately interrupt the pro-
cess by pressing the active function but-
ton|1 again.
~ Please comply with the manufacturers’
instructions regarding the filling levels
for containers and bags.
NOTE: the vacuum containers and bags are
not included in the items supplied.
Vacuum containers
1. Fill the vacuum container to the maxi-
mum filling level and close the contain-
er lid.
2. Press one end of the vacuum tube|17
into the connection|6 on the right of the
device.
3. Fit the adapter|18/19/20 suitable for
the valve onto the other end of the vacu-
um tube|17.
4. Press the adapter A|18 or B|19 onto
the valve of the vacuum container. Hold
the adapter firmly in place.
Or:
Insert adapter C|20 into the valve of
the vacuum container.
5. Press the button |1. The LED
lights up. The vacuum-packing process
starts.
6. After the vacuum-packing process, the
LED goes out and the vacuum-packing
process is complete.
7. Remove the vacuum tube|17 and the
adapter|18/19/20 from the vacuum
container and repeat the process if nec-
essary with another container.
8. After you have finished vacuum-pack-
ing, remove the vacuum tube|17 from
the connection|6.
Vacuum bags with valves
1. Place the prepared food into the vacu-
um bag. Ensure that there is no food un-
der the valve.
2. Carefully close the vacuum bag.
Adapter e.g. suitable for
Adapter A|18
Ernesto, FoodSaver
Lunchboxes
Adapter B|19
FoodSaver fresh-
ness containers
Adapter C|20
CASO, FoodSaver
storage boxes

 Loading...