10
GB
3. Place the vacuum bag flat on a level
surface with the valve pointing up-
wards.
4. Proceed as for vacuum containers, start-
ing at step 2 (see “Vacuum containers”
on page 9).
8.3 Filling bags (without
valves)
CAUTION:
~ No food or liquids must be present at
the top edge, where you want to seal
the bag. That area must be clean and
dry. Otherwise, it is impossible to pro-
duce a proper welding seam.
• Fill the bag only up to a level of 6 cm
below the top edge.
8.4 Sealing bags (without
valves)
1. Smooth the bag where it is to be
sealed.
2. Open the lid|10. If necessary, press the
buttons|7 first.
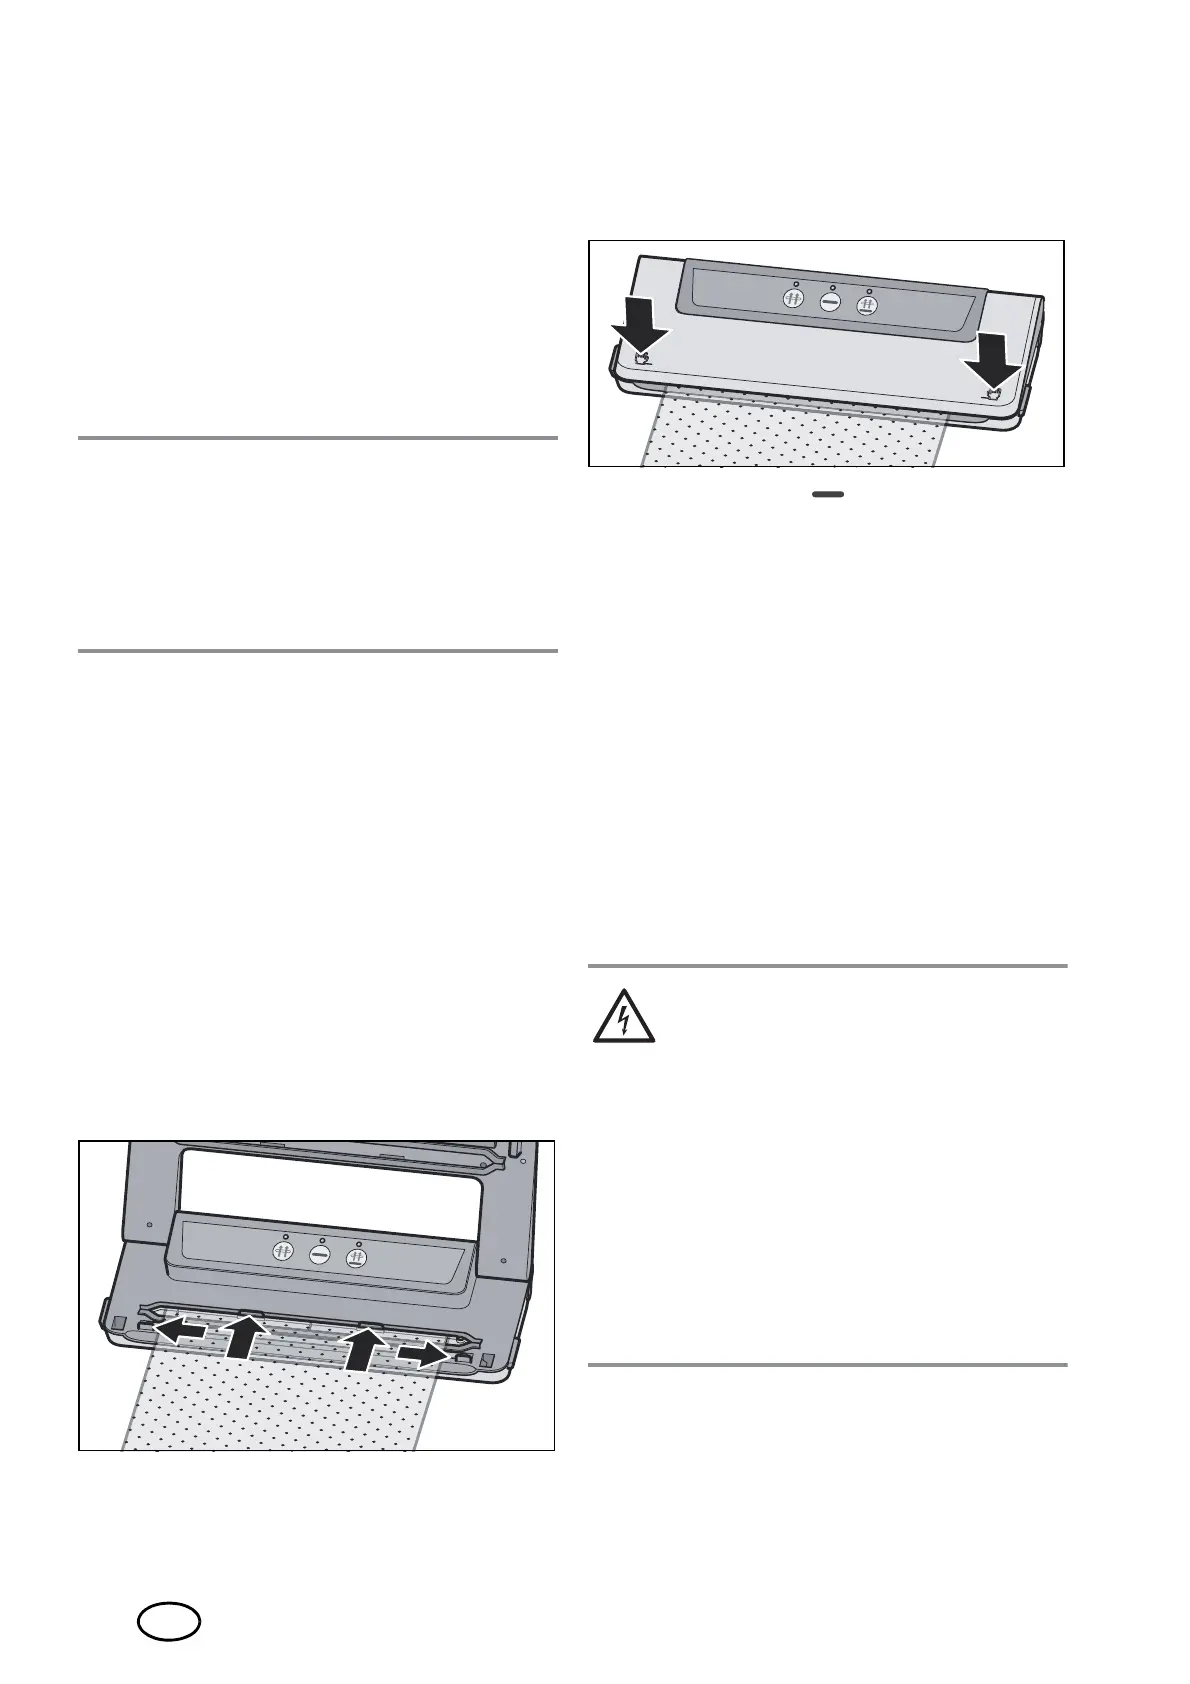
3. Place the bag in the device. For this pur-
pose, the end of the film bag must be
positioned just before the rear reference
ridges|11 and the side reference ridg-
es|13.
4. Ensure again that there are no creases
in the film bag - especially in the area
above the welding wire|15.
5. Close the lid|10.
6. Use both hands to press firmly on the
edges of the lid|10. They must audibly
click into place.
7. Press the button |2. The LED lights
up. The film bag is being sealed.
After approx. 5 - 7 seconds, the LED
goes out and the sealing process is com-
pleted.
8. Simultaneously, press buttons|7 in order
to release the lock of the lid|10.
9. Open the lid|10 and remove the bag.
10.Check the welding seam. It should be a
smooth creaseless seam.
8.5 Vacuum-packing and
sealing bags (without
valves)
DANGER! Risk of electric
shock due to moisture!
~ For vacuum-packing, no liquids must be
inside the bag.
~ Ensure that no liquid is sucked in during
the extraction of air. If this nevertheless
occurs, immediately interrupt the pro-
cess by pressing the active function but-
ton|3 again.
NOTE: when vacuum-packing film bags,
there must not be any vacuum tube|17
plugged into the connection|6.
1. Smooth the bag where it is to be
sealed.
2. Open the lid|10.
3. Place the bag in the device. For this pur-
pose, the end of the film bag must be

 Loading...