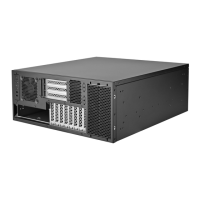
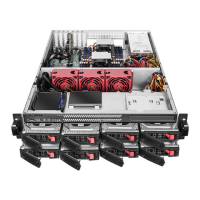
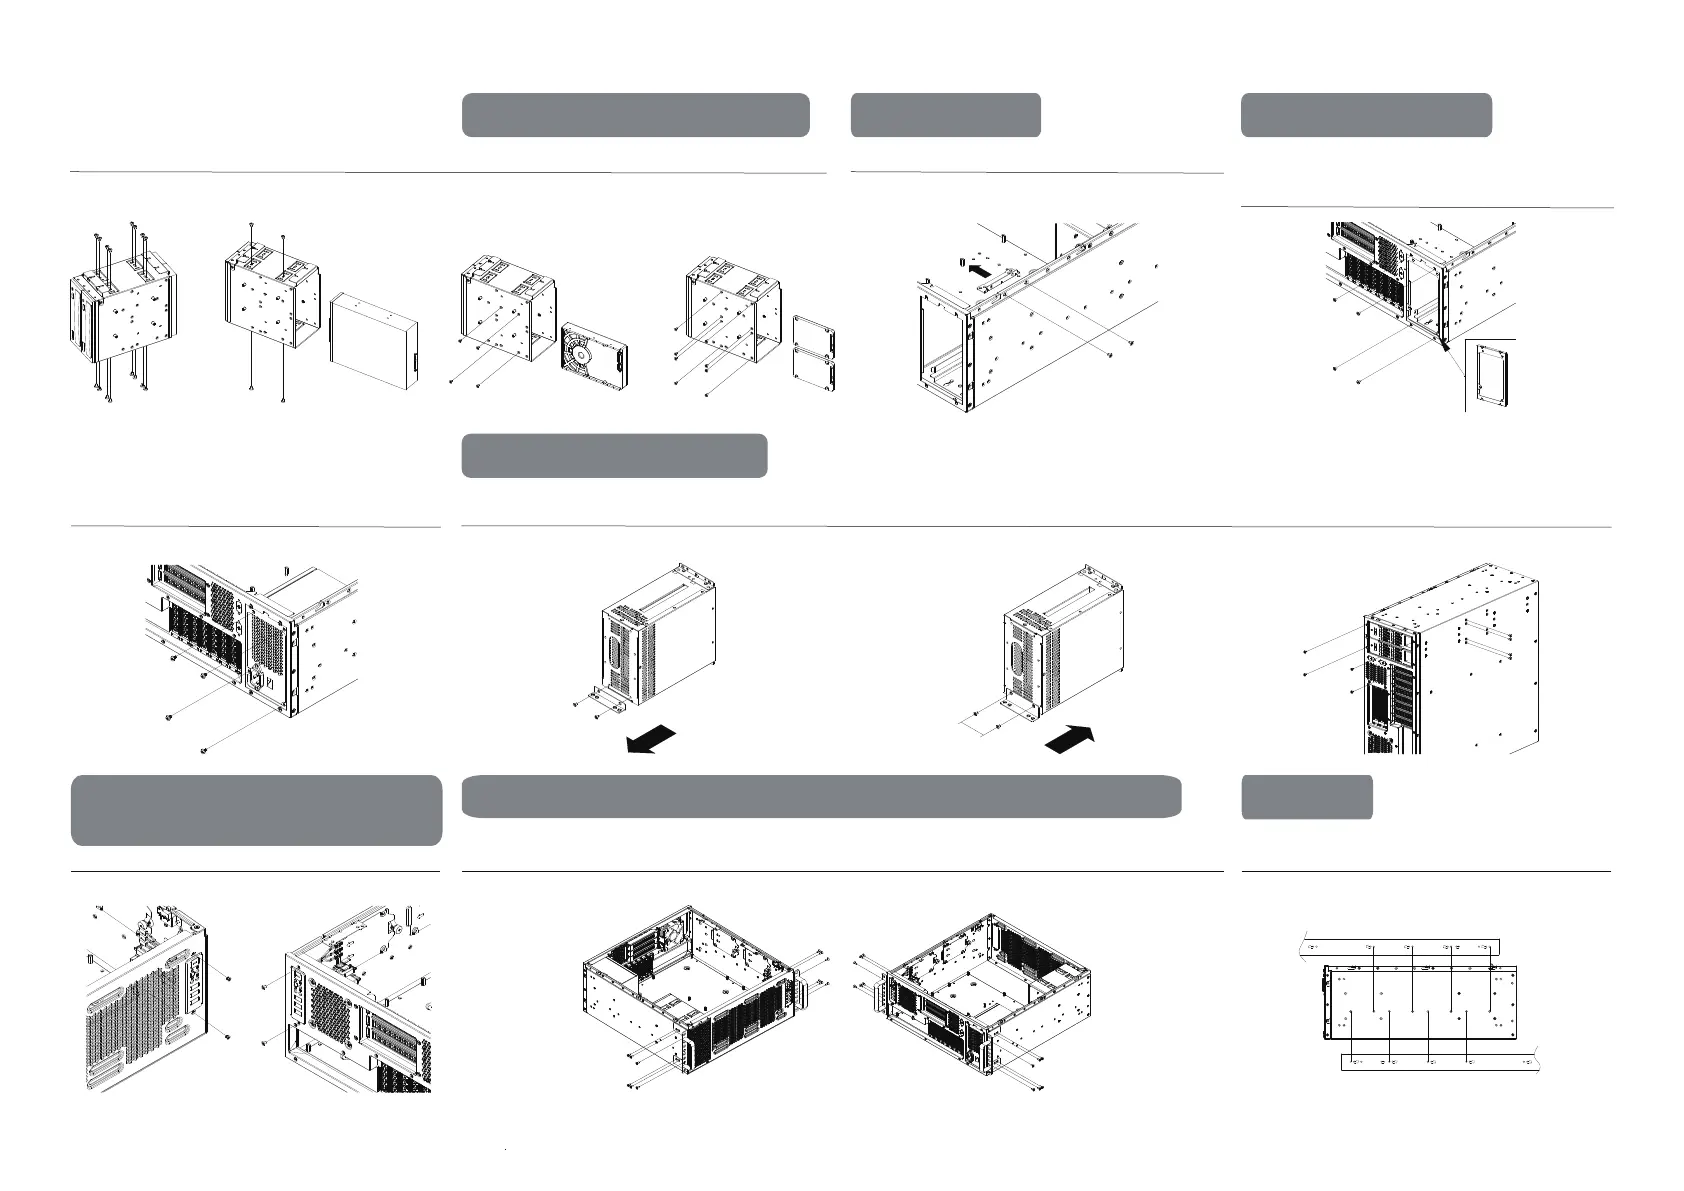
PSU mounting bracket is pre-installed at the rear side, if the
positions is to be interchanged, ensure the PSU mounting bracket
is also moved to the front PSU mounting position for installation
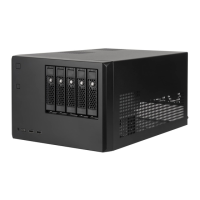
First remove the beams that supports the expansion card retainerInstalling 2 x 5.25” ODD drives 5.25" ODD x 1 or 3.5” HDD x 1 or 2.5” SSD x 2
Storage drive installation options PSU Installation ATX (PS2) Installation
Secure PSU with screws Remove the PSU mounting bracket Attach and secure the additional PSU mounting bracket included
in the accessories package to the chassis
Install and secure the PSU to the chassis
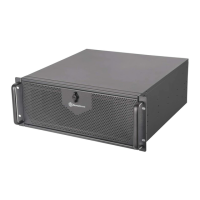
Mini Redundant Installation
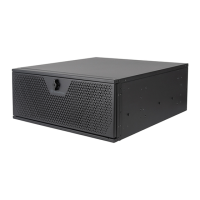
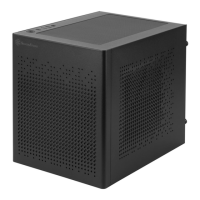
I/O panel can also be interchanged
between front and rear side
3
Rear mounting position / Front mounting position
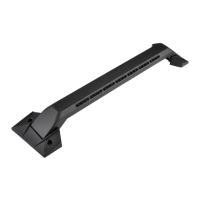
Handlebars can also be interchanged between the front and rear side
Rear mounting position / Front mounting position
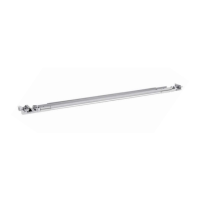
Due to its interchangeable nature, when mounting the RMS05-22
rail slides, ensure that the inner rails are screwed and secured into
the designated mounting holes
Rail slides
5.25”ODD *1
2.5" SSD *2
or
3.5" HDD *1
or
50mm
OR
Rear mounting position
Front mounting position
OR
Front mounting positionRear mounting position
Rear mounting position
Front mounting position
 Loading...