10
OWNER’S MANUAL
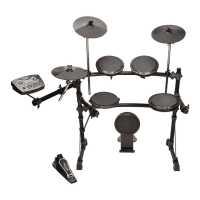
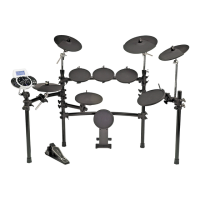
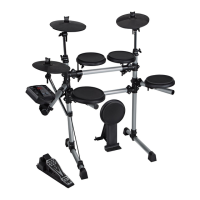
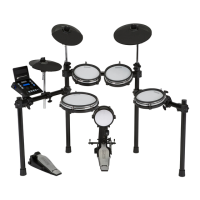
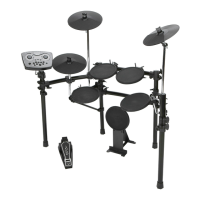
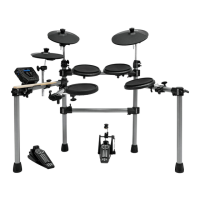
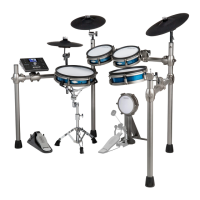
ASSEMBLING YOUR KIT
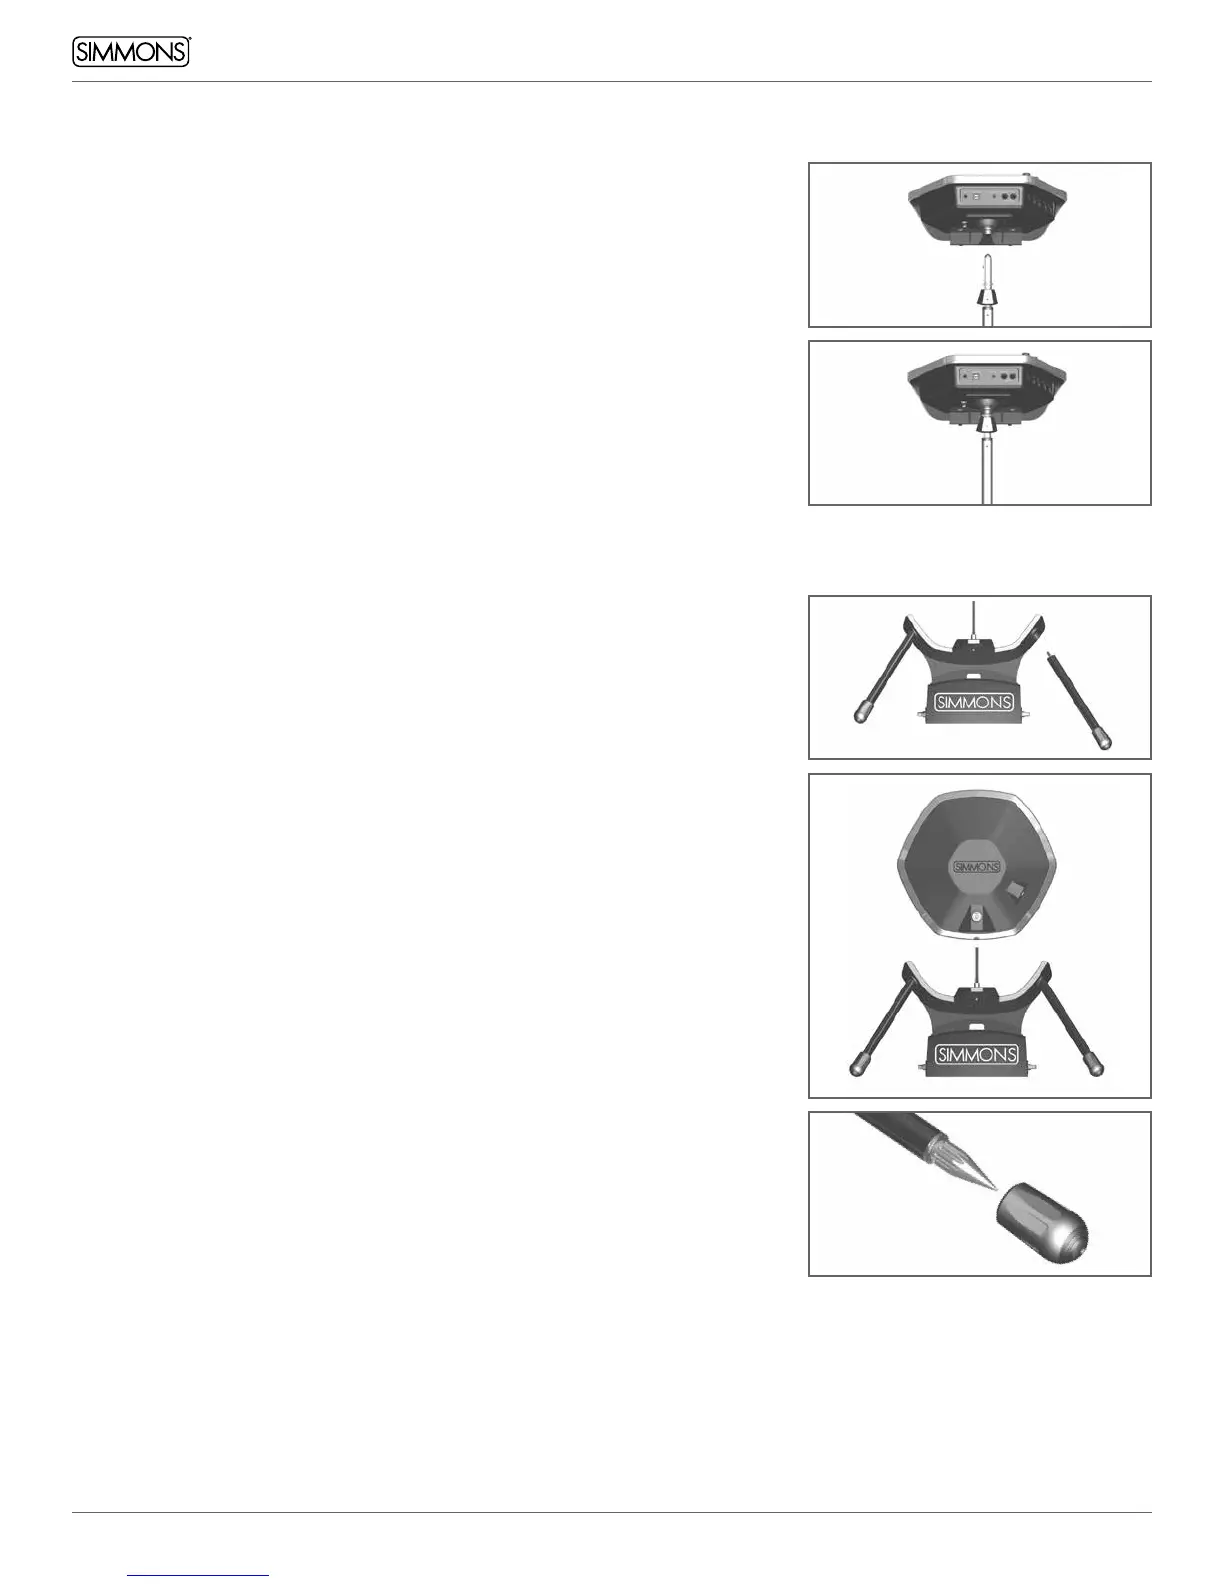
ATTACHING THE MODULE
Attach module mount arm to the rack and adjust to the desired height
in a vertical position (angle can be adjusted later) before attaching the
module. Hand tighten the knobs for height and angle adjustment.
The module mounts to the top of the arms into the ISO Ball.
Pull down on the lock release on the module mount arm.
Press the module onto the end of the arm while holding down on
the lock release. Press on until the ISO Ball touches the shoulder
of the mount.
To remove hold down the lock release and pull module off.
KICK DRUM AND STAND
Screw the legs into the base being careful not to cross thread. Hand
tighten until very tight.
Loosen fastener on drum head* with a drum key. Slide drum onto
mounting arm and tighten drum key (but do not over tighten).
The mounting shelf for the pedal is adjustable. Loosen both side
knobs but do not remove. Place on a flat surface. The rubber feet are
adjustable, turn as needed to level the base and provide stability.
Attach your pedal securely to the mount shelf. Once the pedal and
base are level tighten both side hand knobs.
Spikes: The rubber feet are removable; just pull them off to use
the spike option. The spikes are adjustable in length, rotate to
adjust as needed.
KICK DRUM, HI-HAT PEDAL AND PAD CONNECTIONS
1. Place the kick drum pad tower on the floor in the center of the rack
as illustrated.
2. Attach your kick drum pedal to the kick drum pad tower (pedal not
included) see above.
3. Place the hi-hat pedal on the floor and to the left.
4. Connect the marked cables from the pads to the multi-pin input
on the bottom of the sound module. It is best to start from
the opposite side of the module and route the cables with the
cable clips as you go. This will provide the cleanest look and make
it much easier.
* Please Note: To eliminate confusion with the tom pads, the drum
pad assigned to the bass drum has the Simmons logo (printed on the
drum head) on the opposite side to the mounting arm.
 Loading...