104
ENG
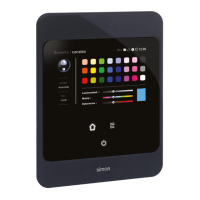
Name of the group
As detailed in “Creation of channels”, it is possible to change
the name of the group so that it is intuitive.
Once the desired name is entered, we must press OK.
List of
channels that
form part of
the group
List of
channels
created
previously
Selection of channels that form it
In this screen the installation’s channels will appear and simply
by selecting each channel and pressing the right arrow (top)
these will be included in the selected group.
To delete a channel that has been selected for a group, the
procedure is to select this channel and press the left arrow
(bottom).
Finally, confirm to create this group in the system.
Once created, to activate / deactivate the group, short press.
A long press accesses this group’s general menu, see
“Adjusting groups) for more info.
If we want to eliminate a group, we follow the same method
described above for deleting channels.
5.6 Adjusting groups
Scena enables us to adjust groups as if they were individual channels, and in the same way, i.e. by means of
a “General” or “Advanced” screen for each type of group, whether these be Lights, RGB, Blinds or Mixed.
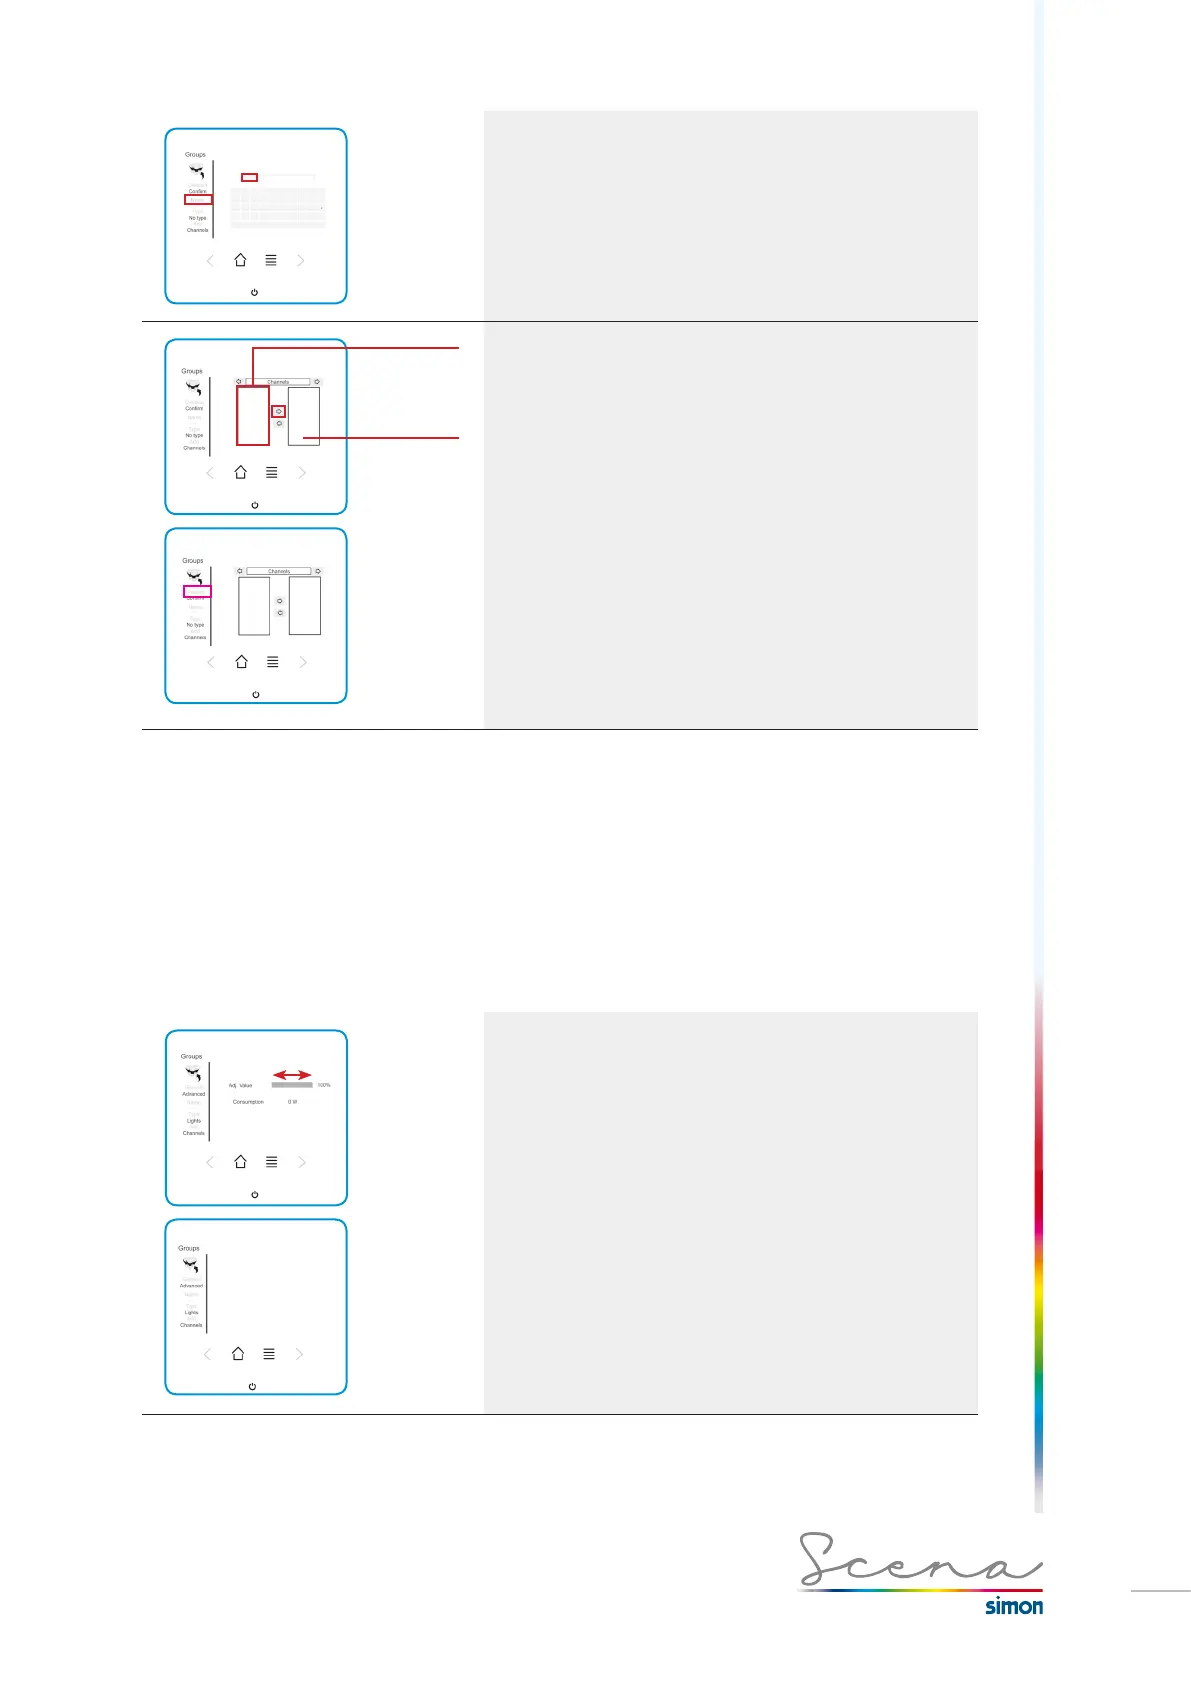
5.6.1 Lights group type
Type: Lights
General configuration (long press on this group):
It enables us to set or activate/deactivate the group and
reports on its consumption. To adjust, slide a finger along the
grey-shaded rectangle.
In advanced configuration we access the screen in which
we can change the Set and Fade time, already detailed in the
channels section.