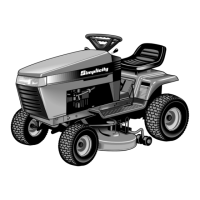
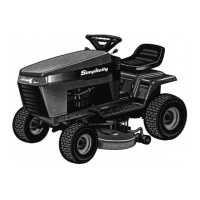
12 Hood Assembly Service
Hood and Headlight Assembly Service
12 - 4
HOOD ASSEMBLY SERVICE
Hood Removal
1. Tilt the hood forward.
2. Unplug the headlight wire harness.
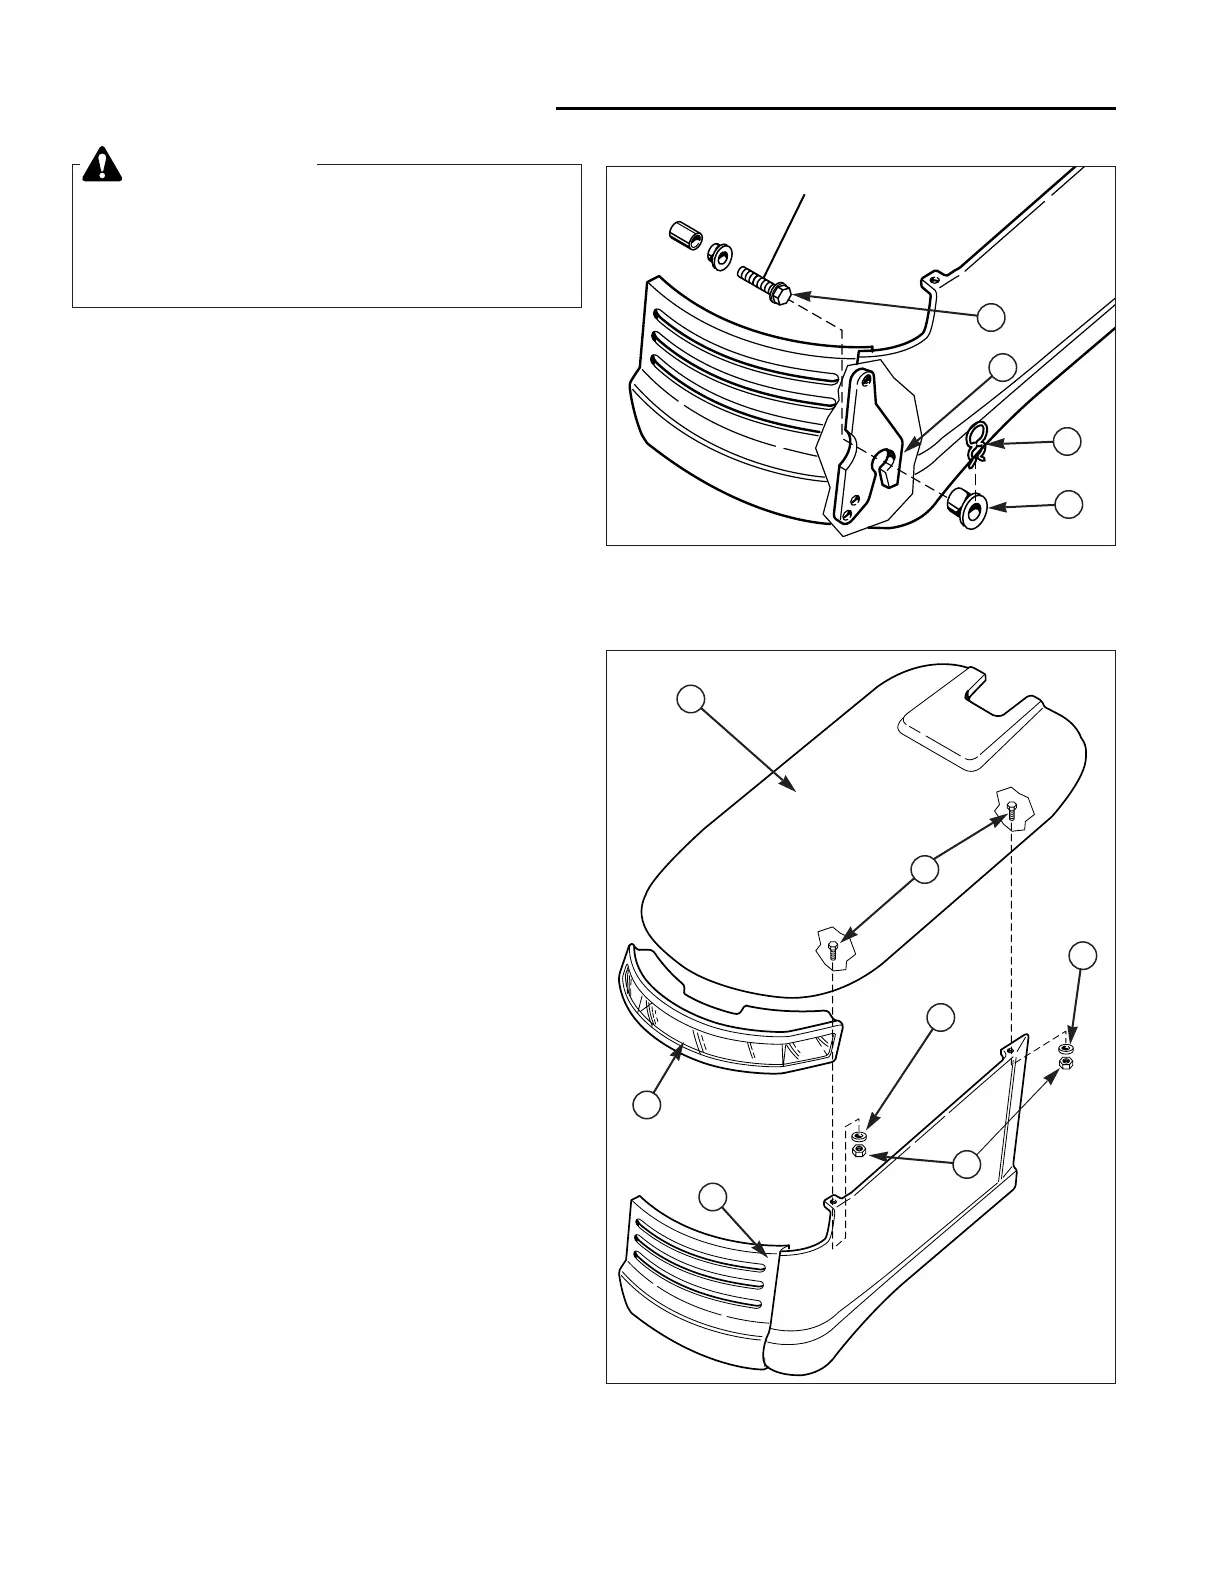
3. Remove the retainer clip (C, Figure 2) from both the
right and left pivot capscrews (A).
4. Remove the plastic bushing (D).
5. Lift the hood assembly off the pivot capscrews (A).
Hood Installation
1. Set the hood on the tractor and rest the hinges (B,
Figure 2) on the pivot capscrews (A).
2. Install the plastic bushings (D) and secure with the
retainer clips (C).
3. Reconnect the headlight wire harness.
HEADLIGHT ASSEMBLY SERVICE
Lightbulb Service
1. Open the hood.
2. Turn the socket assembly counter clockwise to
remove it from the bezel.
3. Remove and replace the light bulb.
Headlight Assembly Removal
NOTE: The hood can be left on the tractor for this proce-
dure.
1. Remove the capscrews (F, Figure 3) and nuts (D).
2. Lift the hood (A) off the side panel and grille assem-
bly (C).
3. Lift the bezel (B) out and service as required.
To reinstall, follow the reverse the removal procedure.
NOTE: The lens and bezel assembly can be separated
for cleaning and service. See Figure 1 for assembly.
Figure 2. Remove Hood
A. Pivot Capscrew C. Retainer Clip
B. Hinge D. Plastic Bushing
A
C
D
B
WARNING
Before beginning any service work, turn the PTO
off,set the parking brake, turn the ignition switch
off, remove the key, disconnect the spark plug
wire, and disconnect the negative battery cable.
Figure 3. Hood and Headlight Bezel
A. Hood D. Nut
B. Headlight Bezel E. Washer
C. Side & Grille Assy. F. Capscrew
A
B
C
E
F
E
D

 Loading...