Adjust offset
Ú
Note: Prior to starting the offset adjustment, the gain must be adjusted to give a good
image of any echoes that are to be used for the adjustments.
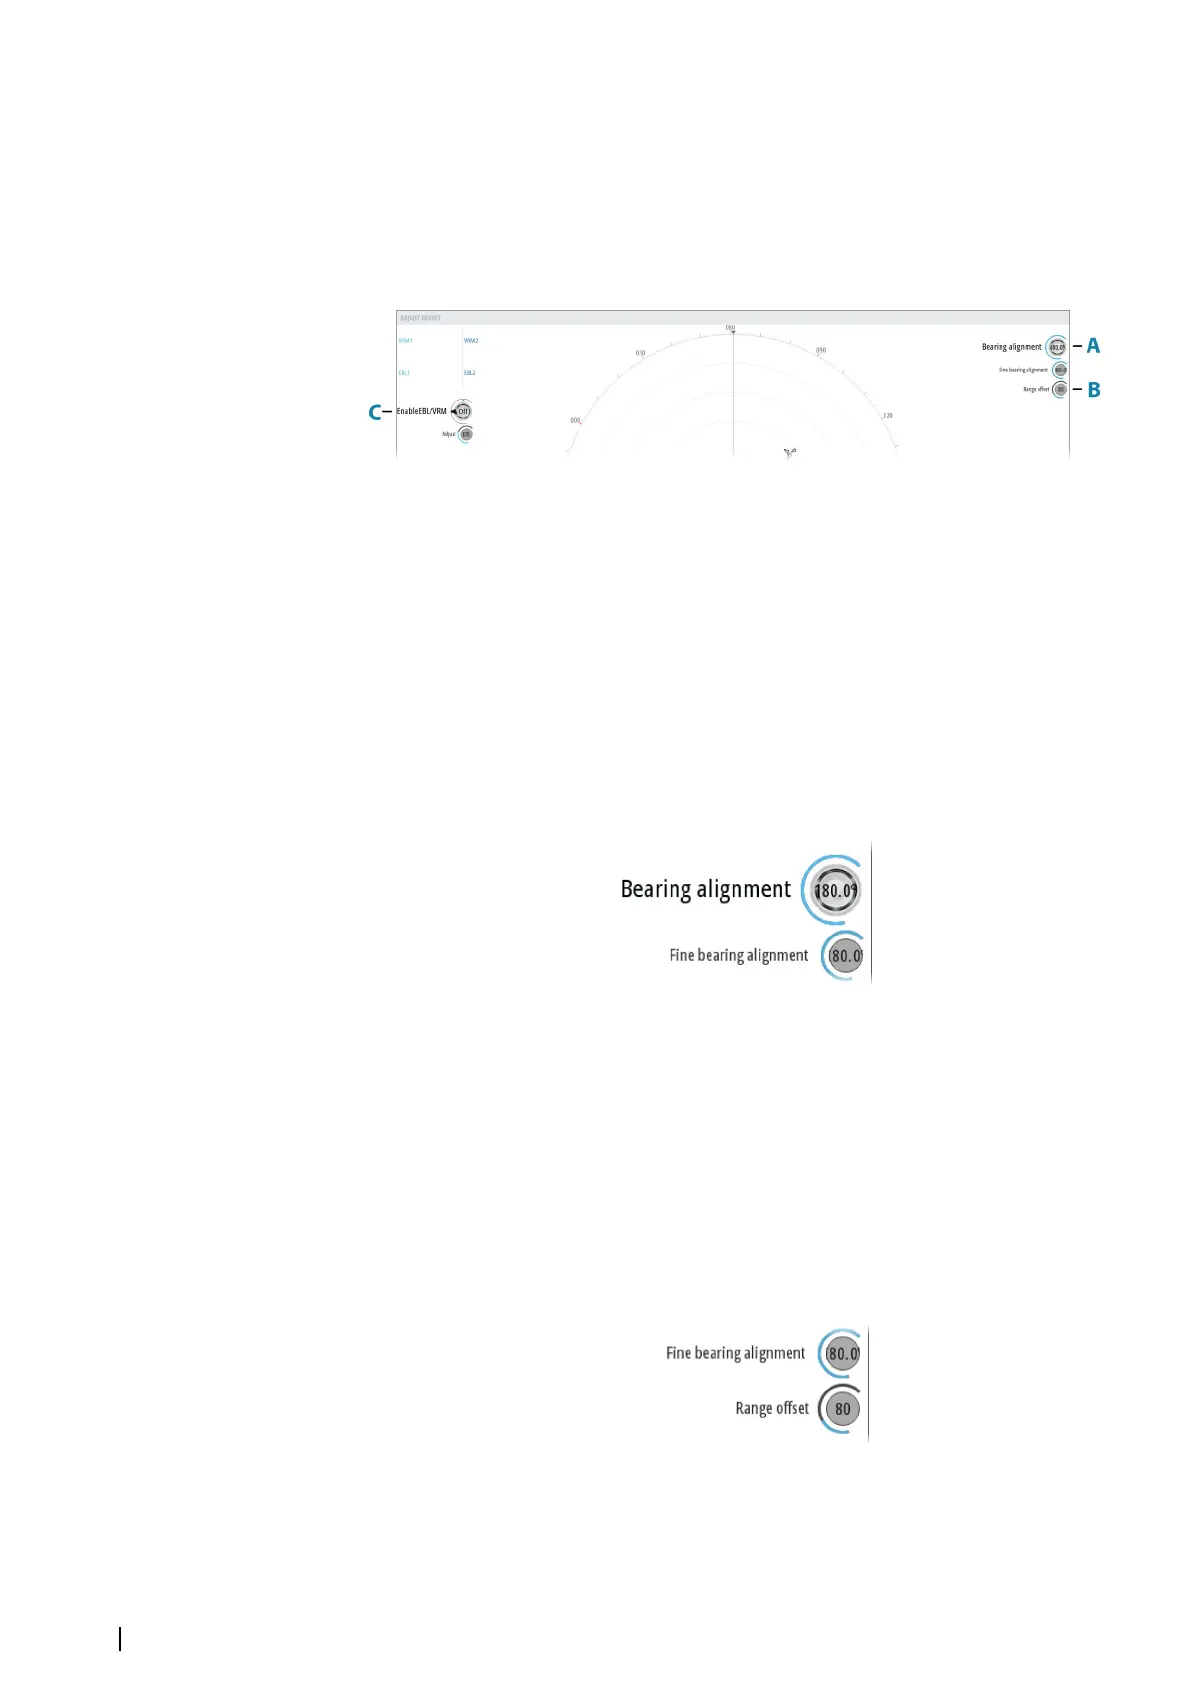
The adjust offset allows for initial tuning of bearing alignment (icon A) and for the radar
range offset (icon B).
The EBL/VRM markers (C) can be used to help improving the adjustments.
To activate and adjust the EBL/VRM (C):
1 Left-click the enable EBL/VRM icon to turn the option ON
2 Left-click the adjust icon to switch between EBL and VRM
3 Adjust the EBL/VRM by using the trackball wheel or the rotary knob
To use the adjustment options (A and B):
1 Left-click the icon to activate the option
2 Adjust the value by using the trackball wheel or the rotary knob
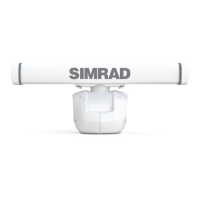
Adjust bearing alignment
This option is used to align the heading marker on the screen with the center line of the
vessel. This will compensate for any slight misalignment of the scanner during installation.
Misalignment that is not corrected for will compromise target tracking and can result in
dangerous misinterpretation of potential navigation hazards.
1 Point the vessel towards a stationary isolated object, or towards a far range AIS
where the AIS icon matches the radar echo
2 Adjust the coarse and fine bearing alignment so that the heading line touches the
end of the selected object
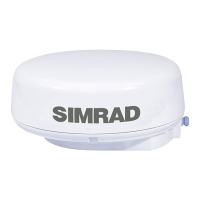
Adjust range offset
The radar sweep should commence at your vessel (a radar range of zero). You may need to
adjust the radar range offset to achieve this. If this is set incorrectly, a large dark circle in the
center of the sweep might occur. You might notice straight objects such as straight sea walls
or piers having curves or an indentation. Objects close to your vessel may appear pulled in or
pushed out.
22
Software setup | R5000 Commissioning manual