14 |
Installation | RS90 Installation Manual
Installation
Positioning
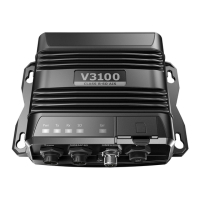
Transceiver
Make sure that the position of the transceiver:
• Is at least 1 m (39 inches) from the VHF antenna.
• Allows easy connection to the 12 VDC electrical source, the antenna,
and the NMEA 2000 connection.
• Is at least 45 cm (18 inches) from any magnetic compass to avoid
magnetic deviation of the compass during radio operation.
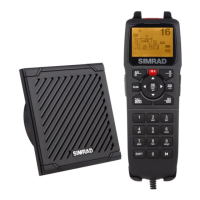
• Provides suitable space for installing the wired handset cradle(s)
nearby. (A 20 m extension cable is available as an optional extra.)
• Provides reasonable access to the wiring via the top panel.
The transceiver can be positioned vertically on a bulkhead or
horizontally. Avoid positions that might get wet or hot, such as in
the engine compartment or close to the bilge.
Ideally, the transceiver is positioned vertically with the wiring glands
facing downwards in order to prevent the ingress of water.
DSC warning label
The DSC warning label should be positioned close to the wired
handset.
Installing the transceiver
1. Hold the transceiver at the chosen location and mark the 4 hole
positions onto the mounting surface.
2. Drill the 4 holes where marked (maximum diameter 3.5 mm).
3. Attach the transceiver using screws or pan head machine screws.
4