Do you have a question about the Singer 9910 and is the answer not in the manual?
Precautions to reduce the risk of electric shock.
Precautions to reduce risks of burns, fire, shock, or injury.
Information for European and similar territories regarding radio and television interference.
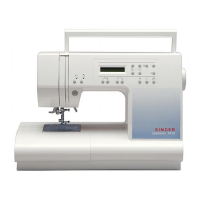
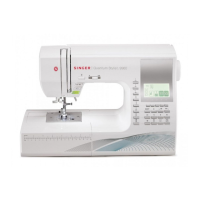
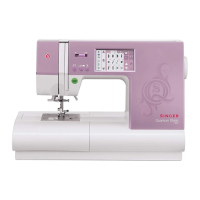
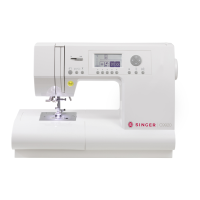
Diagram illustrating and labeling the various parts of the sewing machine.
List of accessories provided in the accessory case.
Instructions on covering the machine when not in use.
Procedure for detaching the extension table.
Procedure for opening the accessory compartment.
Step-by-step guide on how to change the presser foot.
Instructions for removing the presser foot holder.
Steps for correctly inserting a new needle into the machine.
Safety warning regarding needle insertion.
Guide for selecting thread and needle size based on fabric type.
Safety warning about disconnecting power before maintenance.
General safety precautions for machine operation.
Information for US/Canada users on polarized plugs.
Button for sewing in reverse.
Button to control needle's up/down position.
Button for twin needle sewing.
Lever to raise or lower the presser foot.
Lever to control fabric feed dogs.
Dial to adjust presser foot pressure.
Wheel to manually raise or lower the needle.
Cover for the upper part of the machine.
Display showing stitch information.
Dial to adjust the contrast of the LCD.
Chart showing all patterns and letters inside the top cover.
Button to select utility stitch patterns.
Button to select letter stitch patterns.
Button to sew mirror image stitches.
Buttons to select pattern number or letter.
Buttons for combining, deleting, and checking letters.
Buttons to adjust stitch width and length.
Procedure to remove the bobbin cover and bobbin.
Instructions for placing the thread spool on the spool pin.
Step-by-step guide for winding the bobbin.
Detailed steps for inserting the bobbin into the bobbin holder.
Initial steps before threading the machine.
Instructions for placing the thread spool on the spool pin.
Guide for threading the upper thread through the machine.
Procedure for threading the needle eye.
Steps to bring the bobbin thread up to the needle area.
Safety warning regarding needle safety during sewing.
Procedure for starting and ending a seam.
How to sew reverse stitches to reinforce seams.
Description of correct thread tension balance.
Adjusting tension when bobbin thread shows on fabric top.
Adjusting tension when upper thread shows on fabric bottom.
Adjusting thread tension for zigzag stitches.
Procedure for selecting utility stitch patterns.
How to sew mirror image stitches.
Adjusting stitch width and length for selected patterns.
Visual guide showing stitch patterns and their uses.
Guidance on selecting straight stitch patterns for fabric types.
Information on different zigzag stitch types.
Instructions for sewing with elastic bands.
Procedure for overcast stitching on knit fabrics.
How to convert the machine to a free arm.
Safety warning regarding needle position.
Method for joining fabric pieces for quilting.
Procedure for sewing layers of material.
Instructions for hand-look quilting stitch.
Recommended stitches for elastic sewing.
Using the satin foot for decorative patterns.
Suggestion for sewing thin fabrics using interfacing.
Instructions for using the overcasting foot.
Safety warning for using overcasting foot.
Instructions for using the general purpose foot for overcasting.
Note regarding cutting excess material.
Steps for sewing blind hems on fabric.
Using different materials for decorative patchwork.
Methods for attaching appliques to fabric.
Technique for sewing applique edges.
Guidance for sewing sharp angles in applique.
Safety warning for zipper foot usage.
Steps for basting the zipper opening.
Procedure for attaching the zipper foot.
Instructions for stitching zipper sides.
How to open the zipper during the sewing process.
Safety warning for zipper foot usage.
Instructions for stitching zipper sides.
How to open the zipper during the sewing process.
Description of the four types of buttonholes.
Information on the buttonhole foot and its under plate.
Safety warning for buttonhole sewing.
Steps for marking and setting up the buttonhole.
Procedure for sewing buttonholes.
Describes the order and automatic stopping of buttonhole sewing.
Safety warning when using a seam ripper.
Tip for sewing buttonholes on difficult fabrics.
Description of bar-tack and darning stitches.
Using the buttonhole foot for bar-tack and darning.
Safety warning regarding buttonhole lever and foot positioning.
Procedure for sewing bar-tacks and darns.
Using the general purpose foot for sewing buttons.
Safety warning about needle hitting the button.
Step-by-step guide for sewing buttons.
Instructions for creating a thread shank for buttons.
Guidance on using twin needles for decorative stitches.
Safety warnings for twin needle use.
Steps for threading and sewing with a twin needle.
Procedure for selecting letters to sew.
Instructions for deleting memorized letters.
How to review memorized letters.
How to restart sewing selected letters.
How to recall memorized letters after changing modes.
Warning to disconnect power before maintenance.
Instructions for cleaning the stitching mechanism.
Steps to clean the bobbin holder.
Steps to clean the hook race and feed dogs.
Guide to common sewing problems and their solutions.
| Brand | Singer |
|---|---|
| Model | 9910 |
| Stitch Width | 7mm |
| LCD Screen | Yes |
| Needle Threader | Yes |
| Foot Control | Yes |
| Warranty | 25-year limited warranty |