TO
SET
THE
NEEDLE
BAR
AT
THE
CORRECT
HEIGHT
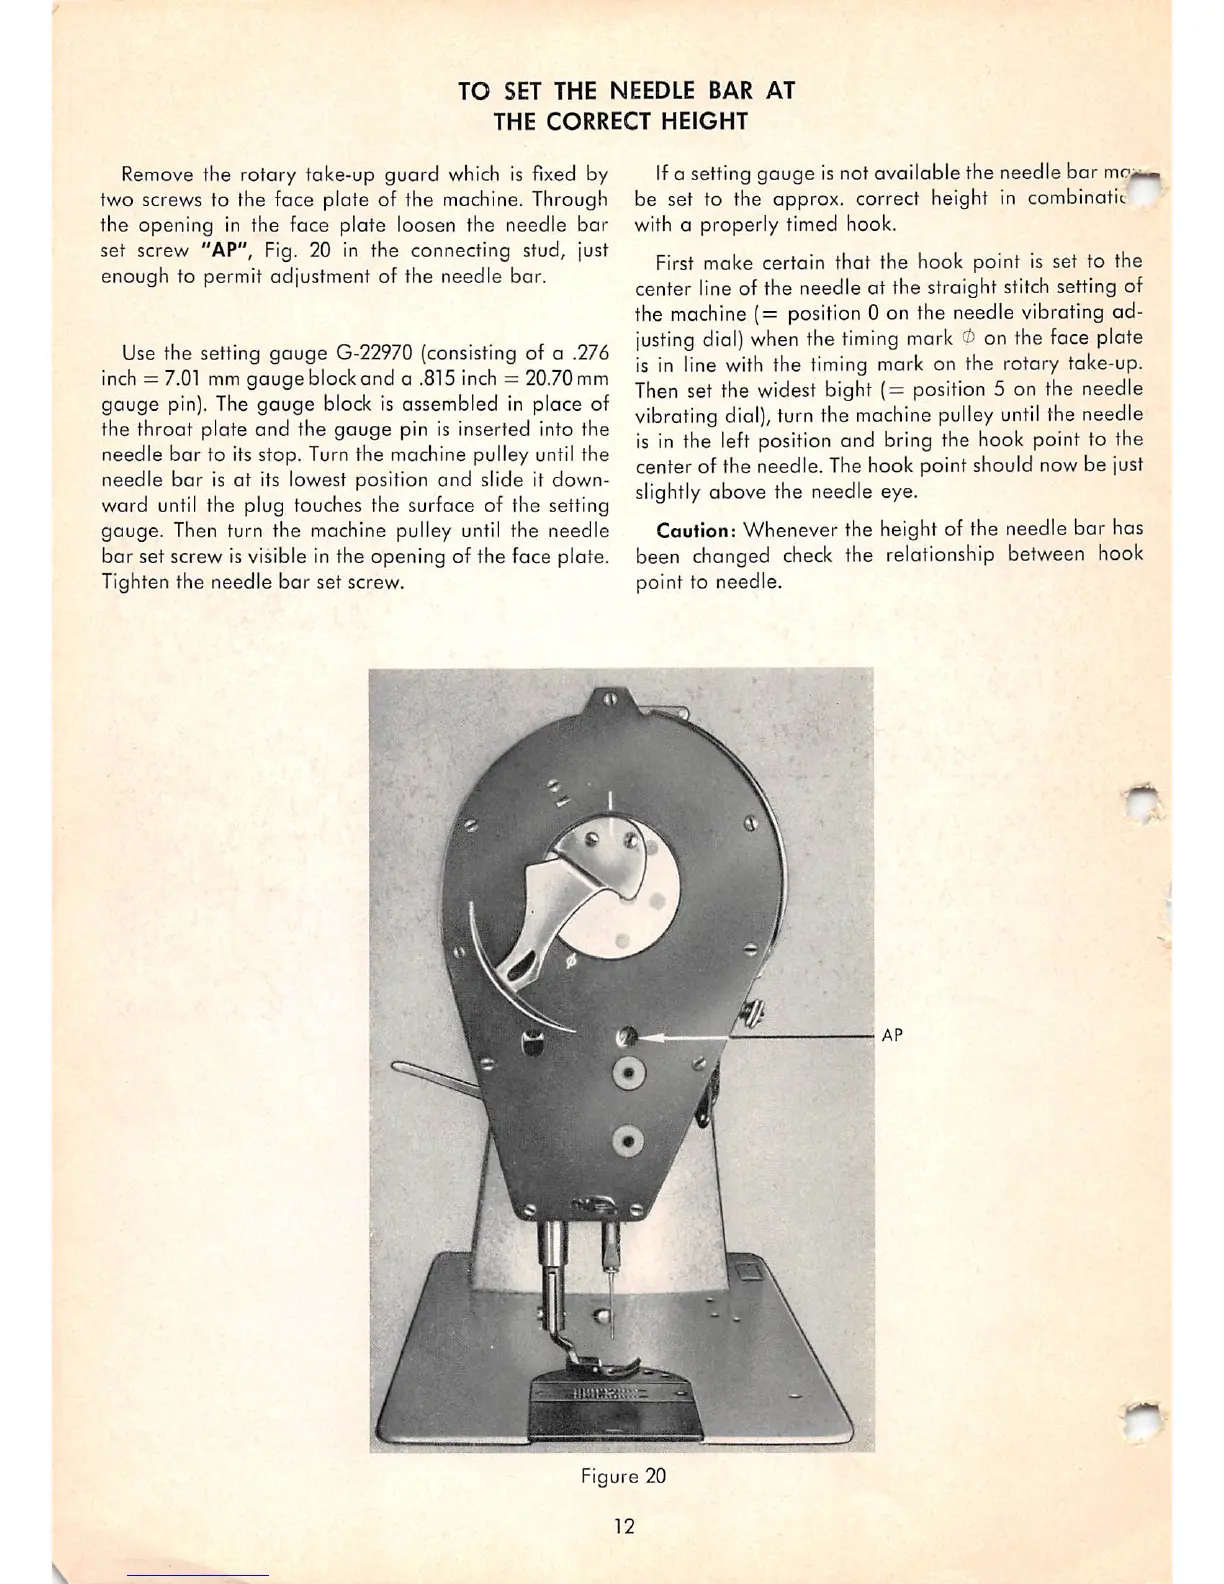
Remove the rotary take-up guard which Is fixed by
two screws to the face plate of the machine. Through
the opening in the face plate loosen the needle
bar
set screw "AP", Fig. 20 in the connecting stud, just
enough to permit adjustment of the
needle
bar.
Use the setting
gauge
G-22970 (consisting of a .276
inch =
7.01
mm
gaugeblockand
a .815 inch = 20.70mm
gouge
pin). The
gauge
block is assembled in place of
the throat plate
and
the
gauge
pin is inserted into the
needle
bar
to its stop. Turn the machine pulley until the
needle
bar
is at Its lowest position
and
slide it down
ward
until the plug touches the surface of the setting
gauge.
Then turn the machine pulley until the needle
bar
set screw Isvisible in the opening of the face plate.
Tighten the needle
bar
set screw.
Ifa setting gauge is not available the needle bar mo*,
be set to the approx. correct height in combinatic
with a properly timed hook.
First make certain that the hook point is set to the
center line of the needle at the straight stitch setting of
the
machine
(= position 0 on the needle vibrating ad
justing
dial)
when
the
timing
mark
0 on the face plate
is in line
with
the
timing
mark on the rotary take-up.
Then
set the widest bight
(=
position 5 on the needle
vibrating
dial),
turn the
machine
pulley
until
the needle
is in the left position and bring the hook point to the
center of the needle. The hook point should now be just
slightly above the needle eye.
Caution: Whenever the height of the needle bar has
been
changed
check
the relationship
between
hook
point to needle.
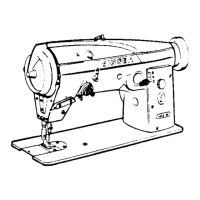
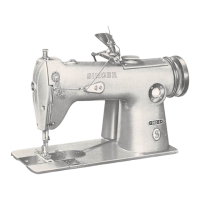
Figure 20
 Loading...