24
OPERATING INSTRUCTIONS….cont
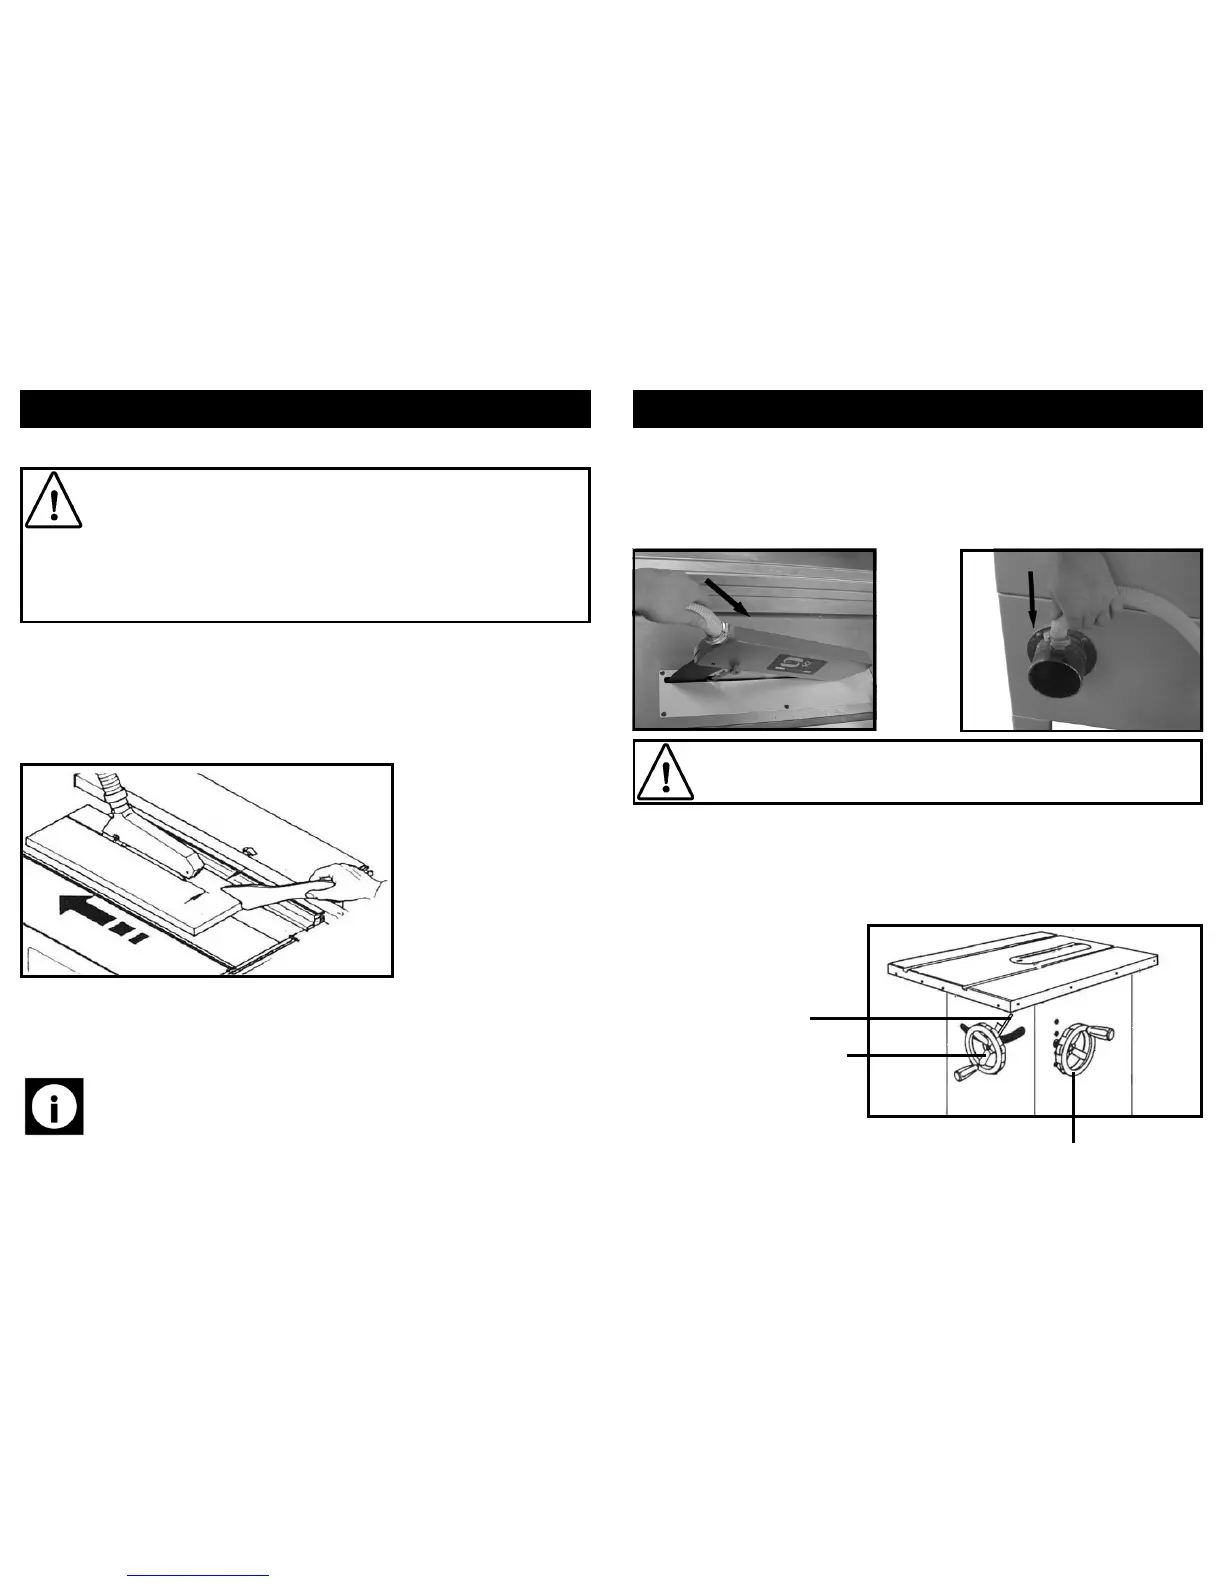
Making cuts with the rip-fence:
Use the push stick if distance between rip fence and saw blade is less than
120 mm.
The push stick should be used to avoid working with hands close to the
saw-blade.
Push blocks should be used when cutting small work-piece and in circum-
stance where it is necessary to push the work-piece against the fence.
Push blocks should be between 300 mm and 400 mm long, 80 mm to 100
mm wide and 15 mm to 20 mm deep.
• Move the rip-fence to the desired position and lock in place with the rip-fence
handle.
Reposition auxiliary fence extrusion if necessary:
⇒ Low edge (as shown) for cutting thin stock, and / or with a tilted saw-blade.
⇒ High edge is for cutting thick stock (max. 65 mm).
• Set the blade tilt angle to the desired angle and lock into position.
• Start the saw and allow it to reach its full speed.
• Cut work-piece in a single pass.
• Switch machine off immediately if no further cuts are required.
Note: There is a thermal overload inside the motor, this device is to protect
the motor from being damaged in high temperature conditions. When the
motor’s temperature is too high the overload will shut off automatically, you
should check the reasons that caused the high temperature at once. The
thermal overload will return to normal automatically once the temperature
reaches a safe operating temperature.
21
ASSEMBLY INSTRUCTIONS….cont
Fitting the outlet to blade guard extraction hose:
• Fit 1 small Ø hose clip over 1 end of the outlet to blade guard.
• Slide the hose over the extraction outlet of the blade guard.
• Fit a hose clip over the opposite end of the hose.
• Slide the hose over the small outlet on the extraction hose outlet adaptor.
Caution: Dust of certain wood or wood by-products can be extremely
harmful to health if inhaled. Use a suitable dust collector particularly when
working in enclosed spaces or for extended periods.
Fitting the blade rise / fall and blade tilt hand-wheels:
• Slide the blade rise / fall and blade tilt hand-wheels over their respective shafts.
• Secure allen bolts and washers.
blade rise / fall hand-wheel
blade tilt hand-wheel
Blade height lock lever