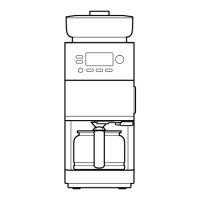
21
Troubleshooting
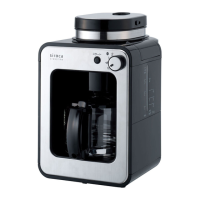
GB
QQ
1111
Poor hot water output / brewing
takes a long time
Is there any debris in the filter of the water inlet of the main
unit?
Or, is the inside of the main unit dirty with water stains?
If water stains and other contaminants become severe, hot
water flow will be sluggish. Perform citric acid cleaning.
“Citric acid cleaning inside the main unit”
Page
19
QQ
1212
When brewing coffee, there is a
plastic smell
At the beginning of use, the plastic parts may have a plastic
odor due to the heat generated. It will lessen with use, but if
this is a concern, brew with water only once or twice before
use. If you are still concerned, perform a citric acid cleaning.
“Citric acid cleaning inside the main unit”
Page
19
QQ
1313
If the anti-leak valve comes off
Make sure that the required parts (gasket, spring) are not
missing.
“If the anti-leak valve comes off”
Page
19
QQ
1414
Power cord/plug shows damage
Stop using the product immediately.
QQ
1515
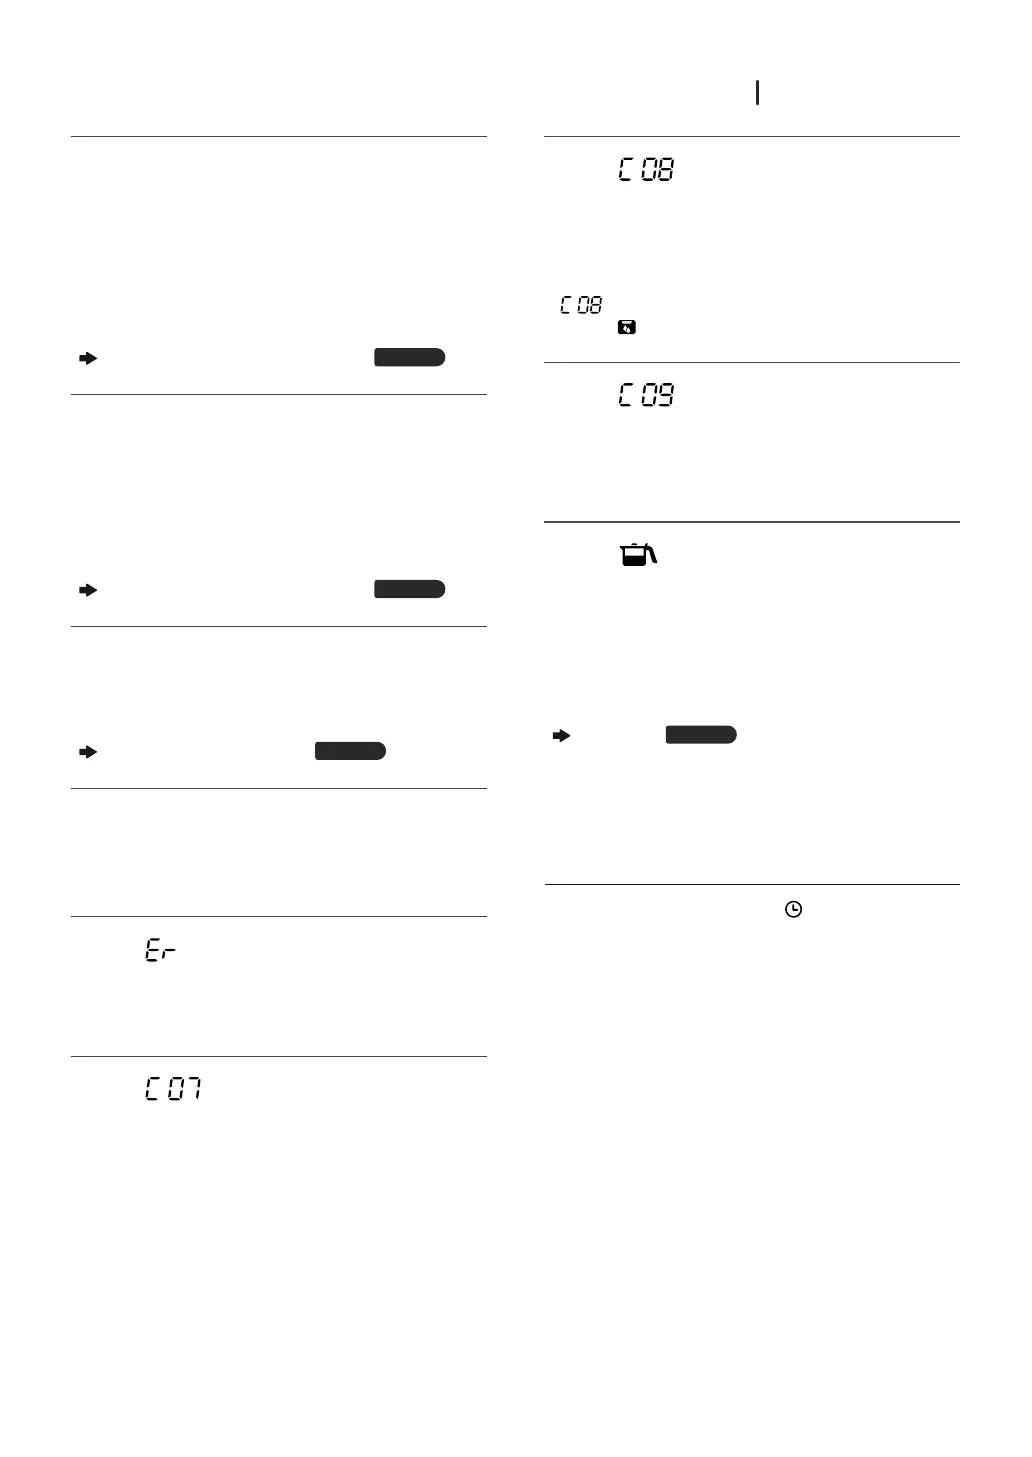
[ ] and numbers are displayed
Possible malfunction. Immediately unplug the power plug
and discontinue use.
QQ
1616
[ ] is displayed
Attach the GRIND LEVEL dial until it clicks. Press the “START/
CANCEL” button to return to the display.
QQ
1717
[ ] is displayed
There is no water in the water tank.
To resume brewing after running out of water, add water to
the water tank within 5 minutes.
After pressing the “START/CANCEL” button to turn off the
[
] display, press the “START/CANCEL” button again
while the
(brewing) icon is displayed to resume brewing.
QQ
1818
[ ] is displayed
Close the basket all the way. If the basket is open even a little,
the operation stops for safety.
Press the “START/CANCEL” button to return to the display.
QQ
1919
[ ] is displayed
Place the server securely on the warming plate. To resume
brewing, place the server securely on the warming plate
within 5 minutes.
Select [MUG] if you want to fill the mug directly. To change
during brewing, press the “START/CANCEL” button once to
stop the brewing.
“Using a mug”
Page
14
X
Reset the settings
To reset, press and hold the
▲
button, (timer) button, and
“MODE” button simultaneously for at least 3 seconds while the
operation is stopped.
Clock setting returns to [0 : 00].
Course, size, mode, grinding time, timer (scheduling),
and other settings are reset.
Also, if the power plug is unplugged from the outlet for
approximately one week, the setting will reset to factory setting.