10
• DiesperformbetterwhentheyareplacedrubbersideupontheSlidingTray.
• Diesperformbetterwhentheyareusedwithappropriatelysizedcuttingpads.
See Die and Accessory Compatibility Table on page 14.
• Foreasiercutting,placediesonTraydiagonally.
• UsetheBigShotProMachinetocutavarietyofdifferentmaterials.
See Materials Guide on page 13 for suggestions.
• Fewer sheets of material should be used when cutting very complicated shapes.
• When cutting felt, poly foam or delicate materials, place a scrap of paper over
the material to be cut.
• Use of Premium Crease Pad is required with Crease-Rule dies.
• UseonlyonesheetofmaterialwithCrease-Ruledies.
• Ifcreaseruleiscuttingthroughthematerialratherthancreasingthematerial,
place the die and material to be cut on the Adapter Pad diagonally (as size
allows) and then cut.
• ItisimportanttousetheDiePick(includedwiththeBigShotPro)toclean
outthebitsofpaperandothermaterialthatbuildupinthejointsofthedies
(where the cutting rule meets). If dies are not kept clean, the scraps will
eventually push the rule slightly apart.
5. Helps & Hints
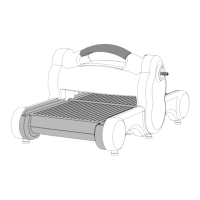
Figure I
Cutting Pad
(or Premium Crease Pad)
Paper
Die
Using Ellison
®
SureCut
™
or ClearCrop
™
Dies
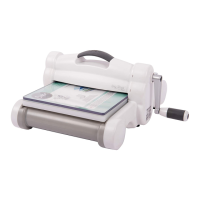
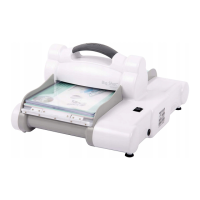
Ellison SureCut and ClearCrop Dies can be used in the Sizzix Big Shot Pro Machine
without the Adapter Pad, as they are thicker than Sizzix Bigz Dies. Place SureCut
and ClearCrop dies directly on the metal Sliding Tray, rubber side facing up. Place
material to be cut against the rubber side of the die, then place one Cutting Pad on
top of the material (Figure I). For Ellison SureCut Crease-Rule Dies, place Premium
Crease Pad, instead of the Cutting Pad, on top of material to be cut. Follow Steps
3–5 in Operating Instructions, page 6.
 Loading...