4
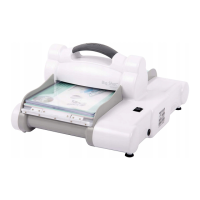
The Sizzix
®
Big Shot
™
Pro Machine package includes all tools and parts necessary
for full assembly and operation. The Big Shot Pro Machine will cut and emboss a
wide variety of materials with the entire line of Ellison, AllStar and Sizzix dies and
embossing tools. See the Materials Guide (page 13) for specifics. When not in use,
place the dies in Sizzix and Ellison Storage Solutions (sold separately).
1. Introduction
Lift the Big Shot Pro Machine by its molded handholds at the ends of the Machine.
Place the machine on a clean, flat, sturdy, non-skid surface at a height and
positionthatarecomfortablefortheuser.Nopartofthemachineshouldhang
over the edge of the work surface.
2. Machine Placement
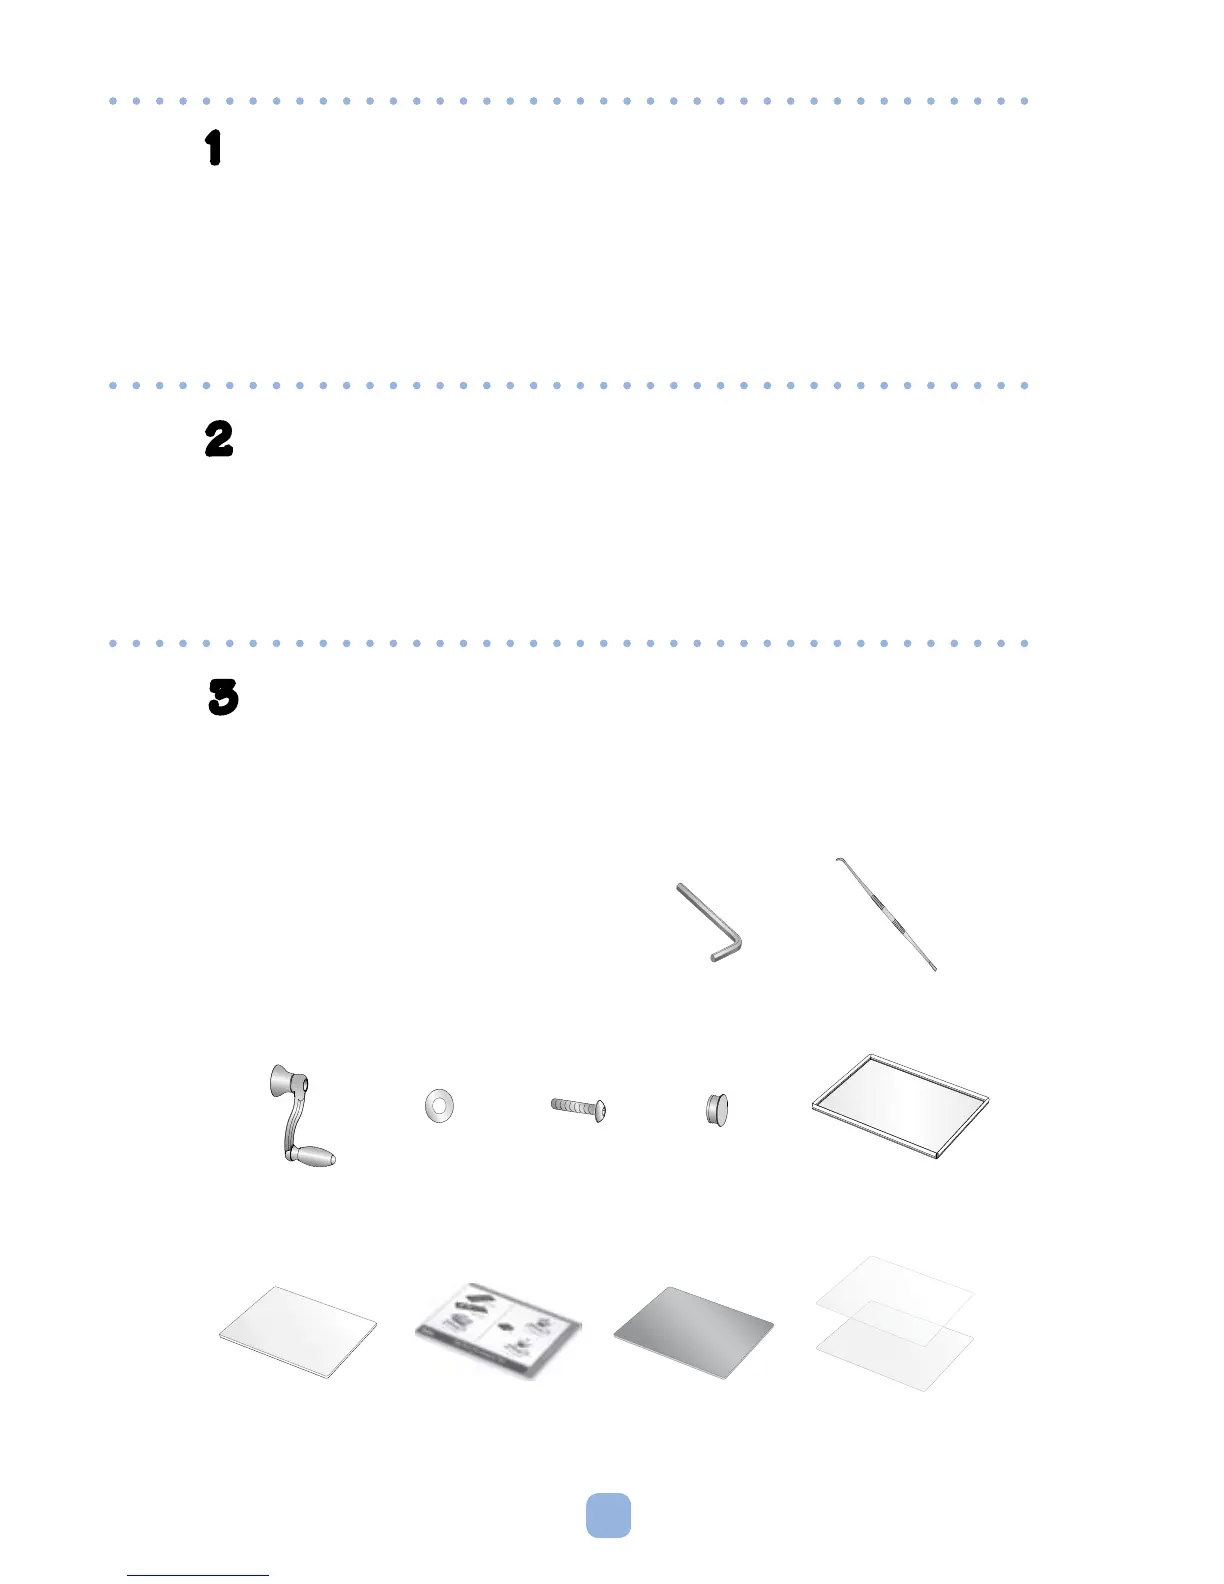
3. Setting Up the Big Shot Pro Machine
Parts included:
Item: Qty:
(1) Crank Handle 1
(2) Lock Washer 1
(3) Screw 1
(4) Screw Cap Cover 1
(5) Sliding Tray 1
(6) Cutting Pad 1
(7) Adapter Pad 1
(8) Premium Crease Pad 1
(9) Mylar Shims (
0.1mm) 2
Tools required:
3mm Allen Wrench (Included)
Die Pick (Included)
( 1 ) Crank Handle
Die Pick
(2) Lock Washer (3) Screw (4) Screw Cap Cover
(7) Adapter Pad
14 1/4" x 12 1/4" x 3/16"
(36.20cm x 31.12cm x 0.50cm)
(8) Premium Crease Pad
14 1/4" x 12 1/4" x 1/8"
(36.20cm x 31.12cm x 0.32cm)
(9) Mylar Shims
0.1mm x 2
3mm Allen Wrench
(6) Cutting Pad
14 1/4" x 12 1/4" x 1/8"
(36.20cm x 31.12cm x 0.32cm)
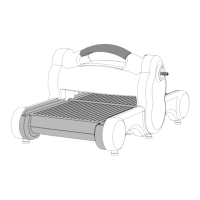
(5) Sliding Tray
15 5/8" x 12 7/8" x 5/8"
(39.69cm x 32.70cm x 1.59cm)