16 | CHAPTER 3 – CONNECTING YOUR INTERACTIVE WHITEBOARD TO YOUR
COMPUTER
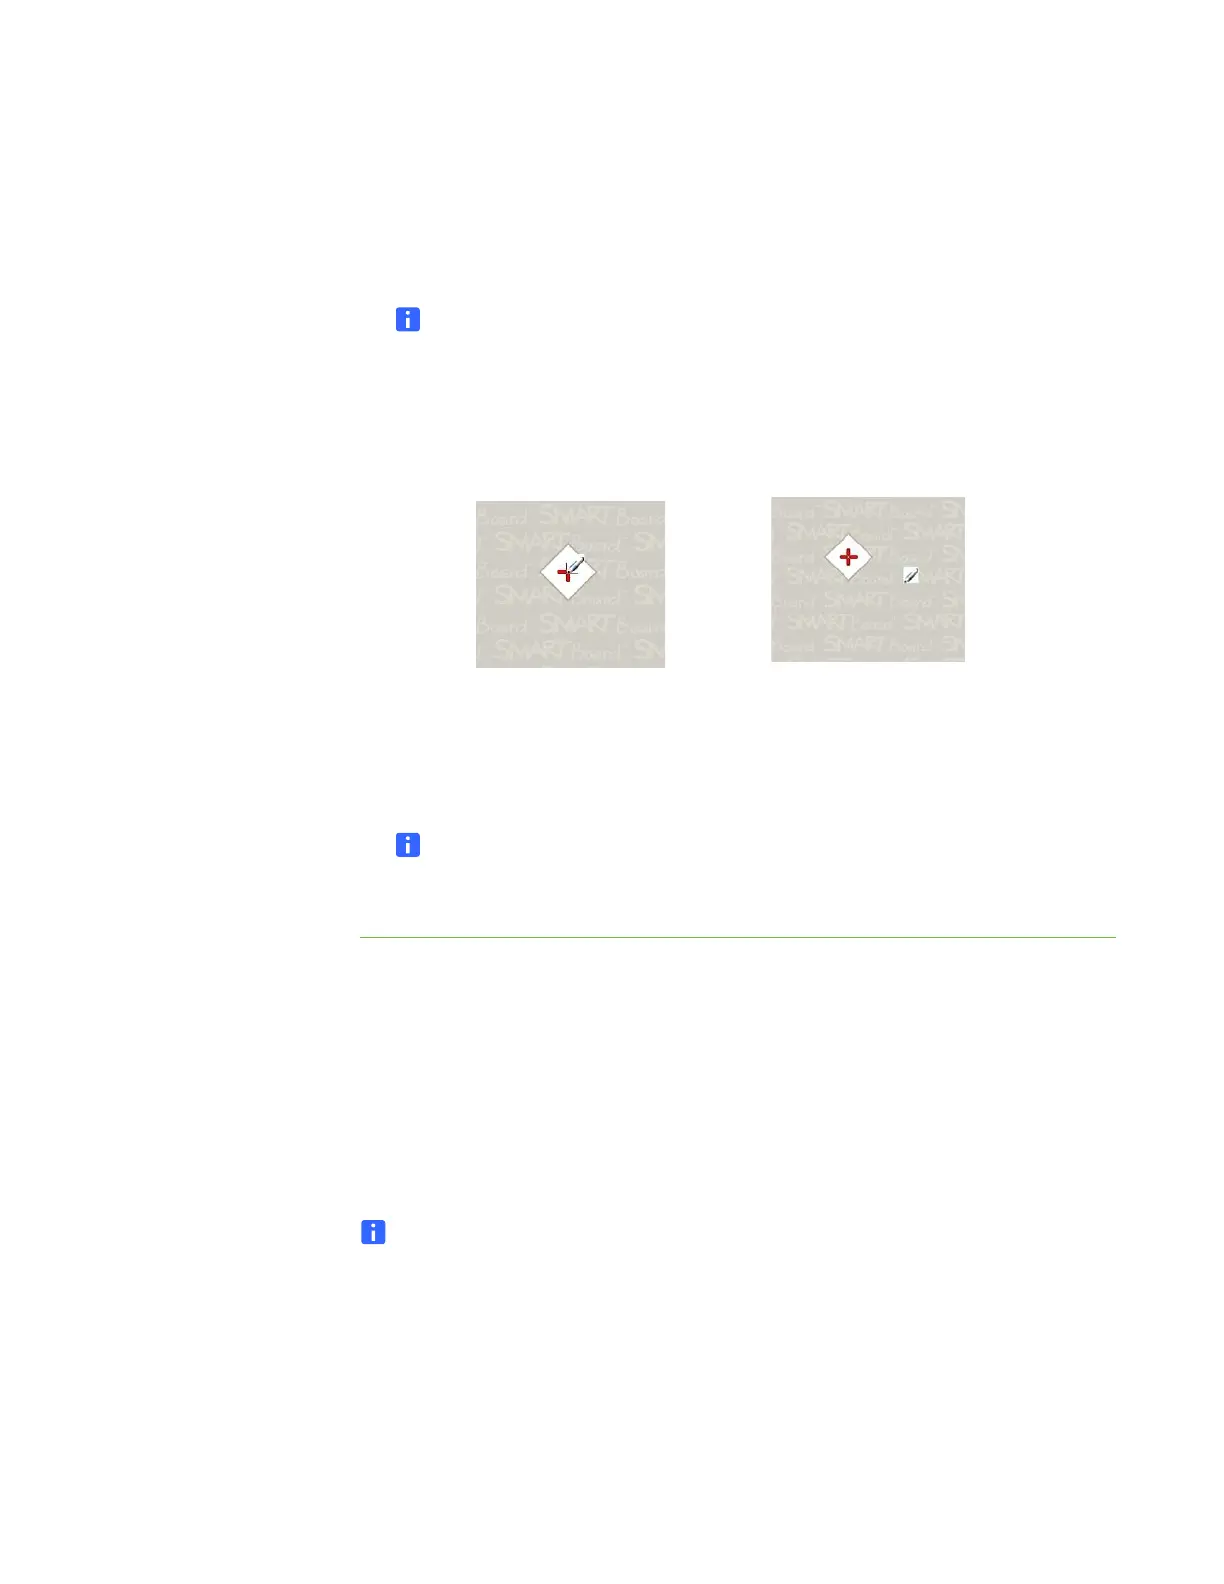
3. Beginning at the upper-left corner of the screen, touch the center of the target
firmly with the tip of the pen. When you remove the pen, the target moves to the
next orientation point. Try not to flick the pen when you lift it from the interactive
surface, and make sure that you lift it from the screen at a 90° angle.
NOTE
Although you can use your finger to orient your interactive whiteboard,
a fine-point tool such as a pen tray pen provides greater precision when
touching the targets. The more precisely you touch the targets, the more
accurately your finger or pen tray pen appears on the interactive screen.
4. Repeat step 3 until you complete the orientation process.
The orientation screen closes.
NOTE
You can re-orient a target by pressing the left arrow key on your keyboard, or
the Keyboard or Right-click buttons on the pen tray.
Connecting a guest laptop
If you want to connect a guest laptop without installing SMART Product Drivers on it,
disconnect the USB cable from your resident computer, and then connect it to the
laptop. You’ll immediately have touch control of the interactive whiteboard, but won’t
be able to use digital ink. You’ll also need to connect a video cable between the laptop
and projector.
NOTE
With a laptop connected, the Ready light on your interactive whiteboard blinks
until you install SMART Product Drivers. This is normal. See page 19 for more
information about Ready light states.
You must also install SMART Product Drivers (see page 12) on your laptop if you want
to use all the features of the interactive whiteboard.
Poor orientation point
Good orientation point
The pen touches the center of the target.

 Loading...