56 - INSTALLATION 91477A418/A
1. Completely remove all accessories from
inside the oven.
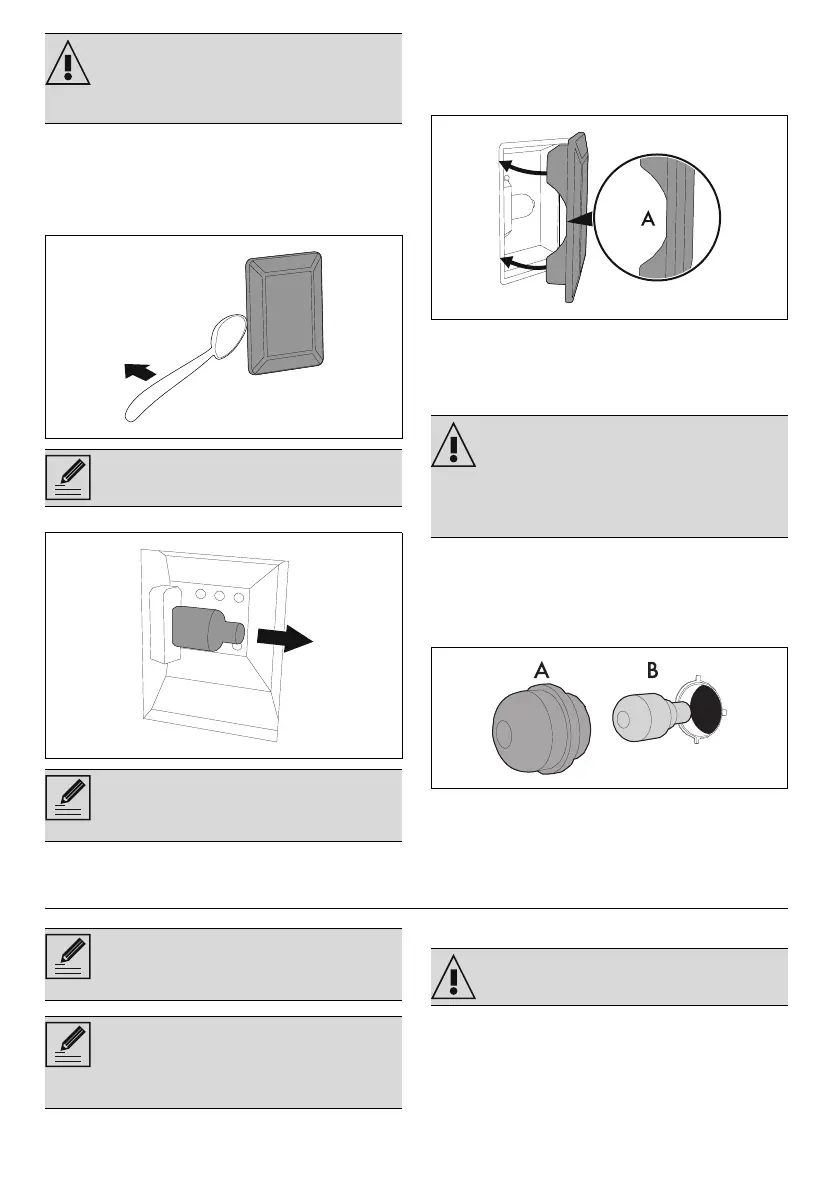
2. Remove the rack/tray support frames.
3. Use a tool (e.g. a spoon) to remove the bulb
cover.
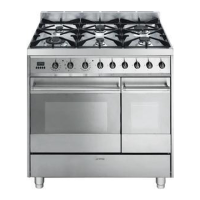
4. Slide out and remove the light bulb.
5. Replace the light bulb with one of the same
type (40 W).
6. Refit the cover. Ensure the moulded part of
the glass (A) is facing the door.
7. Press the cover completely down so that it
attaches perfectly to the bulb support.
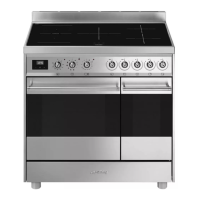
Replacing the interior light bulb (auxiliary
oven)
1. Unscrew the protective cover A by turning it
anti-clockwise.
2. Replace the bulb B with one of the same
type (25 W). Use only oven bulbs (T
300°C).
3. Reinstall the protective cover A.
INSTALLATION
Gas connection
Connection to the gas mains can be made using
a continuous wall steel hose in compliance with
the guidelines established by the standards in
force. To use other types of gas, see the chapter
“Adaptation to different types of gas”. The
appliance's gas connector has a ½” external
• Wear protective gloves.
Take care not to scratch the enamel of
the oven cavity wall.
Do not touch the halogen light bulb
directly with your fingers, use an
insulating material.
Power voltage
Danger of electrocution
Power voltage
Danger of electrocution
• Unplug the appliance.
• Use protective gloves.
The appliance must be installed by a
qualified technician and according to
the regulations in force.
For installation in the UK, please refer to
the leaflet “Local installation
specification for UK gas appliances”,
supplied.
See General safety instructions.