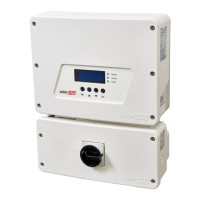
1. If the Connection Unit cover is not closed, close it: Attach the Connection Unit
cover and secure it by tightening the screws with a torque of 10.3 N*m/ 7.5
lb.*ft.For proper sealing, first tighten the corner screws and then the two central
screws.
2.
Access the Status screen:
a. If not already ON - turn ON AC to the inverter by turning ON the circuit breaker
on the main distribution panel.
b. If not already ON - move the Connection Unit switch to the ON position.
c.
Open SetApp and follow the instructions on the screen (scan the inverter bar-
code; move the ON/OFF/P switch to P position (for less than 5 sec) and
release).
The mobile device creates a Wi-Fi connection with the inverter and displays
the main Commissioning screen.
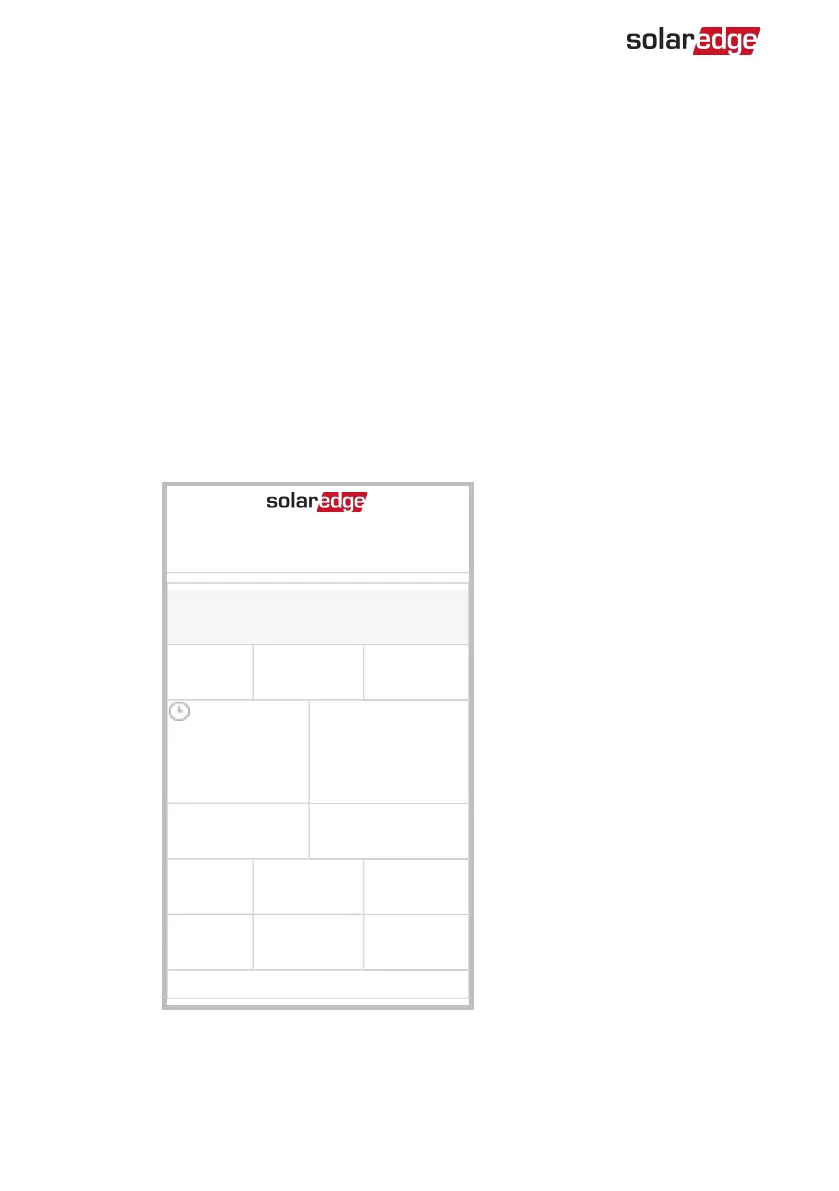
3.
Check that S_OK - Server Connected status appears in the main inverter section:
Status
Inverter
SN 07318000C
Power
100 kW
Voltage
277 Vac
Frequency
60.9 Hz
P_OK: 138 of
141
Optimizers
Connected
S_OK
Server Connected
Status
Production
Switch
ON
CosPhi
1.00
Limit
No Limit
Country
Netherlands
Voltage
850 Vdc
Temp
156 F
Fan
OK
Commissioning
4.
Scroll down to the Communication section and check that the communication
options are as required. For more information refer to
Communication Status
on
page 55.
-Three Phase Inverter with Synergy Technology Installation MAN-01-00402-1.2
74 Verifying the Connection