EasyManuals Logo

SolaX Power T-BAT-SYS-HV-R2.5 User Manual

SolaX Power T-BAT-SYS-HV-R2.5
32 pages
To Next Page IconTo Next Page
To Previous Page IconTo Previous Page
Page #15 background imageLoading...
Page #15 background image
5. Equipment Installation
24
25
5. Equipment Installation
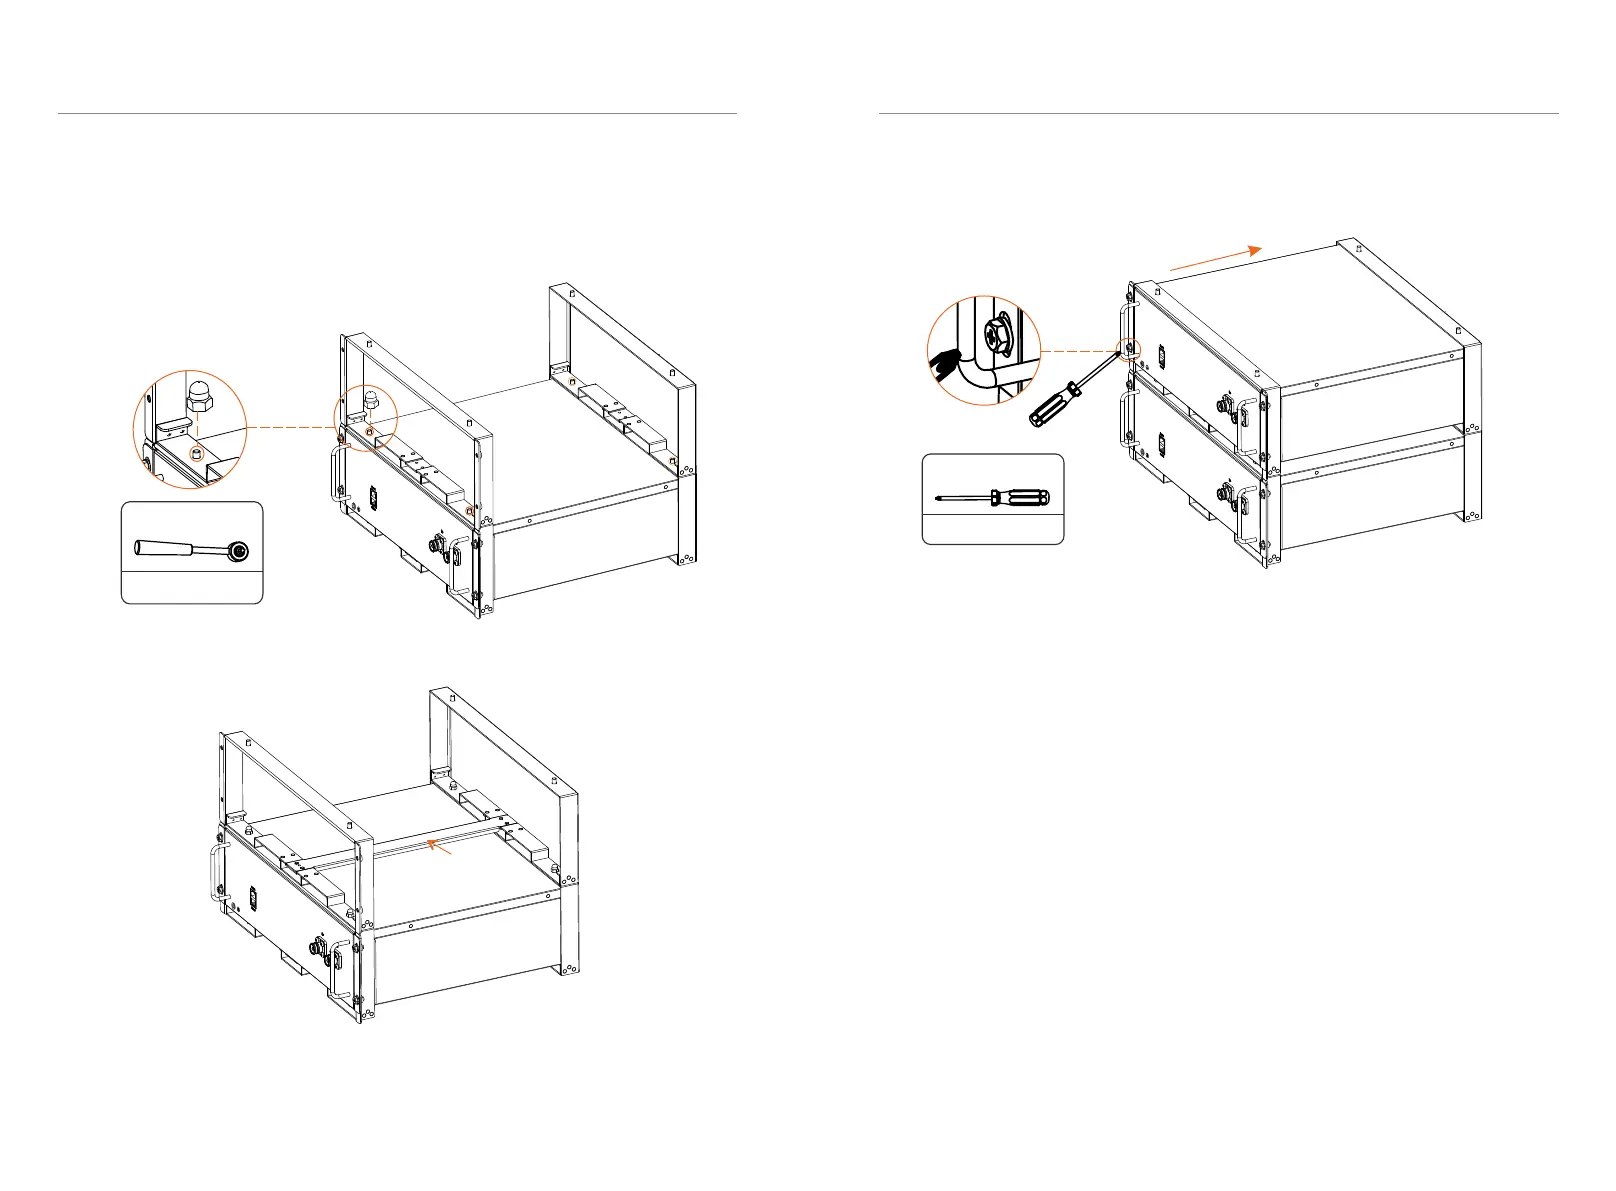
Step 3. Add the rack and battery module
Put the Front and Rear Sides, to make sure that location pins are securely
inserted into the location holes
Screw both front and rear sides with Cap Nuts (4 pcs) (Torque: 4-6 N·m)
Place the metal plate connecting both front and rear sides
Metal plate
Put the battery module into the rack
Screw M6×L16 into the front side of the second rack (Torque: 4-5 N·m)
M6 X L16 * 4
Torque: 4-5 N·m
Torque: 4-6 N·m
Cap Nut * 4

Other manuals for SolaX Power T-BAT-SYS-HV-R2.5

Questions and Answers:

Question and Answer IconNeed help?

Do you have a question about the SolaX Power T-BAT-SYS-HV-R2.5 and is the answer not in the manual?

SolaX Power T-BAT-SYS-HV-R2.5 Specifications

General IconGeneral
BrandSolaX Power
ModelT-BAT-SYS-HV-R2.5
CategoryBattery Pack
LanguageEnglish

Related product manuals