User Manual
4. Installation
21
4.7 Communication Cable Installation
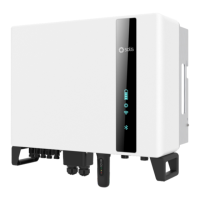
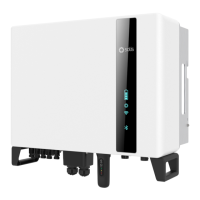
AC- GRIDAC- BACKU P
ANT ENNA
COM
PV1 PV2 P V3 PV4 BAT
Figure 4.31
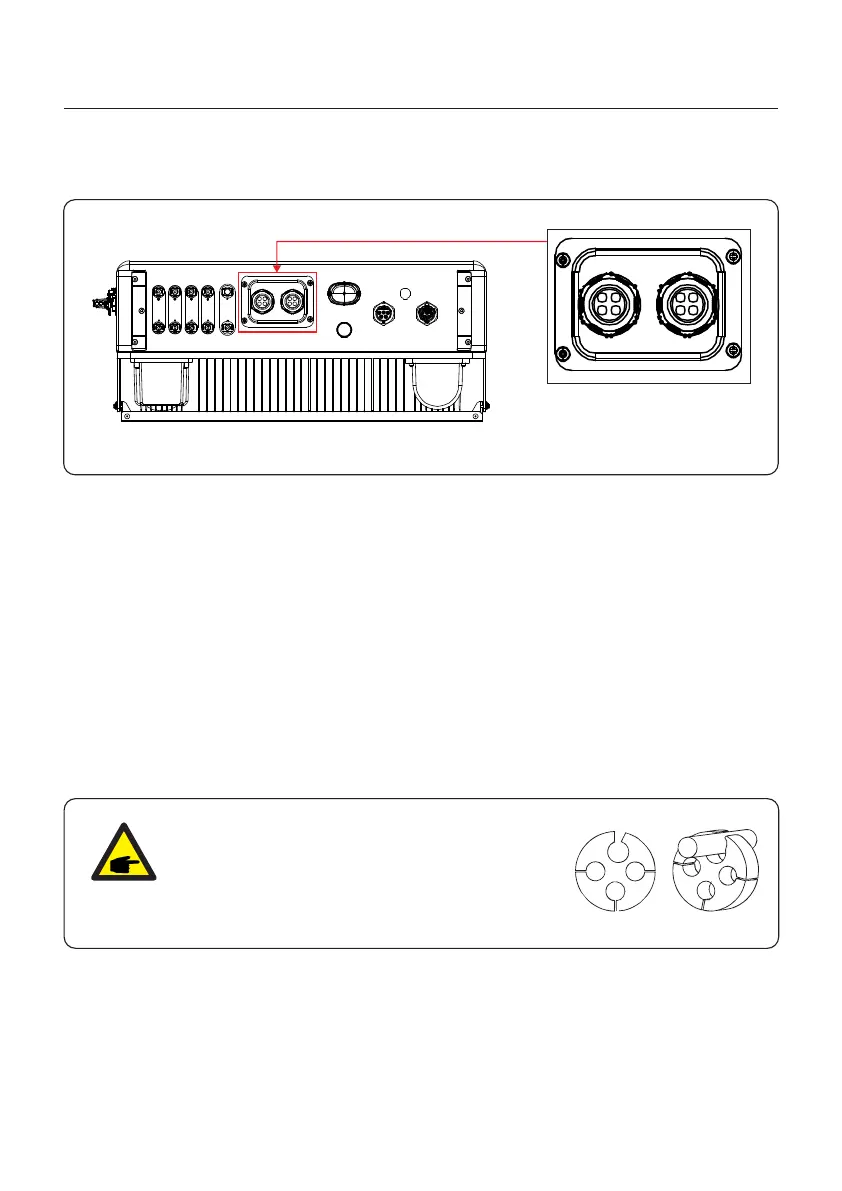
Inverter in the package is with a protective cover assembled to protect the
communication ports.
Step 1. Use Phillips screwdriver to take out the 4 screws on the cover.
Step 2. Read through the following sections of the manual and prepare the internet
cables correspondingly.
Step 3. Loose the cable gland and remove the watertight caps inside the cable gland
based on the number of the cables and keep the unused holes with watertight cap.
Step 4. Lead the cables into the holes in the cable gland. (Hole Diameter: 6mm)
Step 5. Crimp the RJ45 connectors onto the cables according to the pin definitions
described in the following sections and connect to the ports accordingly.
Step 6. Fasten the 4 screws on the cover (Torque: 1.7N.m-2 N.m)
Step 7. Reassemble the cable gland and ensure there is no bending or stretching of
the internet cables inside the cover.
4.7.1 Protective Cover for Communication Ports
NOTE:
The 4-hole fastening rings inside the cable gland
are with openings on the side.
Please separate the gap with hand and squeeze
the cables into the holes from the side openings.
 Loading...