6. Press the click wheel to confirm the setting.
ð
The time is set.
i
Use the [Next ] or [Previous] button to
switch between the hours and minutes
display.
i
After 10 seconds of inactivity, the device automat-
ically goes into Standby mode without saving the
settings.
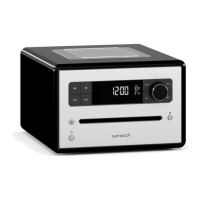
Setting the date manually
Fig. 13: Setting the date
1. Press the [SETUP] button on the device or the
remote control in Standby mode.
ð
The display shows [Set Time] (Fig. 12).
2. Press the [Next] button.
ð
The display shows the [Set Date] menu
(Fig. 13).
3. Press the click wheel.
ð
You can now set the date according to the
same procedure as described in
Ä
‘Setting
the time manually’ on page 59.
Switching the date on/off
Fig. 14: Switching the date on/off
1. Press the [SETUP] button on the device or the
remote control in Standby mode.
ð
The display shows [Set Time] (Fig. 12).
2. Press the [Next] button twice.
ð
The display shows the [Date]menu (Fig. 14).
3. Press the click wheel.
ð
You can now switch the date on or off.
8.3 Making the basic settings
When the device is switched on, you can make the
following configurations in the [Settings] menu:
n Set the time format.
n Set the date format.
n Setting display dimmer
n Setting alarm light (only with sonoroLIGHT).
n Set the automatic time/date update function.
n Set the display language.
n Activate/deactivate Demo Sound.
n Reset the device to the factory settings.
To adjust the settings, proceed as follows:
1. Press the [SETUP] button on the front of the
device or the remote control to enter the corre-
sponding submenu.
2. Press the [Next]or [Previous] button or turn the
click wheel to scroll through the individual menu
items.
3. To open the selected menu item, briefly press
the click wheel or the [OK] button on the remote
control.
4. To exit the menu, briefly press the [SETUP]
button on the device or on the remote control
i
If you do not make any further entries, the menu
will close and the display switches to the initial
mode.
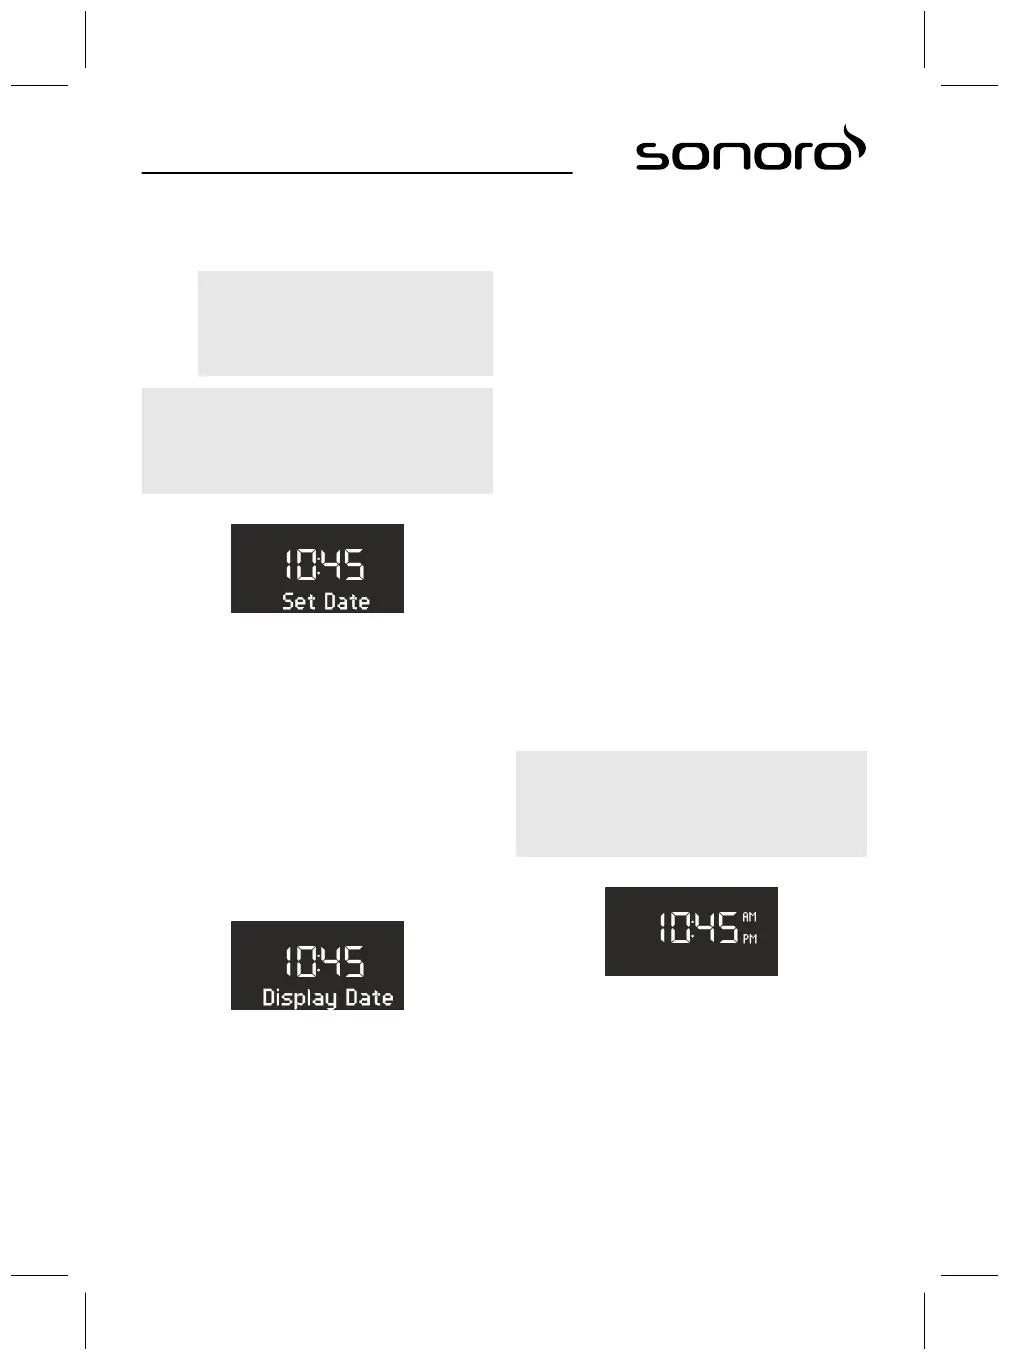
Setting the time format
Fig. 15: Setting the time format
You can choose between the 24-hour and 12-hour
formats. In the 12-hour format, the time of day is
indicated by [AM] and [PM].
60
 Loading...