Getting
Started
Playable
discs
on
this
unit
This unit can play CD-DA (also containing CD
TEXT) and CD-RfCD-RW (MP3fWMAlAAC
files (page
20».
Type of discs
Label on the disc
CD-DA
~D§@
~D~@
DIGITAL
AUDIO
DIGITAL
AUDIO
';';;,,,,$11
IReWritablel
~D~@
~D~@
MP3
DIGITAL
AUDIO
DIGITAL
AUDIO
WMA
'jigY·,,·mmM
IReWritablel
AAC
~D§@
ffiJm~~~
'il;;.II·$11
IReWritablel
Resetting
the
unit
Before operating the unit for the first time, or
after replacing the car battery or changing the
connections, you must reset the unit.
_ Detach the front panel (page 7) and press the
RESET button (page 8) with a pointed object,
such as a ball-point pen.
Note
Pressing the
RESET
button will erase the clock setting
and
some stored contents.
6
Canceling
the
DEMO
mode
You
can cancel the demonstration display which
appears during turning off.
1 Press and
hold
the
select button.
The setup display appears.
2 Press
the
select
button
repeatedly
until
"DEMO"
appears.
3 Rotate the
control
dial
to
select
"DEMO-OFF."
4 Press
and
hold
the
select button.
The setup
is
complete and the display returns
to
normal reception/play mode.
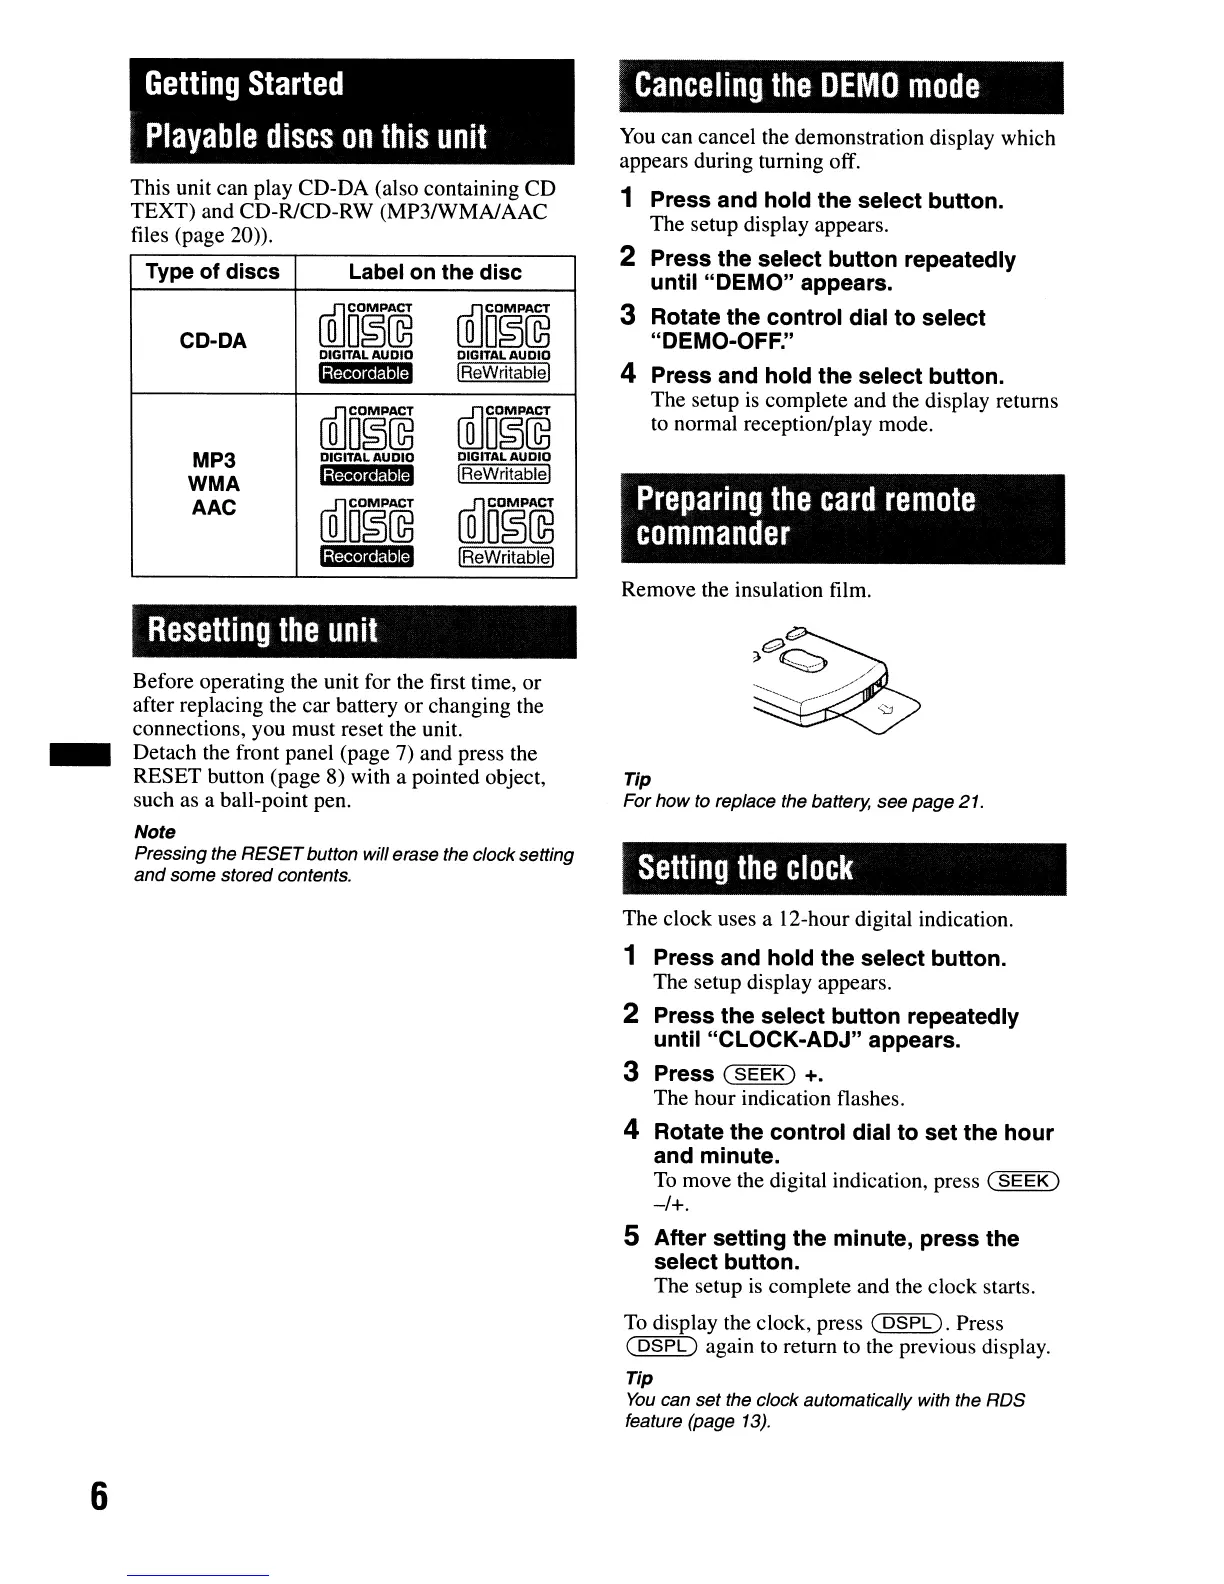
Preparing
the
card
remote
commander
Remove the insulation film.
Tip
For
how
to replace the battery,
see
page
21.
Setting
the
clock
The clock uses a 12-hour digital indication.
1 Press
and
hold
the
select button.
The setup display appears.
2 Press the select
button
repeatedly
until
"CLOCK-ADJ"
appears.
3 Press
(SEEK)
+.
The hour indication flashes.
4 Rotate
the
control
dial
to
set
the
hour
and minute.
To
move the digital indication, press
(SEEK)
-/+.
5
After
setting
the
minute,
press
the
select
button.
The setup
is
complete and the clock starts.
To
display the clock, press
(5SPD.
Press
(
DSPL)
again
to
return to the previous display.
Tip
You
can
set
the clock automatically with the
RDS
feature (page
13).