11
GB
Preparations
If print cartridge does not go in
smoothly
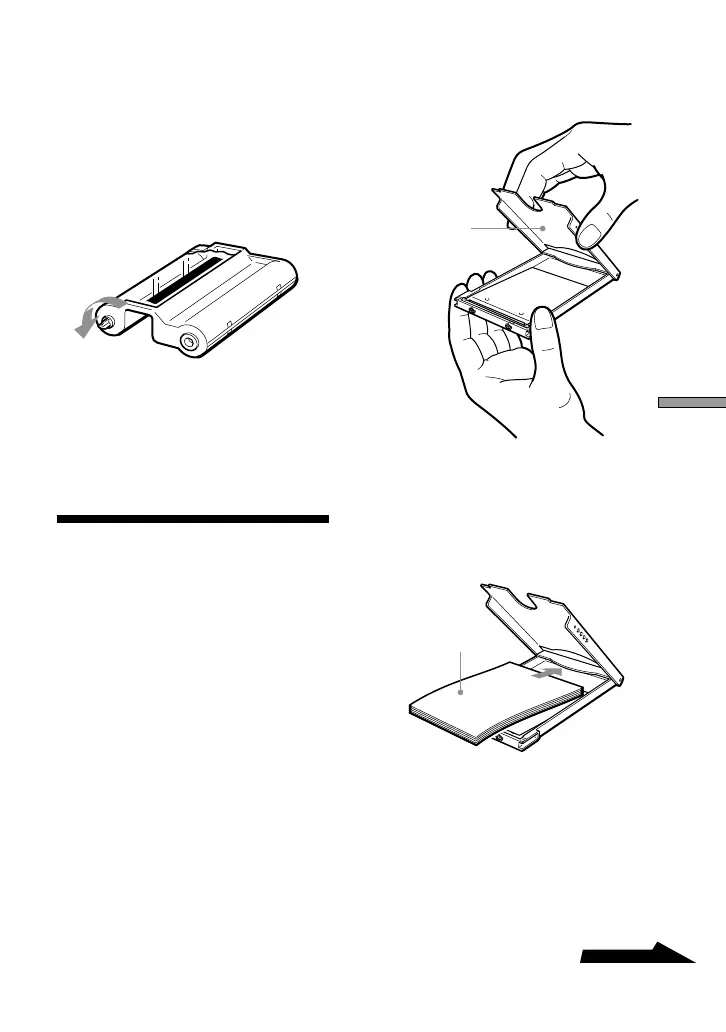
Remove it fully from the unit and then
reinsert it. If the cartridge does not go
in smoothly because the ribbon is slack,
rotate the spool of the cartridge in the
direction shown by the arrow to take up
the slack.
Caution
The interior of the unit can become hot. Do
not put your fingers or other objects into the
print cartridge slot.
3 Loading the
Print Paper
The print paper is supplied as part of
the printing pack (page 6).
Mount it in the unit as shown below.
1 Open the cover of the paper
tray.
2 Place the print paper on the
tray.
Align the paper and place it on the
tray with the protective sheet in
place and facing up.
You can insert up to 12 print
papers (1 pack) at a time.
Note
Do not separate along the perforated
lines before printing.
cover of the
paper tray
Protective sheet