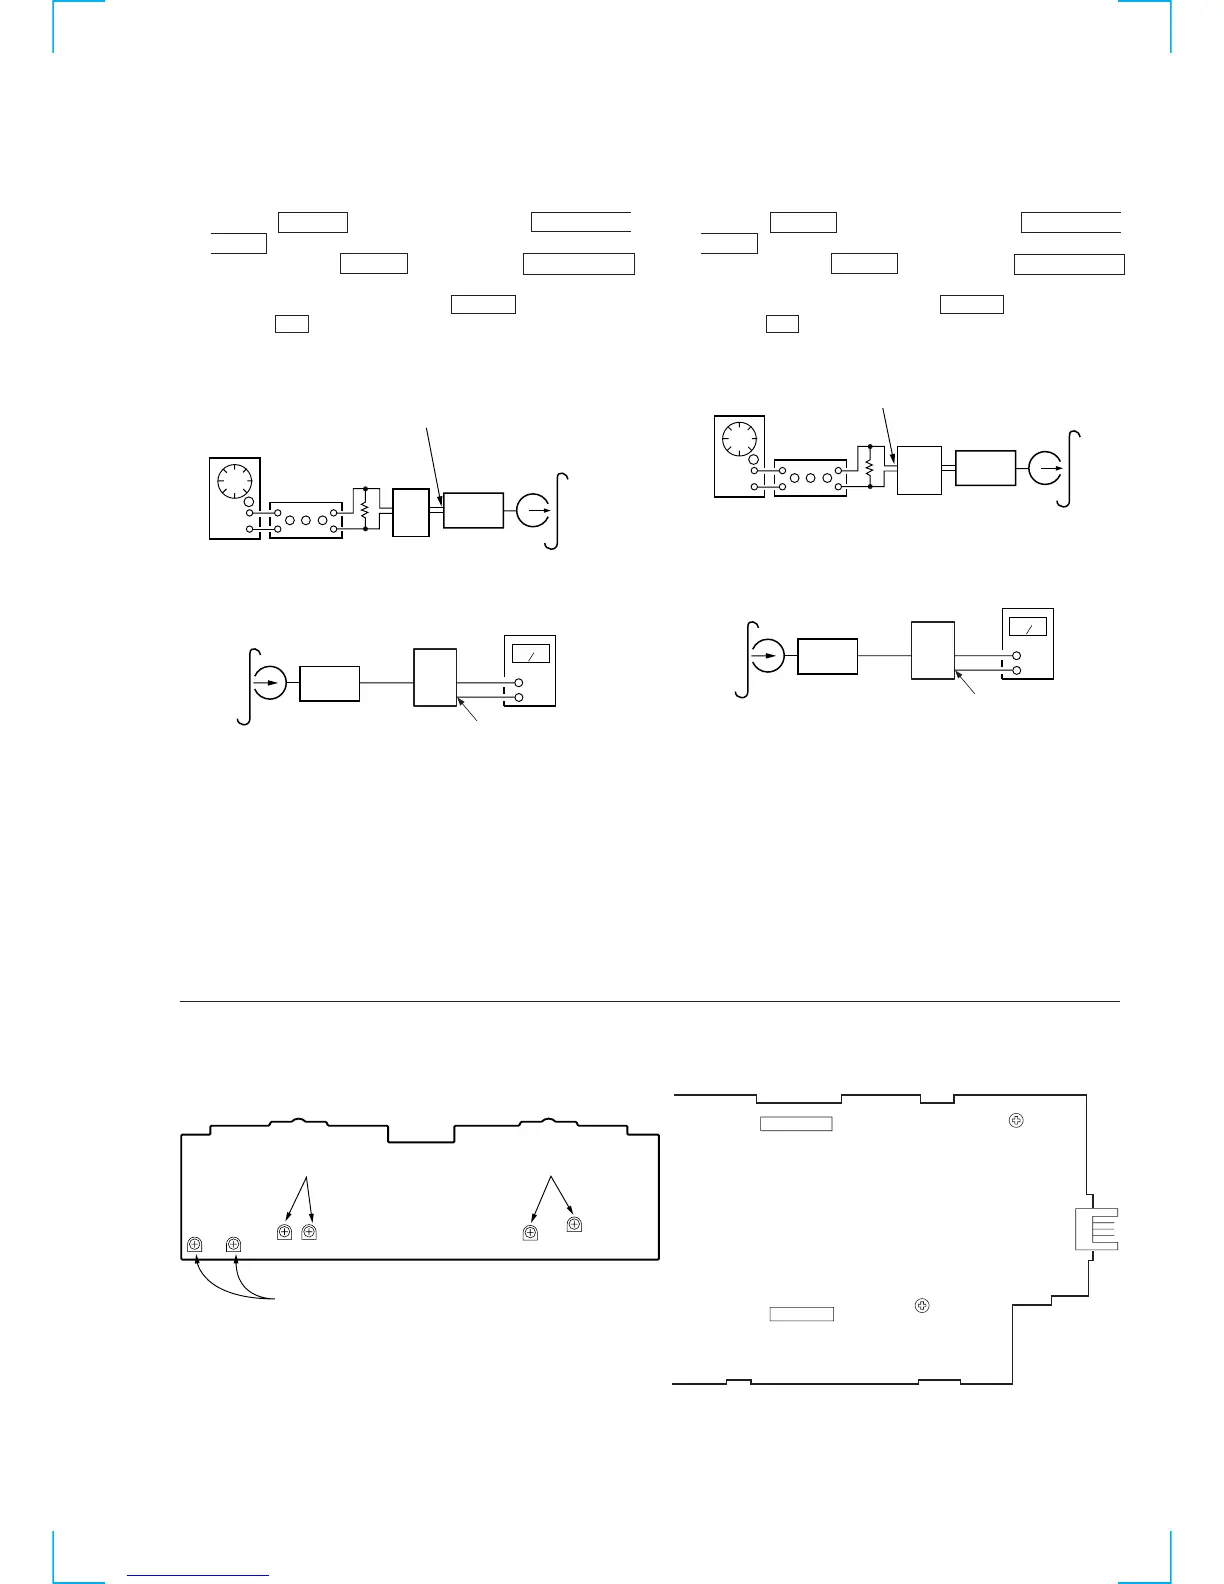
13
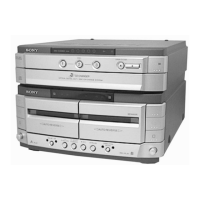
Record Level Adjustment (Deck B)
Procedure:
1. Press the x (CD) button while pressing the DIRECTION
MODE button.
2. While pressing the x (CD) button, press the h (TAPE A)
button, set the function to “deck B”.
3. Insert a tape into deck B, press the z REC button, and then
press the N button to start recording.
4. Mode: Record
5. Mode: Playback
6. Confirm playback the signal recorded in step 2 become
adjustment level as follows.
If these levels do not adjustment level, adjust the RV301 (L-
CH) and RV351 (R-CH) on the MAIN board to repeat steps 3
and 4.
Adjustment level:
Output point from PFJ-1 playback level: 47.2 to 53.0 mV (–24.3 to
–23.3 dB)
Adjustment Location: MAIN board
Record Bias Adjustment (Deck B)
Procedure:
1. Press the x (CD) button while pressing the DIRECTION
MODE button.
2. While pressing the x (CD) button, press the h (TAPE A)
button, set the function to “deck B”.
3. Insert a tape into deck B, press the z REC button, and then
press the N button to start recording.
4. Mode: Record
5. Mode: Playback
6. Confirm playback the signal recorded in step 2 become
adjustment level as follows.
If these levels do not adjustment level, adjust the RV341 (L-
CH) and RV441 (R-CH) on the AUDIO board to repeat steps 3
and 4.
Adjustment level: The playback output of 10 kHz level difference
against 315 Hz reference should be ± 1.0 dB.
Adjustment Location: AUDIO board
AF OSC
INPUT POINT
1) 315 Hz
2) 10 kHz
blank tap