17
Menu Adjustment
Sony KV-DA29M90 Group E6 (GB, CT, CS)_2-515-454-11 (1)
Menu Adjustment
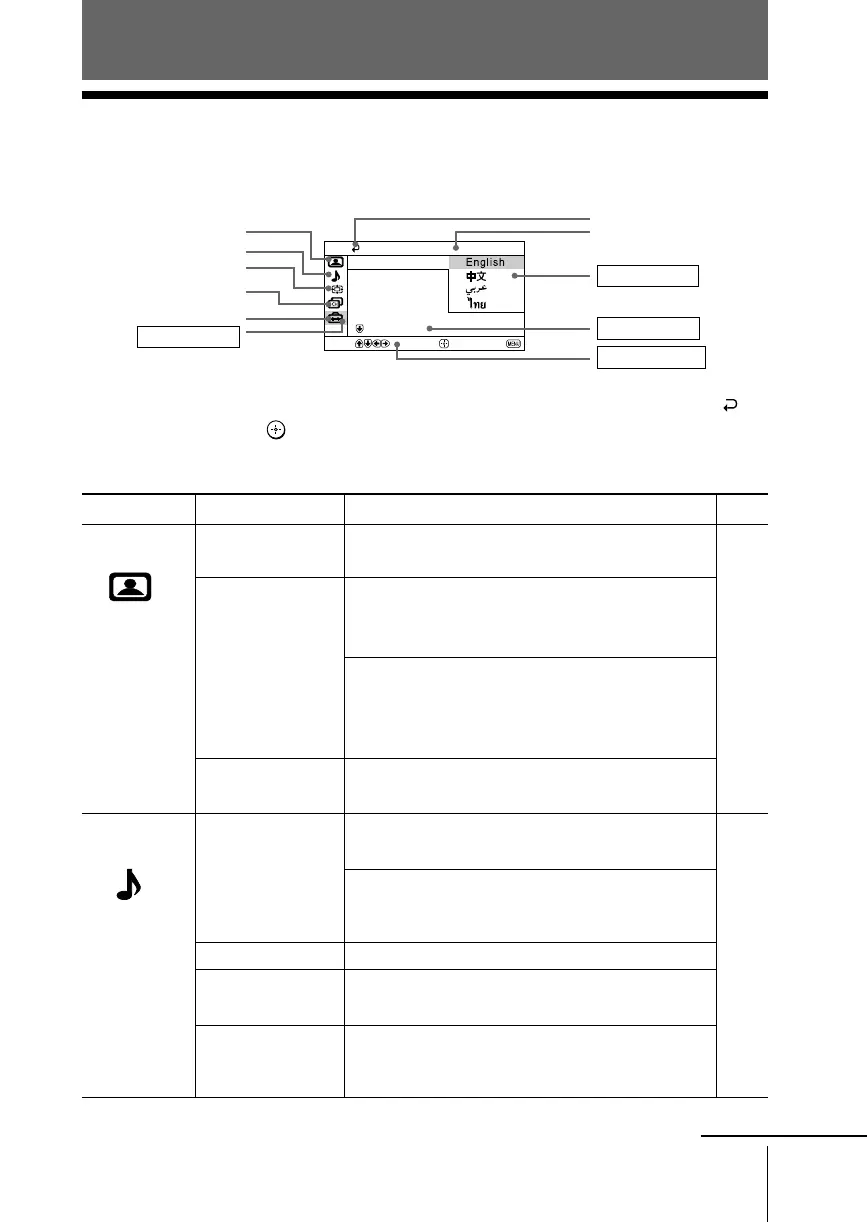
x Introducing the menu system
The MENU button lets you open a menu and change the settings of your TV.
The following is an overview of the menu system.
Tip
• If you want to exit from Menu level 2 to Menu level 1, press V or v until the return icon (
) is
highlighted, then press
.
Note
• When a feature is dimmed in the menu, it is not selectable.
Level 1
“Picture”
“Sound”
Level 2/Level 3
“DRC-MF”
“Picture Mode”
“Picture Adjustment”
“3D Intelligent
Picture”
“Sound Mode”
“Sound Adjustment”
“Balance”
“Intelligent Volume”
“Surround”
Level 3/Level 4/Function
Select the “DRC-MF” mode:
“DRC1250” t “DRC100” t “Progressive”
Select the picture mode:
“Dynamic” t “Standard” t “Hi-Fine”
t “Personal”
Adjust the “Personal” option:
“Picture” t “Brightness” t “Color”
t “Hue” t “Sharpness”t “Color Temperature”
t “Reset”
Optimize picture quality:
“On” t “Off”
Select the sound mode:
“Dynamic” t “Drama” t “Soft” t “Personal”
Adjust sound frequency settings of “Personal”
option:
“Adjust” t “Reset”
Select to emphasize the left and right speakers.
Adjust volume automatically:
“On” t “Off”
Select the surround mode:
“TruSurround” t “WOW” t “Simulated”
t “Off”
Page
19
21
Return icon
Channel Setup icon
Wide Screen icon
Name of the current
menu
Picture icon
Menu level 3
Menu level 2
User Guidance
Menu level 1
Confirm
End
Setup
WEGA Theatre Set
Game Mode :
Picture Position
Language:
Video Label
Select
Sound icon
Setup icon
continue