19
Menu Adjustment
Sony KV-DA29M90 Group E6 (GB, CT, CS)_2-515-454-11 (1)
x Changing the “Picture” setting
The “Picture” menu allows you to adjust the picture settings.
1
Press MENU.
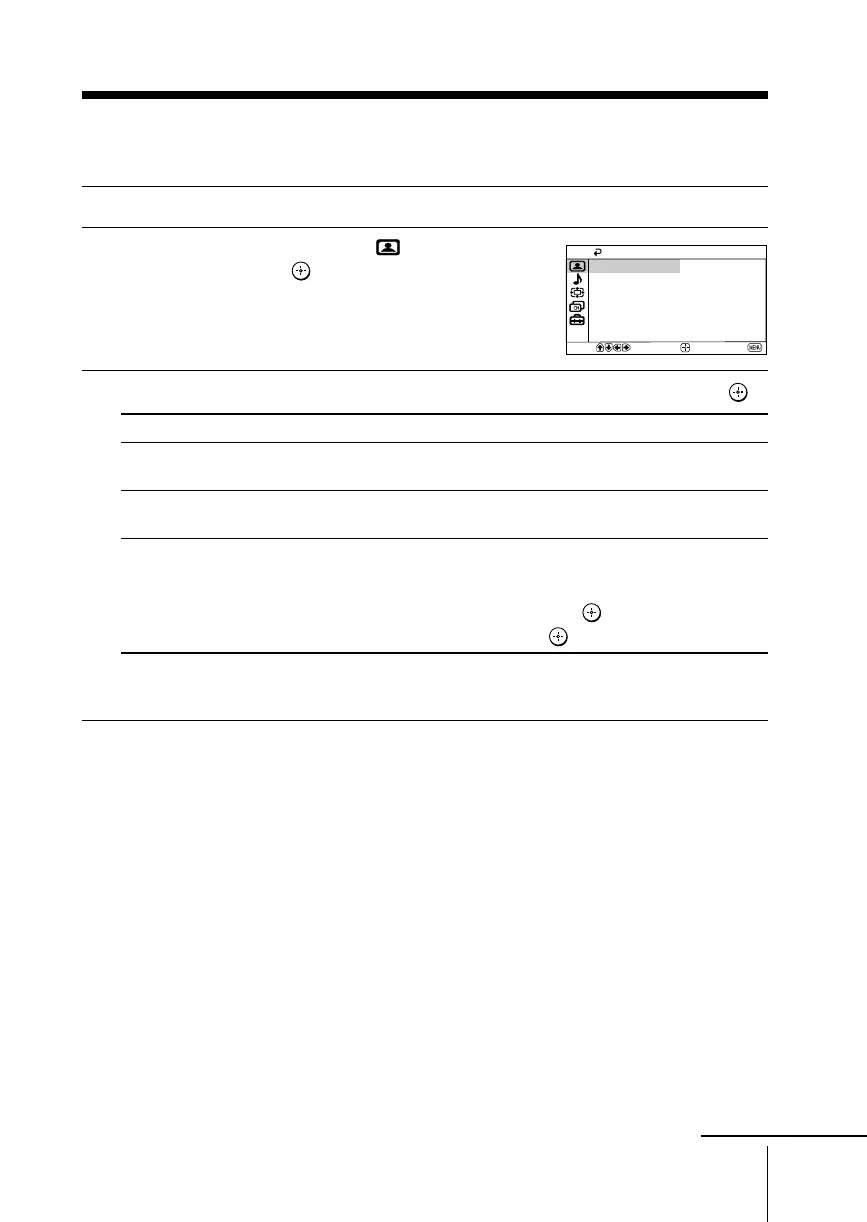
2
Make sure the “Picture” icon ( ) is
selected, then press
.
3
Press V or v to select the desired item (e.g., “Picture Mode”), then press .
Select To
“DRC-MF” choose either “DRC1250”, “DRC100” or “Progressive”
(see page 13).
“Picture Mode” choose either “Dynamic”, “Standard”, “Hi-Fine” or “Personal”*
(see page 12).
“3D Intelligent Picture” optimize picture quality.
Automatically, the picture will become clearer and sharper if the
signal is good and noise will be reduced if the signal is noisy.
Press V or v to select “On”, then press
.
To cancel, select “Off”, then press .
*You can adjust the setting to your personal preference in the “Picture Adjustment”
option only when the “Personal” mode is selected (see page 20).
Notes
• “3D Intelligent Picture” is not available for HD and progressive input signals.
• For NTSC 3.58 color system, “3D Comb Filter : On” or “3D–NR : On” display will appear
when “3D Intelligent Picture” changes from one mode to the other. For PAL color system,
Digital Comb Filter and 3D-NR are also available.
Select
End
Picture
Picture Mode:
DRC-MF: DRC1250
Dynamic
Confirm
Picture Adjustment
On
3D Intelligent Picture:
continue