14
Fine tuning the color temperature
The setting is stored in memory for each video input connector,
respectively.
1 Press the MENU button.
The main menu appears on the screen.
2 Press the M/m buttons to select (PICTURE
ADJUSTMENT) and press the OK button.
The PICTURE ADJUSTMENT menu appears on the screen.
3 Press the M/m buttons to select “Color” and press
the OK button.
The options are displayed on the popup menu.
4 Press the M/m buttons to select “Adjust” and press
the OK button.
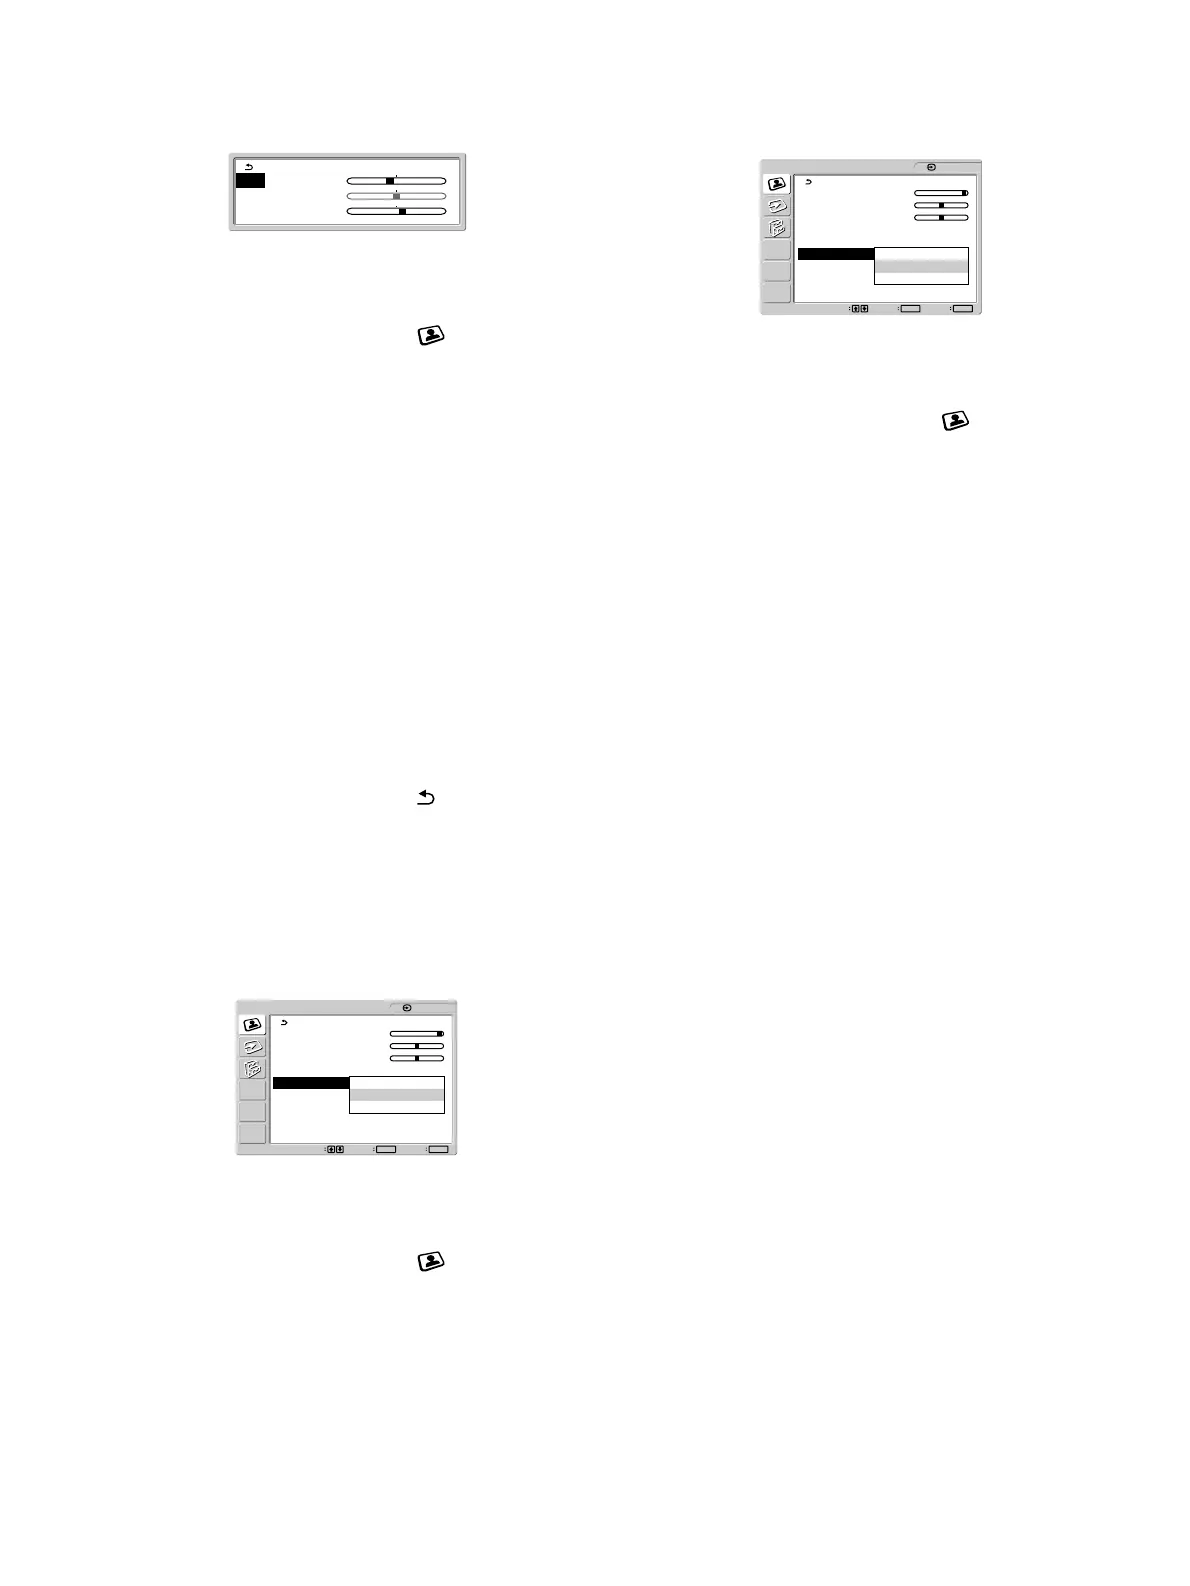
The fine tuning menu for color temperature appears on the
screen.
5 Press the M/m buttons to select R (Red) or B (Blue)
and press the OK button. Then press the M/m
buttons to adjust the color temperature and press
the OK button.
Since this adjustment changes the color temperature by
increasing or decreasing the R and B components with respect
to G (green), the G component is fixed.
6 Press the M/m buttons to select , then press the
OK button.
The new color setting is stored in memory and automatically
recalled whenever “User” is selected.
The PICTURE ADJUSTMENT menu appears on the screen.
x Selecting the Gamma
You can associate the picture’s color shade on the screen with the
picture’s original color shade.
1 Press the MENU button.
The main menu appears on the screen.
2 Press the M/m buttons to select (PICTURE
ADJUSTMENT) and press the OK button.
The PICTURE ADJUSTMENT menu appears on the screen.
3 Press the M/m buttons to select “Gamma” and press
the OK button.
The options are displayed on the popup menu.
4 Press the M/m buttons to select the desired mode.
x Selecting the Smoothing
If the picture displayed at the “Full2” or “Full1” mode of “Zoom”
is not smooth, use the picture smoothing function.
1 Press the MENU button.
The main menu appears on the screen.
2 Press the M/m buttons to select (PICTURE
ADJUSTMENT) and press the OK button.
The PICTURE ADJUSTMENT menu appears on the screen.
3 Press the M/m buttons to select “Smoothing” and
press the OK button.
The options are displayed on the popup menu.
4 Press the M/m buttons to select the desired mode.
The smoothing effect becomes stronger in the order of
“Text”t“Standard”t“Graphics.”
• Text: To make the characters appear clear and sharp.
(This mode is suited for text-based applications.)
• Standard (The default setting): Standard smoothing
effect.
• Graphics: To make the pictures appear clean. (This mode
is suited for CD-ROM software for photo images or
illustrations.)
Notes
• When you set “Zoom” on the OPTION menu to “Real,” “Smoothing”
is not available.
• 1920
×
1200 resolution signals are shown only in the “Real” mode and
“Smoothing” is not possible.
R : 110
G : 128
B : 140
Set Exit
MENU
Select
OK
1: HD15
PICTURE ADJUSTMENT
Backlight : 100
Contrast : 50
Brightness : 50
Color : 9300K
Gamma : Gamma1
Smoothing : Gamma2
Gamma3
1920 × 1200/60 Hz
Set Exit
MENU
Select
OK
1: HD15
PICTURE ADJUSTMENT
Backlight : 100
Contrast : 50
Brightness : 50
Color : 9300K
Gamma : Gamma2
Smoothing : Text
Standard
Graphics
1920 × 1200/60 Hz



 To Next Page