9
US
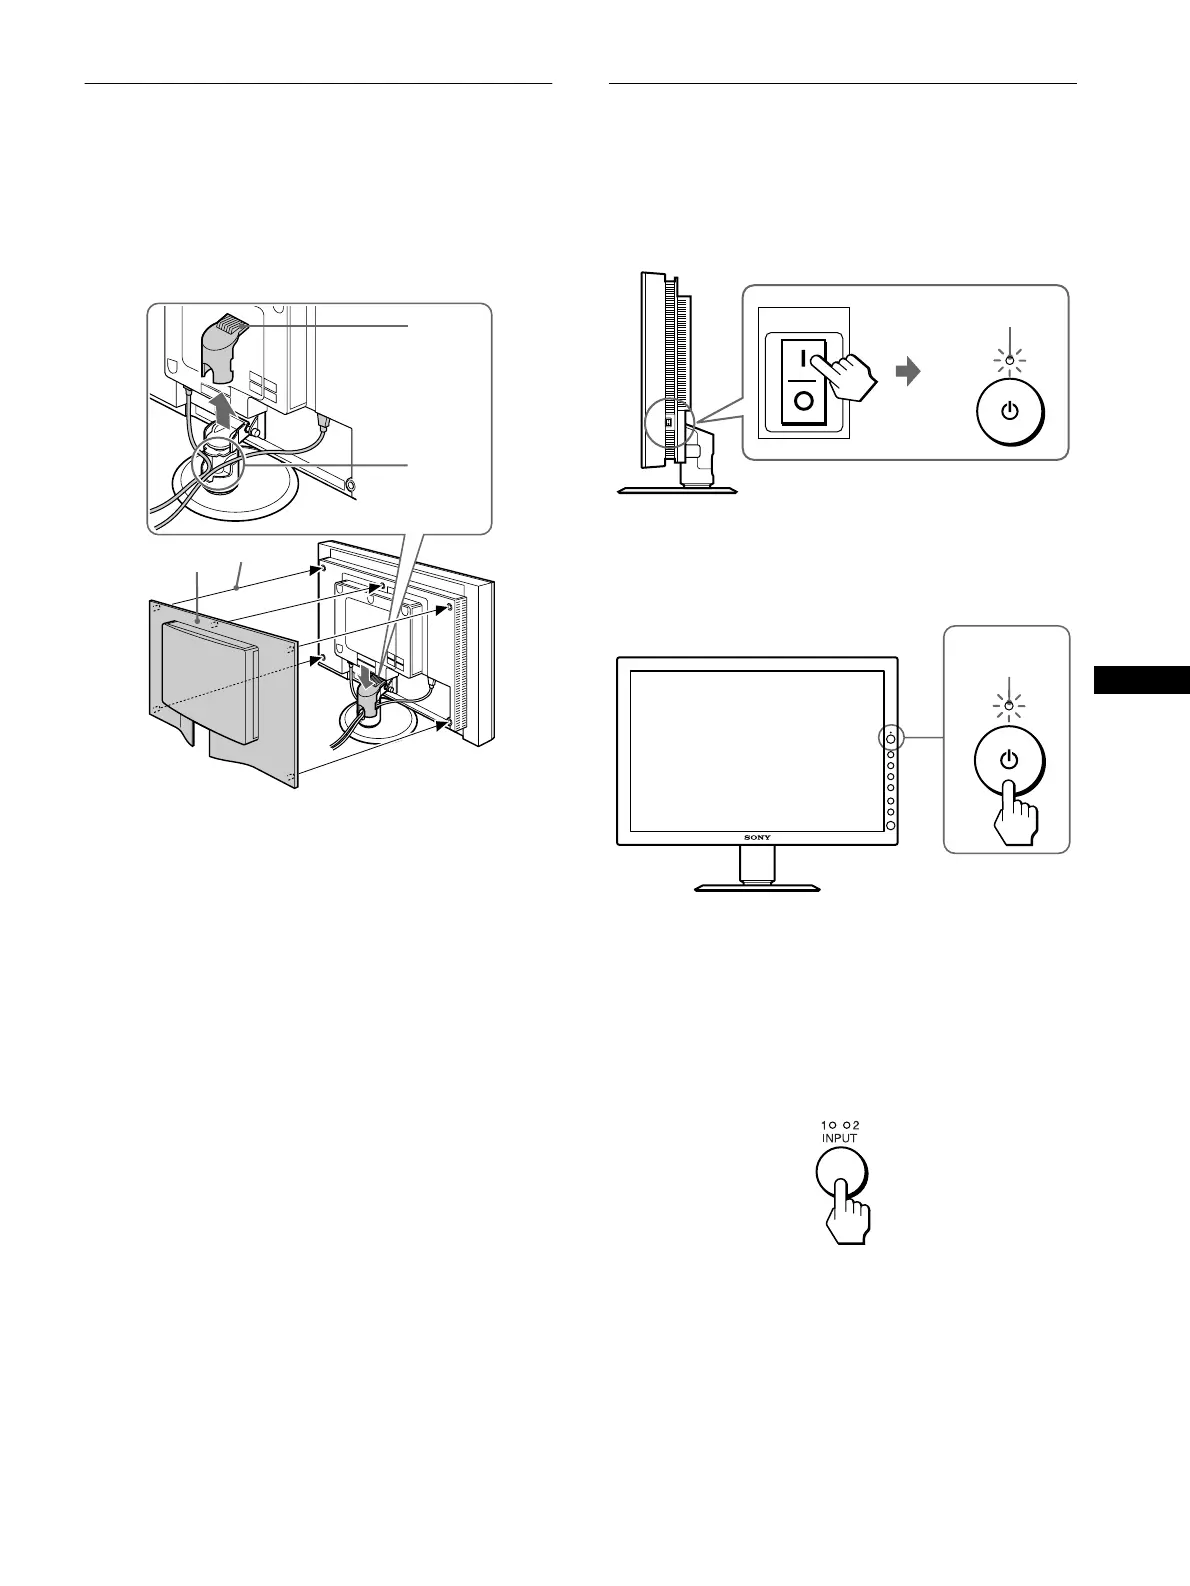
Setup 4:Bundle the cords and
cables
1 Remove the arm cover.
2 Bundle the cords and cables inside of the stand.
3 Replace the arm cover and back cover.
Note
If you cannot bundle all of the cords and cables inside the stand, leave
them hanging down outside the stand.
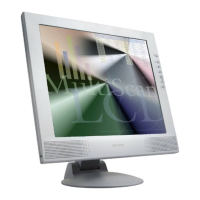
Setup 5:Turn on the monitor and
computer
1 Press the MAIN POWER switch on the right side of
the monitor in the direction of the [.
The 1 (power) indicator lights up in red.
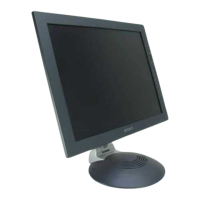
2 Press the 1 (power) switch on the front right of the
monitor.
The 1 (power) indicator lights up in green.
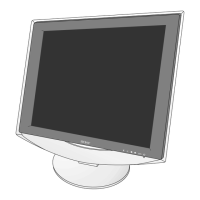
3 Turn on the computer.
4 Press the INPUT button to select the desired input
signal.
The selected input signal indicator lights up and the picture
appears on the screen.
For more information, see “Selecting the input signal (INPUT
button)” on page 11.
The installation of your monitor is complete. If necessary, use the
monitor’s controls to adjust the picture (page 12).
arm cover
2
1
3
back cover
MAIN POWER
lights in red
lights in green