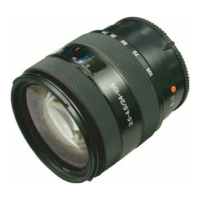
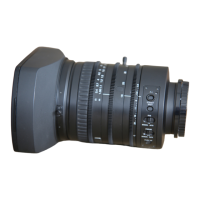
SEL1018 (E 4/10-18 OSS) (E 10-18mm F4 OSS)
4-14E
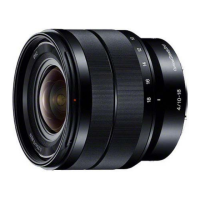
4. After automatic adjustment is completed normally, “ZOOM - POS2” is displayed.
5. Rotate the zoom ring to WIDE end once.
6. Rotate the zoom ring to TELE direction so that the adjustment value on the under left of the window is within the displayed setting value(hexadecimal)
in the [ ].
• The bar and numerical value(hexadecimal) on the window of lower is displayed in conjunction with the movement of the zoom ring.
• The green line which becomes the aim of the set point is displayed on the window of lower.
• Tolerance of setting value is ±2.
• When the adjustment value on the left lower window is reached to the tolerance of setting value, background color of adjustment value is
changed to blue.
Note: When operating the zoom ring, operate it slowly so that the adjustment value on the left lower window does not exceed the +side tolerance of setting
value.
If it exceeds +side tolerance of setting value, the value returns to tolerance, it becomes error.
7. Push the ENTER key.
8. Repeat above steps 6 and 7 until “POS4”.
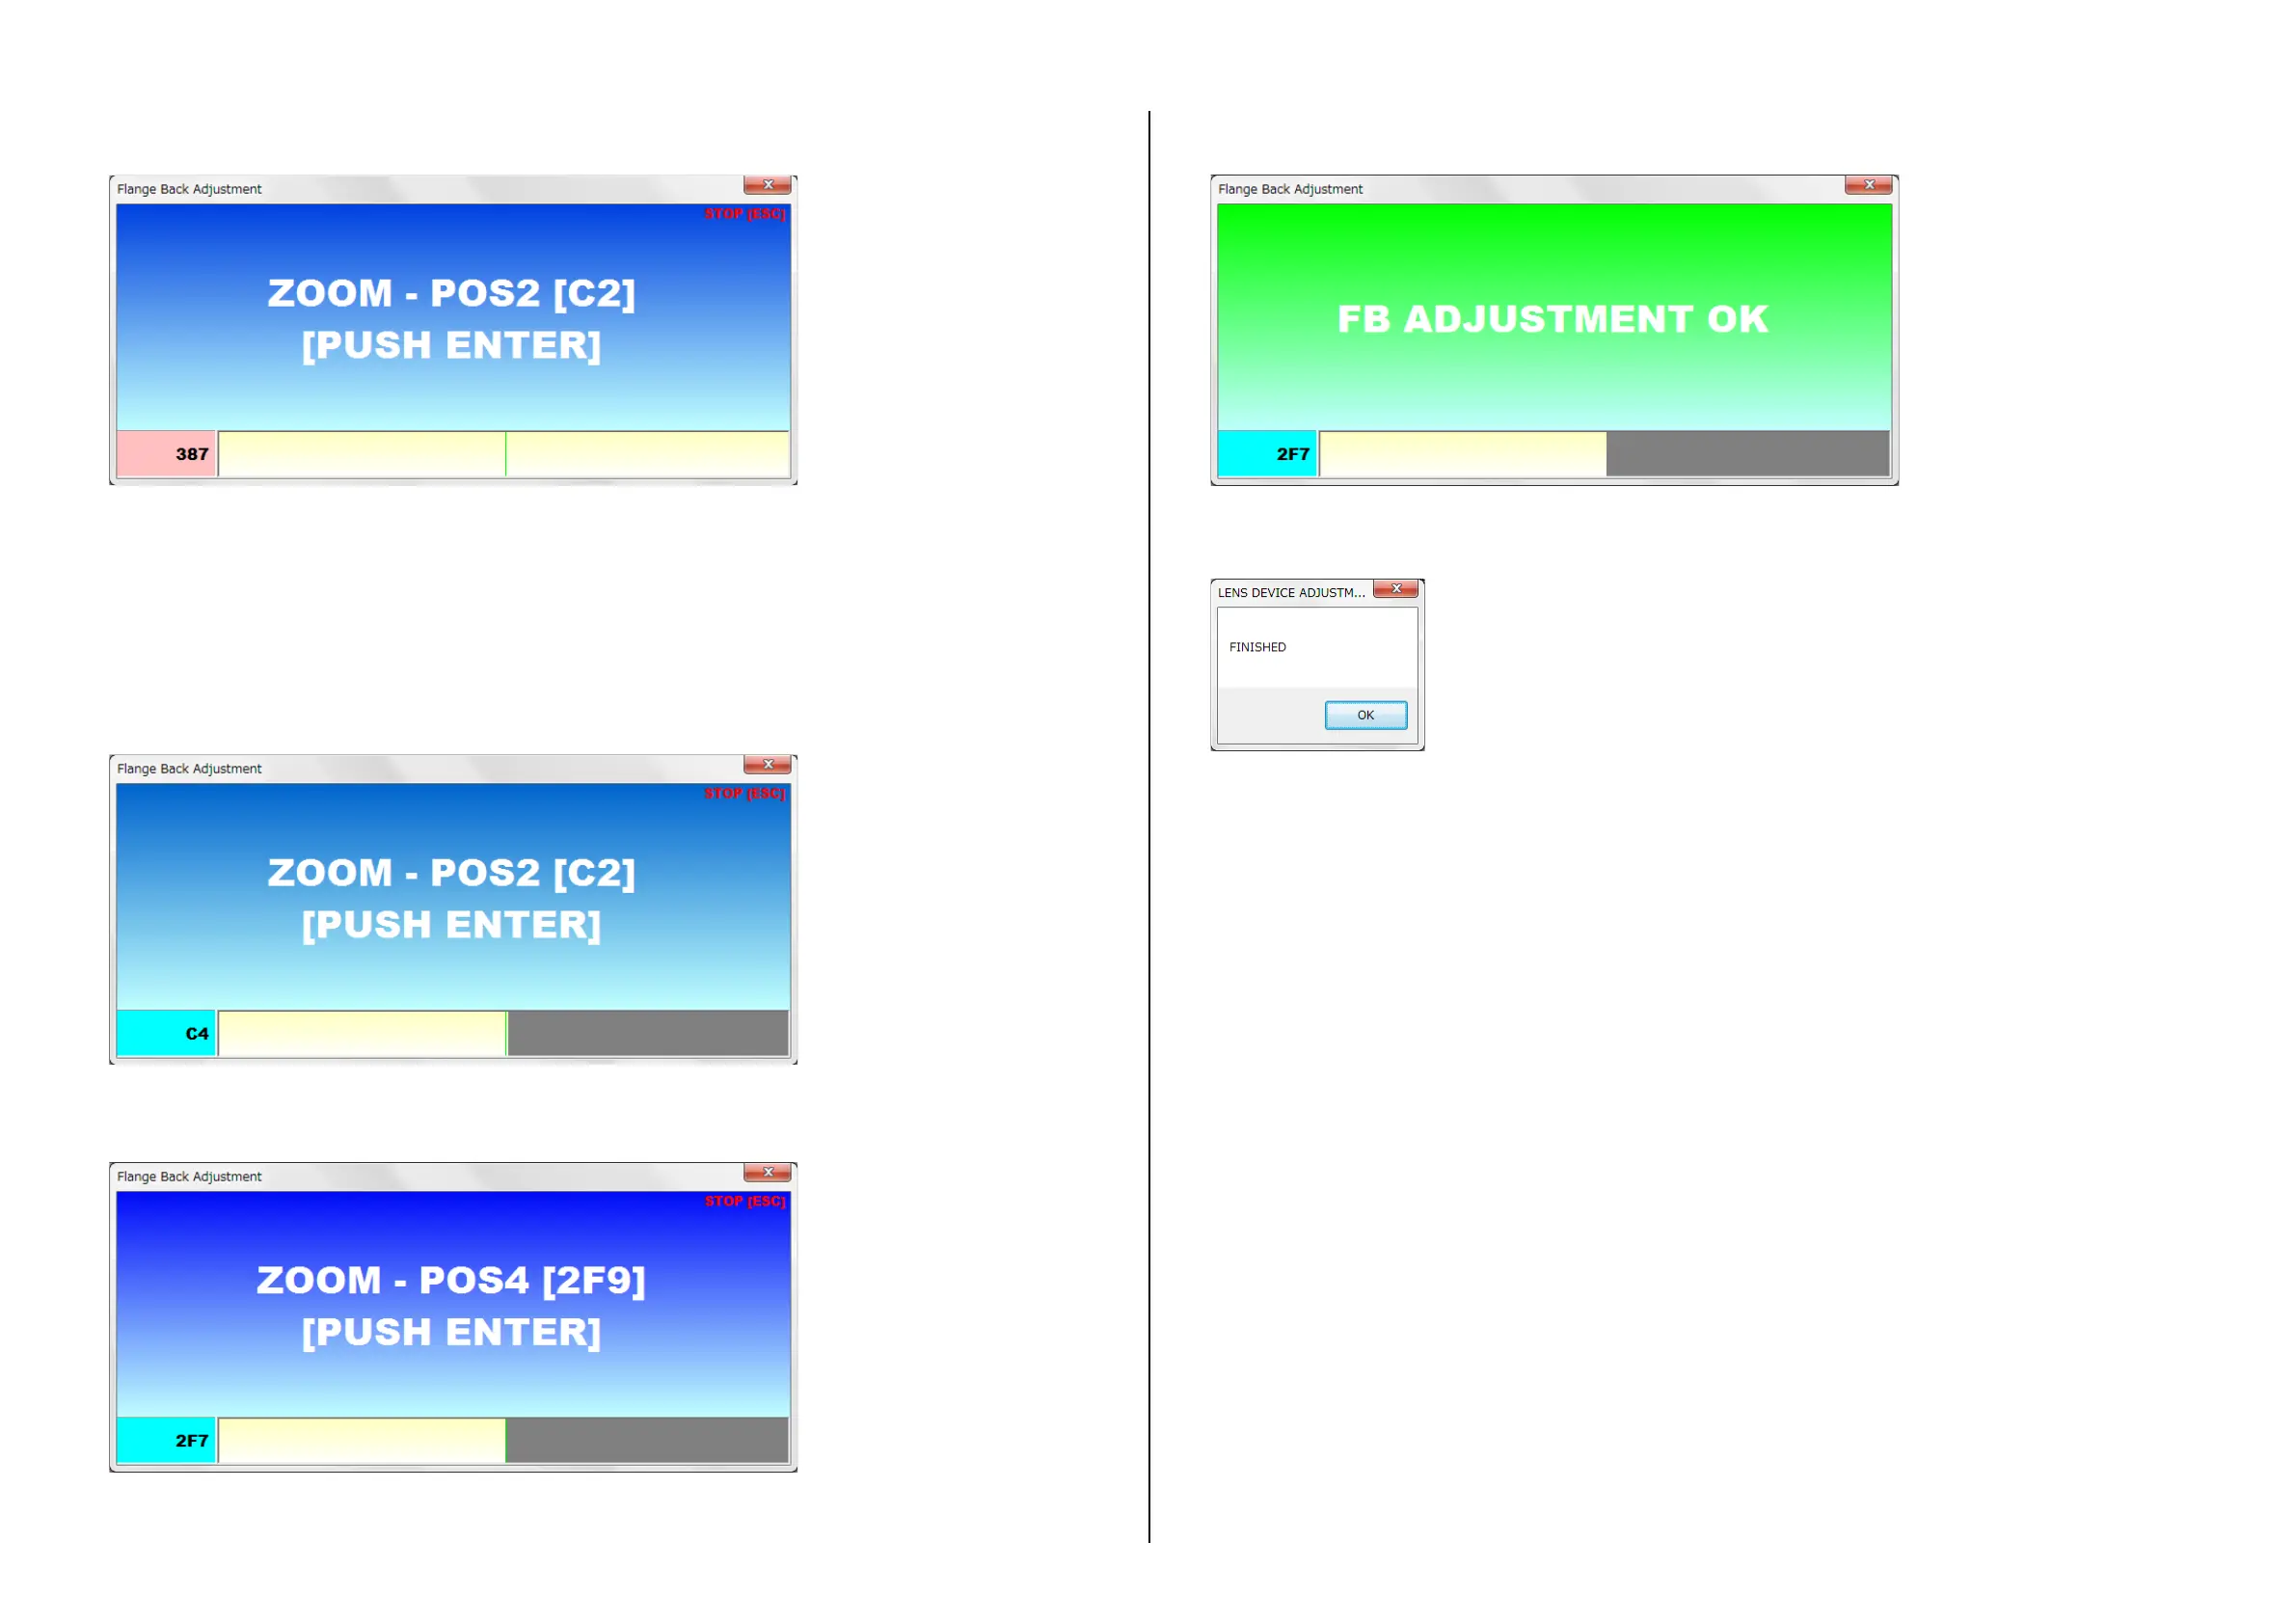
9. After completing the adjustment, “FB ADJUSTMENT OK” is displayed.
10. Recording the adjustment data and releasing the adjustment mode are performed automatically by pushing the ENTER key. After processing,
“FINISHED” is displayed.