2-4
HELP
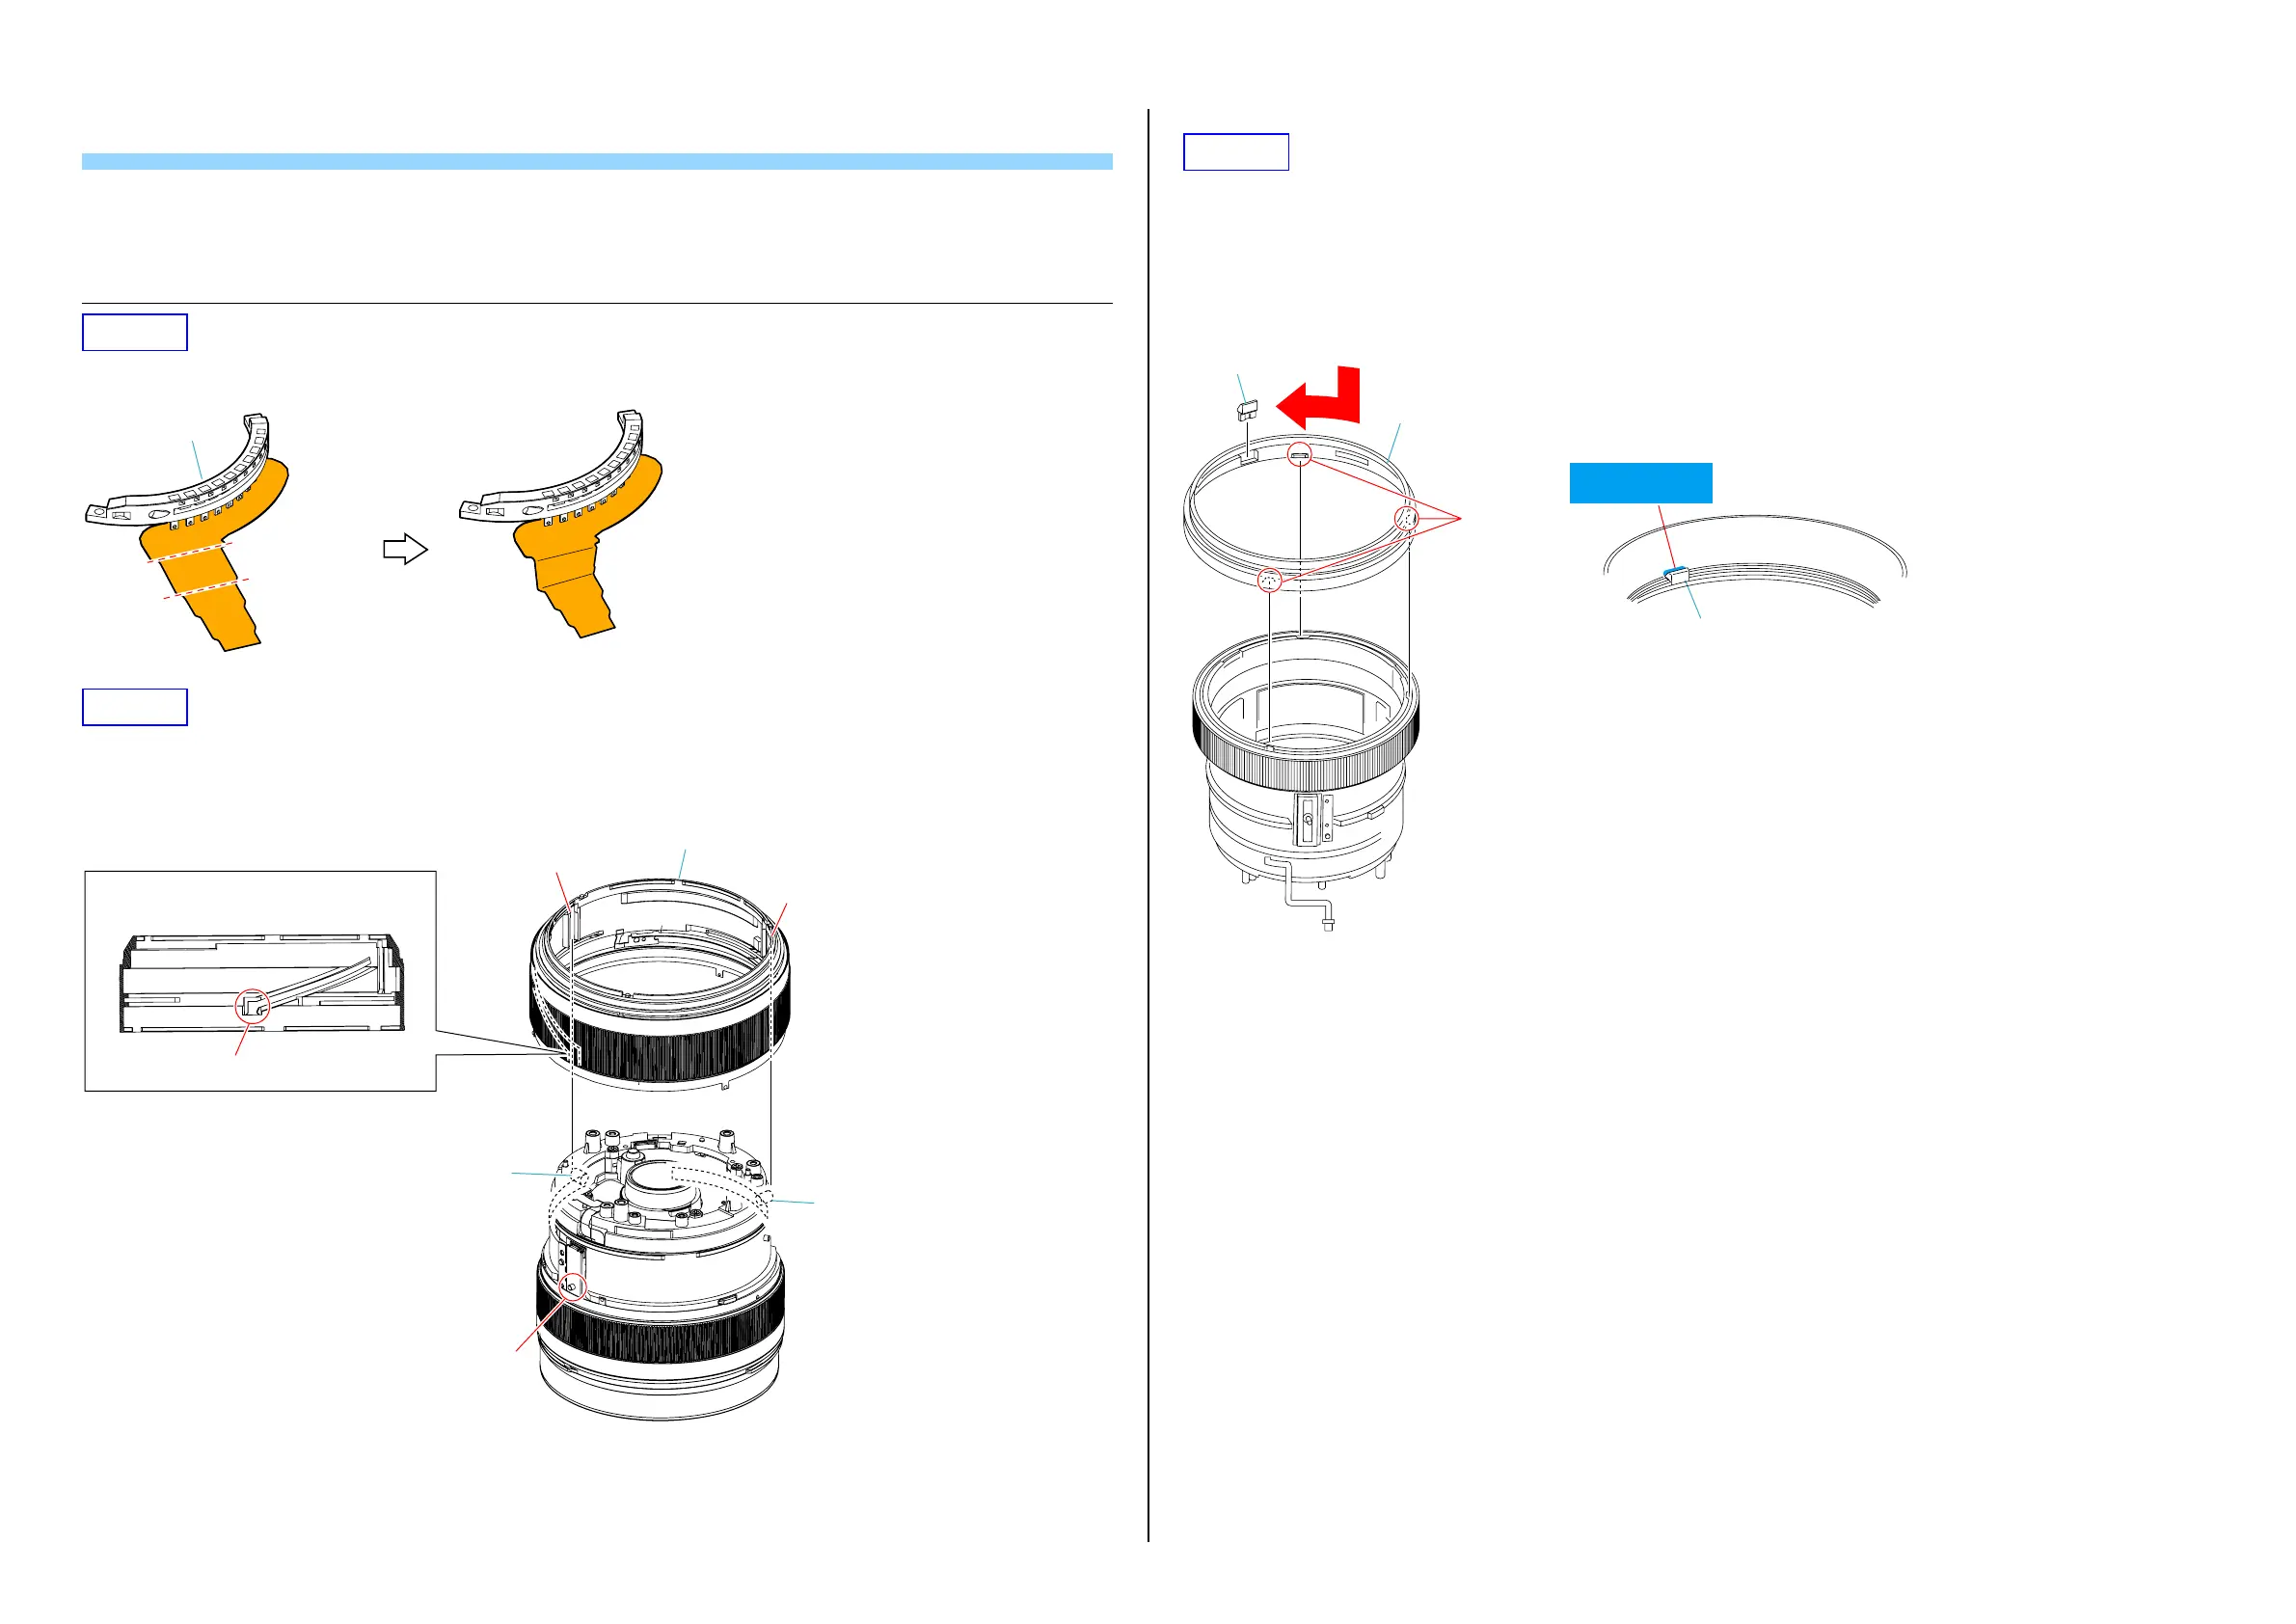
Note for assembling and grease applying positions are shown.
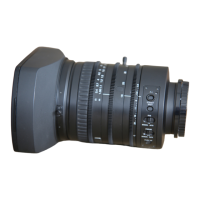
SEL1018 (E 4/10-18 OSS) (E 10-18mm F4 OSS)
HELP01
Make folding lines on the flexible board of Contact Block Assy at where is shown below.
Mountain fold
Contact Block Assy
Valley fold
HELP02
1. Install the Zoom Ring Assy, aligning the entrance part of groove B with the zoom potentio lever, and aligning the two Cam Tube
Coma Screws with the two grooves of the Zoom Ring Assy (inside).
2. Check operation of the Zoom Ring Assy.
Zoom Ring Assy
Zoom Ring Assy (inside)
Entrance part of groove B
Groove
Groove
Zoom potentio lever
Cam Tube Coma Screw
Cam Tube Coma Screw
HELP03
Adhesive bond (B-110): J-6082-617-A
1. Assemble Front Tube Assy by fitting the phases at the three places of Bayonet and fitting the direction of the mounting hole of the F
lock pin.
2. Turn Front Tube Assy in the direction indicated by the arrow, and fit it with the inserting hole of the F lock pin.
3. Install the F Lock Pin.
4. Apply the adhesive bond (B-110) to the indicated portion.
Apply the adhesive
bond (B-110)
F Lock Pin
FLockPin
Bayonet
Front Tube Assy