75
Editing
SLV-975HF 3-858-120-11 (1)
Before you start editing
• Turn on your TV and set it to the
video channel.
• Press INPUT SELECT to display “L2”
in the display window.
• Press TAPE SPEED on the remote commander to select the tape
speed, SP or EP.
• On this VCR, press EDIT to display “EDIT” in the display window. If
the other VCR has a similar button, press it to activate edit function.
1 Insert a source tape with its safety tab removed into the other
(playback) VCR. Search for the point to start playback and set it to
playback pause.
2 Insert a tape into this (recording) VCR. Search for the point to start
recording and press P PAUSE.
3 Press r REC on this VCR and set it to recording pause.
4 To start editing, press the P PAUSE buttons on both VCRs at the same
time.
To stop editing
Press the p STOP buttons on both VCRs.
Tips
• To edit more precisely, press the P PAUSE buttons on the VCRs to release pause.
• To cut out unwanted scenes while editing, press P PAUSE on this VCR when an
unwanted scene begins. When it ends, press P PAUSE again to resume recording
(Assemble Editing).
Note
• If you start recording following the procedure above, the VCR won‘t start recording
with the APC function. To record a tape with the APC function, press r REC again
during recording pause in step 3 so that the VCR analyzes the tape. Then when you
start recording in step 4, press P PAUSE immediately after the APC indicator stops
flashing. If you press P PAUSE before the APC indicator stops flashing, the APC
function is canceled.
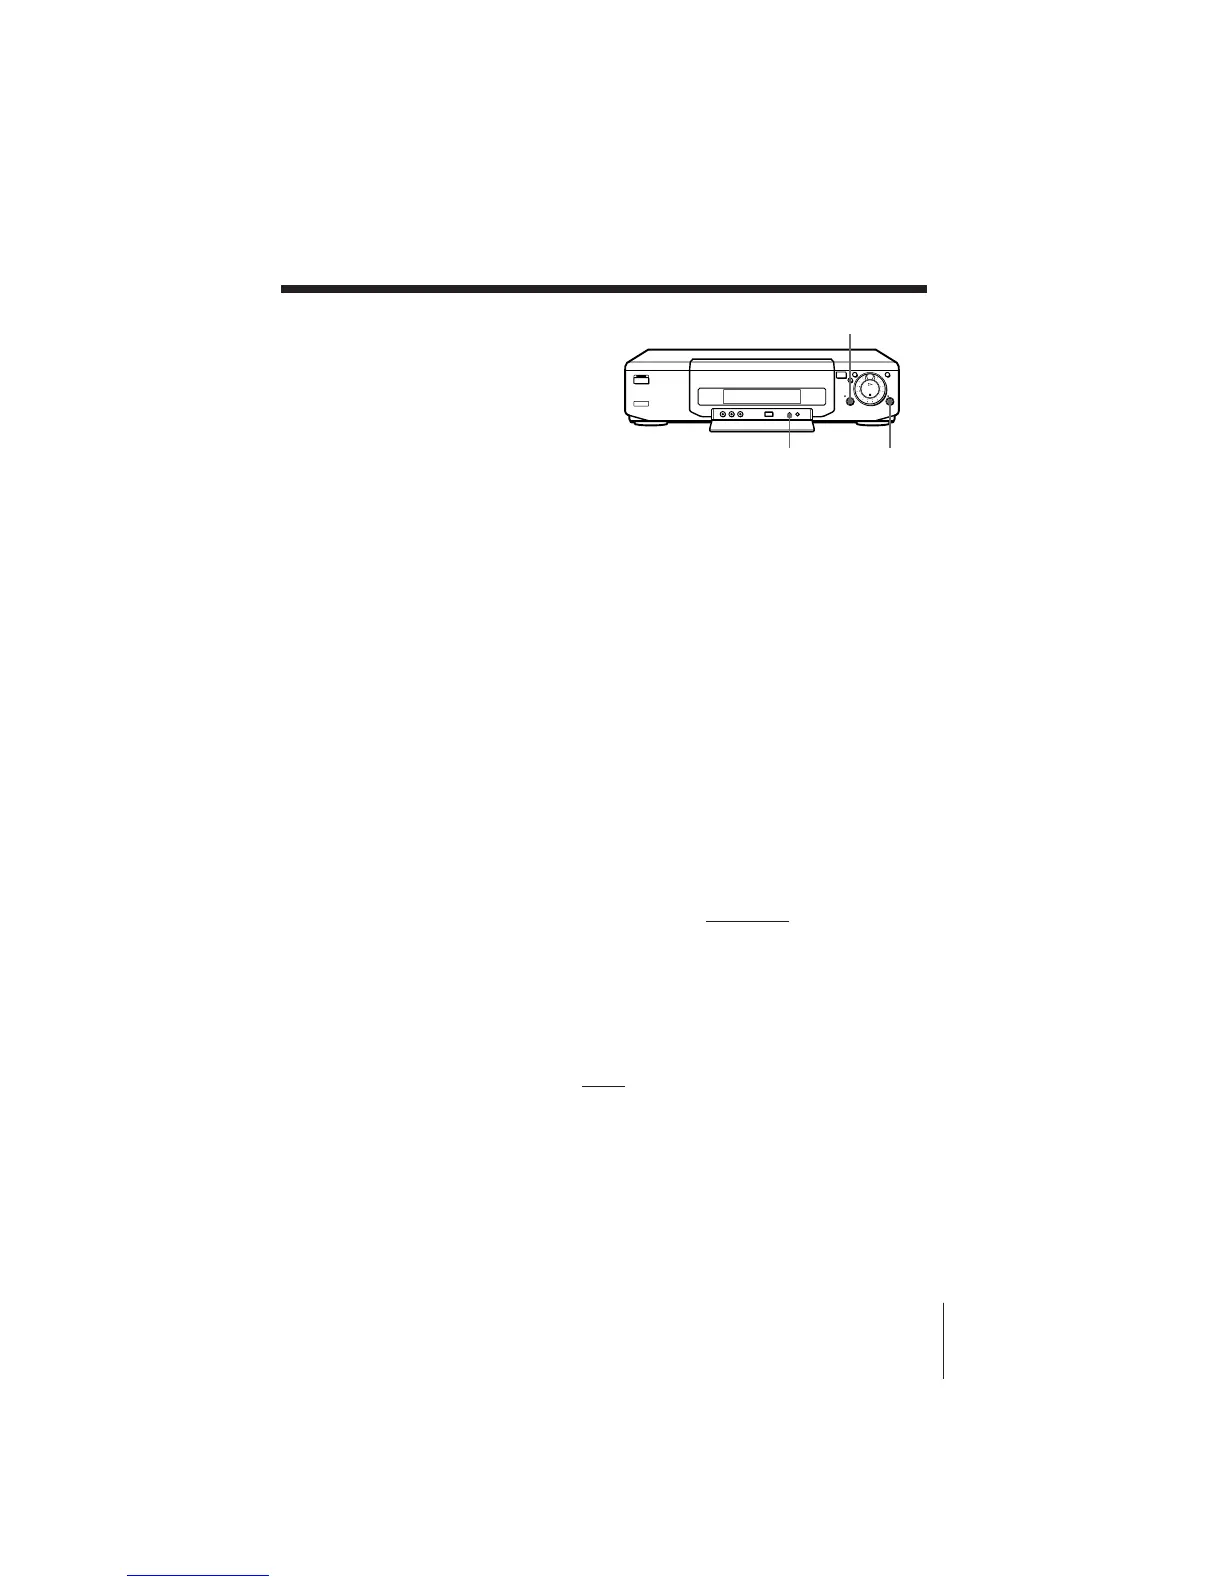
Basic editing
(when recording on this VCR)
EDIT r REC
P PAUSE
 Loading...