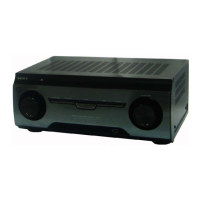
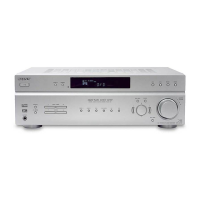
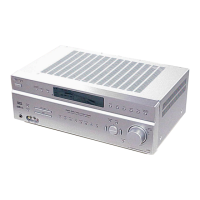
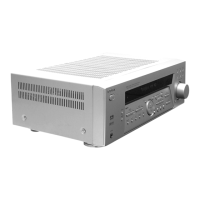
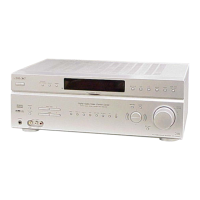
STR-KM22/KM55/KM77
12
5. While pressing [SPEAKER SETTING] button, press and
release the [M-TURBO], [FOOTBALL], [GAME] button in
order, the message “SPECIALIZE” appears.
6. Press the
[
V
] or [
v
]
key of the remote commander, the message
“<SPECIAL>” appears.
7. Press the
[ ]
key of the remote commander to enter the
Special Menu List.
8. Go to “USB UPDATE” setting and press the
[ ]
key of remote
commander, the message “<START>” appears.
9. Press the
[
V
] or [
v
]
key of the remote commander, The
message “UPDATING” appears.
10. If the updating progress succeeds, the message “COMPLETE”
appears.
11. If the updating progress fails, the message “ERROR” appears.
USB UPDATE VERSION MODE
Function that displays the version number to check whether USB
Update Test is necessary or not.
Procedure:
1. While pressing [MUSIC/MOVIE] and [GAME] buttons, press
the [
?/1
] button to turn on the main power.
2. The message “VER X.XXX” is displayed. “X.XXX” is
calculated by adding all fi rmware version.
Example:
(MCU ver. + VIDEO ver. + DSP S.FLASH ver. + DSP
S.TUNING ver + 6) = USB Update version
MCU = 1.10, VIDEO = 1.12, DSP S.FLASH = 1.00, DSP
S.TUNING = 1.10
↓
(1.10 + 1.12 + 1.00+ 1.10+6)/10 = 1.032
1.032 = X.XXX
FIX MODEL AND DESTINATION MODE
This mode is to fi x the set for model + destination. When turning
on the set, the message below appears if the setting is not fi xed
with its model or destination or both (model + destination).
Items Display
MODEL + AREA NOT
FIX
MD.D S T.U N F I X
MODEL NOT FIX M O D E L. U N F I X
AREA/DESTINATION
NOT FIX
DEST. UNF I X
Procedure:
1. Press the [
?/1
] button to turn on the main power.
2. While pressing [SPEAKER SETTING] button, press and
release the [M-TURBO], [FOOTBALL], [GAME] button in
order, the message “SPECIALIZE” appears.
3. Press the
[
V
] or [
v
]
key of the remote commander, the message
“<SPECIAL>” appears.
4. Press the
[ ]
key of the remote commander to enter the
Special Menu List.
5. Each time the
[
V
] or [
v
]
key of the remote commander is
pressed, the item is switched in order as follows.
Items Display
MODEL setting M O D E L
DESTINATION
setting
DEST I NY
MODEL + AREA check
MODE L + AREA
SYSTEM VERSION
S Y S. V X . X X X
MAIN VERSION M A I N V X . X X
VIDEO VERSION V I D E O V X . X X
DSP SFLASH1 VER S F L A S H V X . X X
DSP SOUND TUNING
VERSION
S T U N E V X . X X
6. Go to MODEL setting and press the
[ ]
key of remote
commander.
7. Either one of the message as below appears.
Items Display
Model not fi x yet M O D E L. U N F I X
Model HT-MV7 fi xMV7FIX
Model HT-MV5 fi xMV5FIX
Model HT-MV2 fi xMV2FIX
8. Press the
[
V
] or [
v
]
key of remote commander to set model
info as “MV2 fi x” or “MV5 fi x” or “MV7 fi x” if message
“MODEL UNFIX” appears.
9. Then, press
[ ]
key of remote commander,the message
“MODEL” appears.
10. Go to DESTINATION setting and press the
[ ]
key of remote
commander.
11. Either one of the display below appears according to the
destination of the set.
Items Display
Destination D E S T U N F I X
Destination UCA fi xUCAFIX
Destination J fi x
JFIX
Destination TW/SA2 fi x
SA F IX
Destination SP/CN fi x
CN F I X
Destination KR fi x
KR F I X
Destination E2/E3/
EA3
fi x
EA3 F IX
Destination CEL fi x
CEL F I X
Destination AU fi x
AU F I X
Destination SP fi x
SP F IX
Destination E51 fi x
E51 F IX
Destination BR fi x
BR F I X
Destination AR fi x
AR F I X
Destination MX fi x
MX F I X
12. Press the
[
V
] or [
v
]
key of remote commander to set
destination info if message “DEST UNFIX” appears.
13. Press the
[ ]
key of remote commander to select the
destination.
14. The message “DESTINY” appears.
15. Go to MODEL + AREA check and press the
[ ]
key of remote
commander.
16. Either one of the message as below appears.
PARAMETER 10 CHAR DISPLAY
MODEL + AREA NOT FIX M D. D S T. U N F I X
MODEL NOT FIX M O D E L. U N F I X
DESTINATION NOT FIX
DEST. UNF I X
HT-M22
MV7 xxx
HT-M55
MV5 xxx
HT-M77
MV2 xxx
MODEL + DESTINATION
RESET
MD.D S T. R E S E T
xxx: Area display
17. Repeat step (6) onwards if message “MD.DST.UNFIX”
appears.
18. Repeat step (6) until step (9) and continue with step (15)
onwards if message “MODEL.UNFIX” appears.
19. Repeat step (12) onwards if message “DEST UNFIX” appears.