23
GB
Projecting
Setting Up and Projecting
Projecting
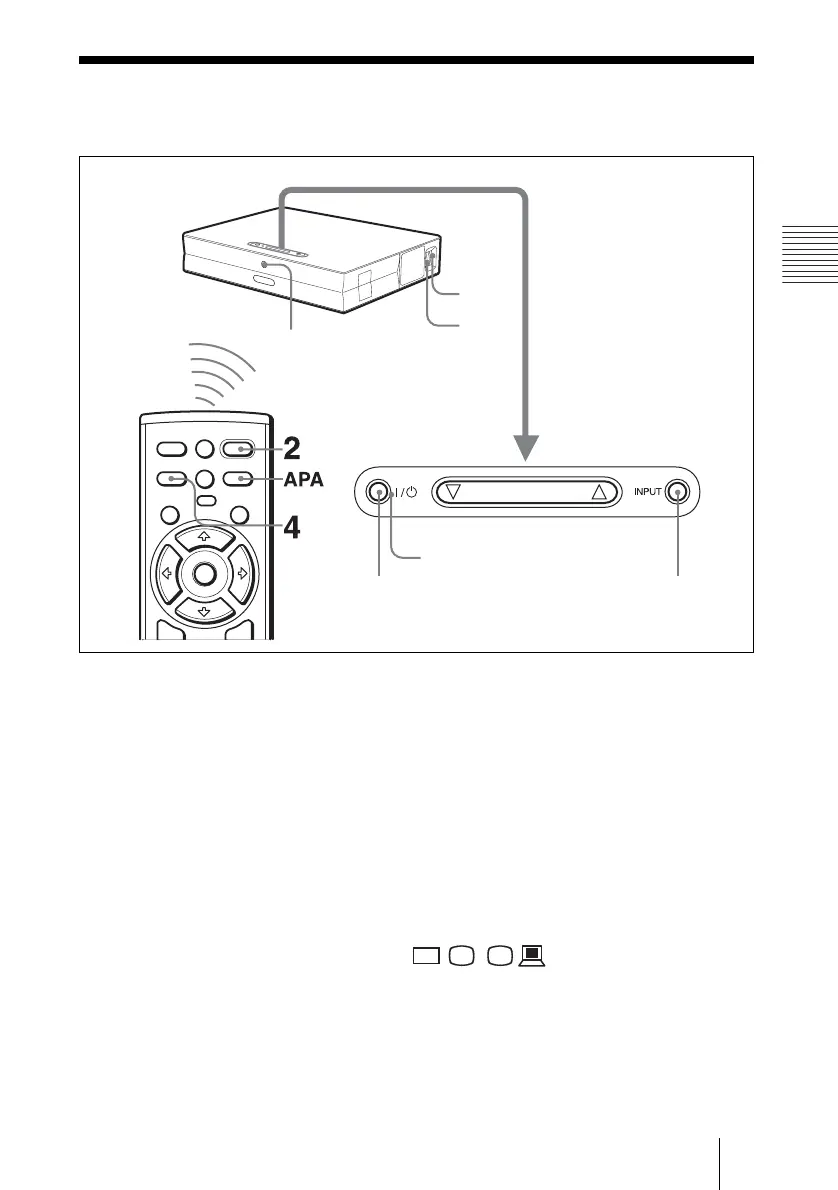
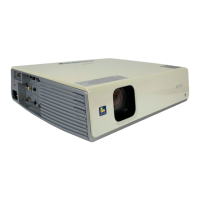
1 Open the connector panel, plug the AC power cord into a wall outlet, then
connect all equipment.
The ON/STANDBY indicator lights in red and the projector goes into
standby mode.
2 Press the I / 1 key.
The ON/STANDBY indicator lights in green and the Intelligent Auto-setup
starts. The lens protector opens, and the powered tilt adjuster rises and stops at
the previously adjusted position.
3 Turn on the equipment connected to the projector.
Depending on the type of your computer, for example a notebook, or an all-in-
one LCD type, you may have to switch the computer to output to the projector
by pressing certain keys (e.g., , etc.), or by changing your
computer’s settings.
I / 1
INPUT
FREEZE
MENU ENTER
KEYSTONE
MS SLIDE
APA
TILT
PIC
MUTING
24
7
6
ON/STANDBY
indicators
Rear remote control
detector
VGA
LCD
//
,