8
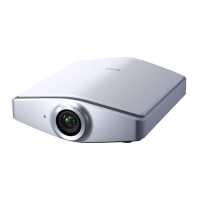
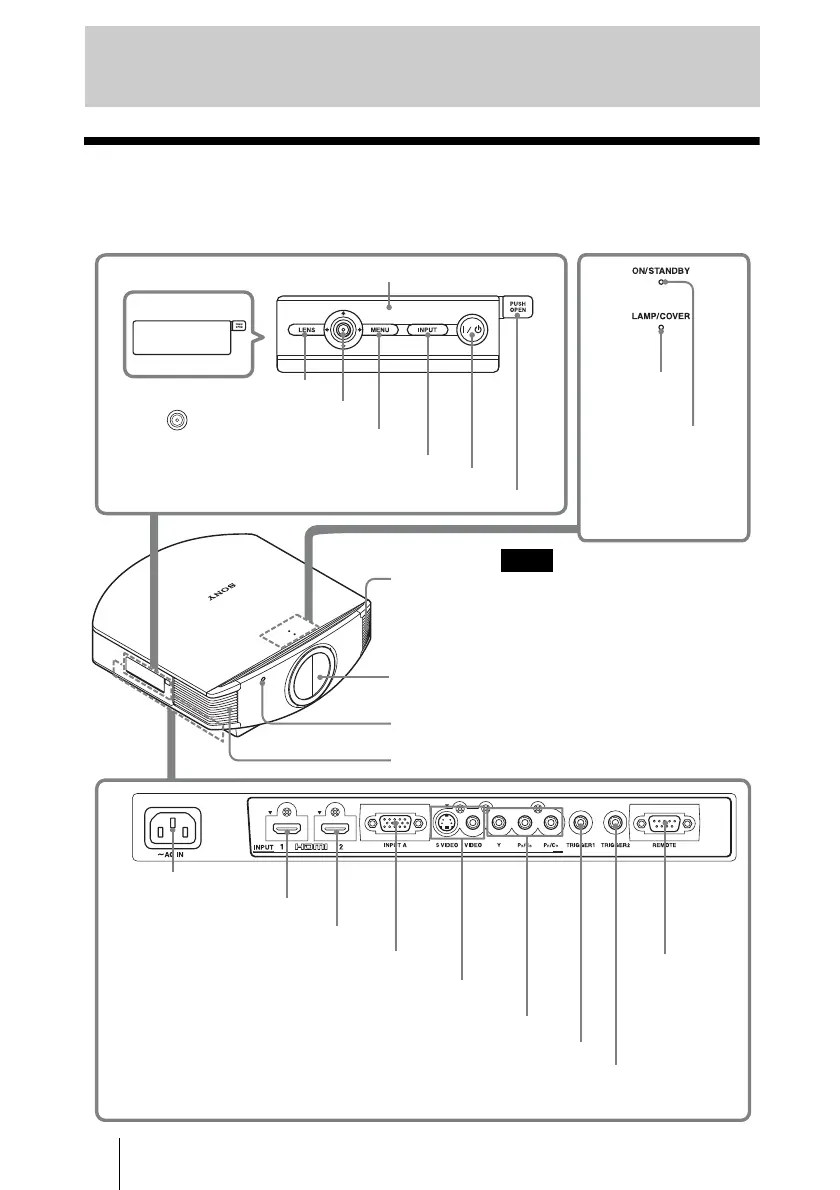
Front/Right Side
You can use the buttons on the control panel with the same names as those on the remote
control to operate the projector.
Location of Controls
INPUT button (1 page 30)
MENU button (1 page 42)
ON/STANDBY
indicator
(1 page 22)
Remote control detector (1 page 22)
Ventilation
holes (exhaust)
(1 page 13)
?/1 (ON/STANDBY) switch (1 page 23)
LAMP/COVER
indicator
(1 page 66)
M/m/</, (arrow)/
(enter) button (1 page 42)
Ventilation holes (exhaust) (1 page 13)
- AC IN socket
S VIDEO INPUT connector (mini DIN 4-pin)/VIDEO INPUT
connector (phono type) (1 page 20)
Y PB/CB PR/CR connector (phono type) (1 page 18)
INPUT A connector (1 page 21)
HDMI 1 connector (1 page 19)
REMOTE
connector
Connects to a
computer, etc.
for remote
control.
(1 page 41)
HDMI 2 connector (1 page 19)
While the ON/STANDBY indicator
lights in orange, the power saving
mode is on. (1 page 54)
Note
Control panel
LENS button
Open button
TRIGGER 1 connector
Outputs 12V signal when the projector is on.
TRIGGER 2 connector
Outputs 12V signal when “Wide Mode” is set to “Anamorphic Zoom”. (1 page 35)
Press the button and open
the cover.
Lens protector
 Loading...