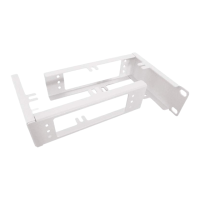
Install two
rack clips in
the top and
bottom of
three holes
Leave
middle hole
empty
4-Post Rack
Two (2) M6 x 16 pan head screws
on each side
4-Post Rack
Step 1
Install two rack clips into the top and bottom of three holes on each side in
the rack as shown. The tabs on each should be on the top and bottom to
help stabilize them in the holes. No tools are needed to install the clips,
firmly press them into place.
Make sure the clips are level in height on the left and right sides for proper
alignment to allow accurate appliance installation.
Step 2
Install the appliance in the rack as shown. Insert one M6 x 16 screw* in the top
and bottom holes through the ears into the rack clips on each side.
NOTE: Refer to your rack’s mounting hardware for the proper size and
type of screws to secure the appliance in the rack.
Tighten each screw to secure the appliance in the rack.
Step 1
Install the appliance in the 2-post rack as shown. Insert one M5 x 12 screw*
and one M5 x 12 cone washer* through the top and bottom holes in the ears
on each side into the threaded holes in the rack.
NOTE: Refer to your rack’s mounting hardware for the proper size and
type of screws to secure the appliance in the rack.
Tighten each screw to secure the appliance in the rack.
Two (2) M5 x 12 flat head screws
and two cone washers on each side
2-Post Rack
NOTE: When installing (or removing) the appliance from the rack make
sure to support the unit at all times.
*
CAUTION
Slide rail/mounted equipment is not to be used as a shelf or a work space.
2a. 4 Post Rack Installation
2b. 2 Post Rack Installation
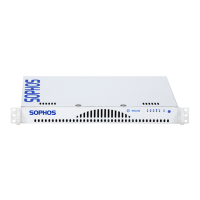
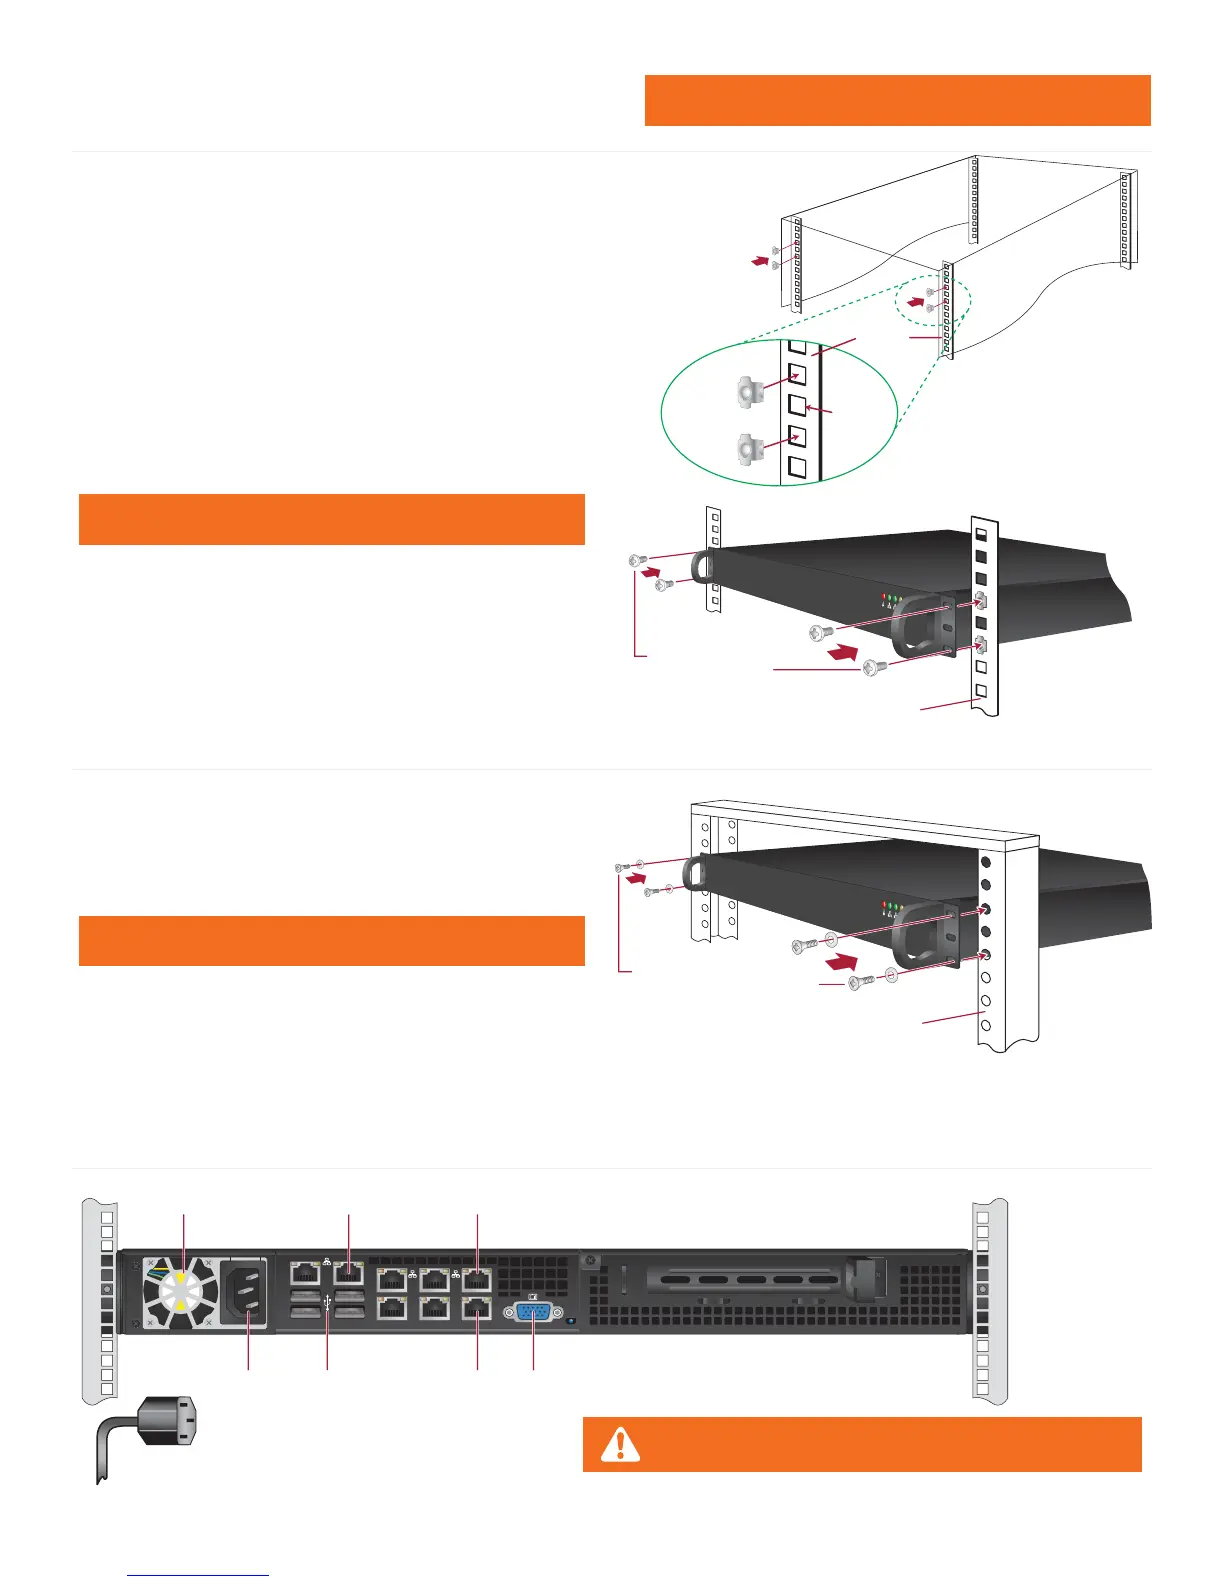
3. Rear Connections & Cabling
Power Supply Module Fan
Power Supply AC Inlet
Config LAN
WANUSB Ports VGA Port
 Loading...