OEM wire harness
HDHU.14 wire harness
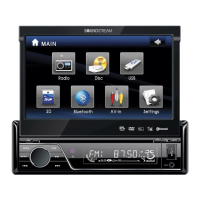
INSTALLATION OF HDHU.14 HEADUNIT
To prevent accidental vehicle start-up, which could cause death or serious injury,
remove main fuse/battery cables before proceeding.
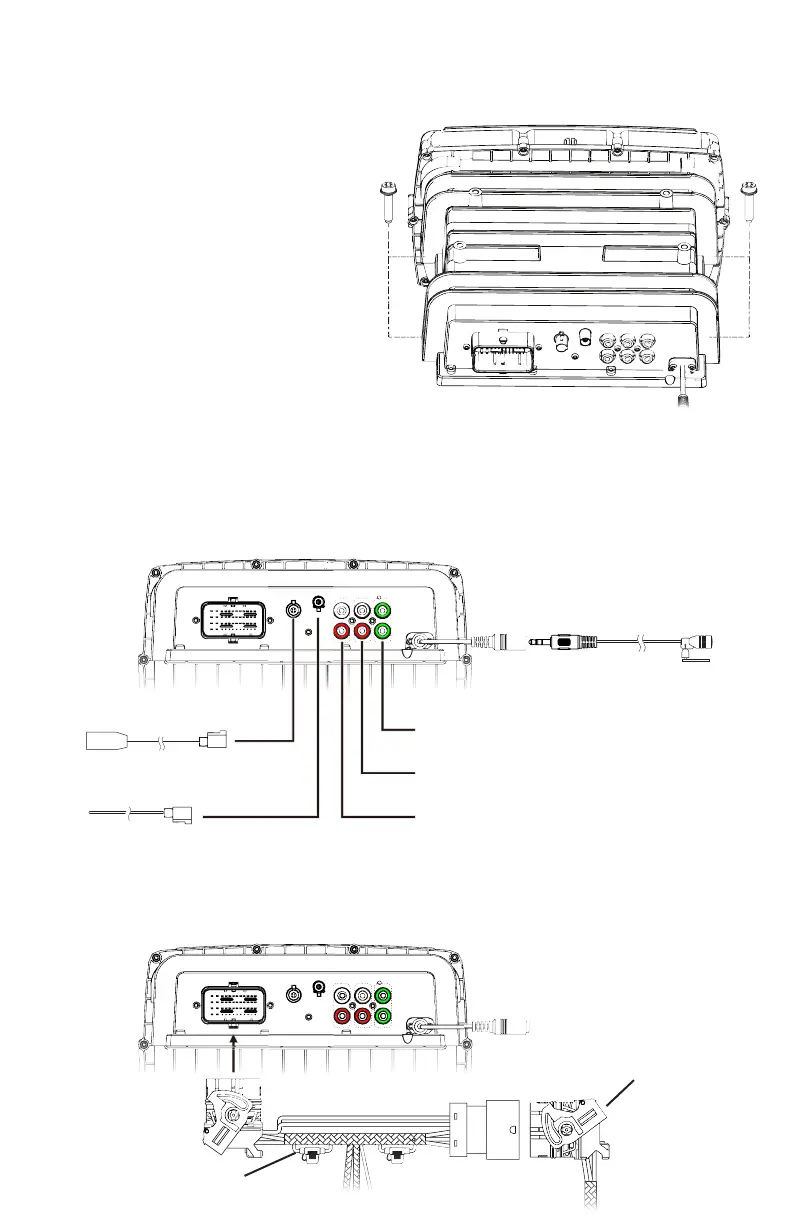
1. Install HDHU.14 into the location of the
OEM head unit. Secure the chassis to the
OEM mounting location with the four bolts
removed during the last step of REMOVAL OF
ORIGINAL HEAD UNIT section using a 3/16”
allen driver.
2. Connect the OEM USB and radio antenna cables disconnected during removal of the OEM head unit
to the matching sockets on the back of HDHU.14. If either are dicult to connect, verify the orientation
of the connector(s) is correct. If any aftermarket audio ampliers will be used in the audio system, take
a moment to connect the RCA cables to the corresponding audio outputs. Although not required, if the
Bluetooth calling microphone will be used, secure it to the desired installation location, then route its
cable to the corresponding input on the back of HDHU.14.
3. Insert and lock the male OEM head unit wire harness connector to the female socket of the included
wire harness for HDHU.14. Then, insert and lock the male connector of the HDHU.14 wire harness into
the corresponding female socket on the back of HDHU.14.
3.5mm Connection for Included
Bluetooth Calling Microphone
RCA Low-Level Subwoofer Output for
Aftermarket Subwoofer Amplier (RCA not incl.)
RCA Low-Level Rear Channel Output for
Aftermarket Speaker Amplier (RCA not incl.)
OE USB Cable Connector
(USB cable not included)
OE Radio Antenna Connector
(antenna cable not incl.)
RCA Low-Level Front Channel Output for
Aftermarket Speaker Amplier (RCA not incl.)