5 SpeedTech Lights, Inc © 2019
Z
-
3
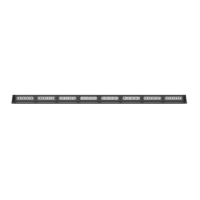
GRILLE / SURFACE MOUNT
Flash Pattern Synchronization
• Make sure all units that need to be synced together are powered On and ashing on the same pattern (see page 8 for ash pattern shortcuts).
• Connect the White cables of all units to each other.
• Connect the Yellow cables of all units to each other.
• Power all units O and back On to verify Synchronization is complete.
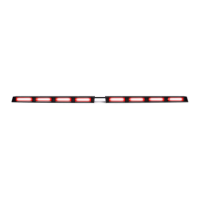
Dual Color Mode
The Dual Color Z-3 has 3 modes: Single Color A, Single Color B, and Dual Color A/B (default color mode out of the box).
• To cycle through color modes, take the Blue cable and contact +12 VDC. When this unit is powered O and On, it will activate in its default color mode.
• To change the default color mode, take the Blue cable and contact +12 VDC for 2 seconds. This will set the next color mode to be the new default.
NOTE: Because the Blue cable is also used for programming the Alternating Sync ash pattern, changing the default color mode will also activate the
Alternating Sync ash pattern. Use the Yellow cable to return to regular ash patterns.
Programming the Alternating Sync Flash Pattern
Z units feature an additional Alternating Sync ash pattern. This is a single standalone pattern separate from the regular ash patterns.
Programming this pattern will NOT alternate any of the regular ash patterns.
• Make sure all units that need to be synced together are powered On.
• Connect the White cables of all units to each other.
• Divide the units into 2 groups.
• For Dual Color Z-3 units only:
◊ Decide which color should ash with the rst group and which color should ash with the second group.
◊ If you want color A, cycle to color mode Dual Color A/B.
◊ If you want color B, cycle to color mode Single Color A.
◊ NOTE: The Alternating Sync ash pattern does NOT have a dual color option.
• Take all the Blue cables from the rst group and contact +12 VDC for 2 seconds.
• Take all the Blue cables from the second group and contact +12 VDC for 4 seconds.
• Power all units O and back On to verify the Alternating Sync ash pattern has been programmed.
NOTE: The Alternating Sync ash pattern is not part of the regular ash patterns. To return to this pattern after cycling through the regular ash patterns,
take all the connected White cables and contact +12 VDC for 2 seconds. If you intend to switch between the Alternating Sync and regular ash patterns
often, it’s recommended to attach the White cables to a +12 VDC momentary switch.
Extension Cable (Sold Separately)
• If you are extending the main cables, just add the desired length of cable to the end of the main cables
coming out of the unit. You will solder and heat shrink the wire you are lengthening from the unit to each
additional length of extension cable. DO NOT cross connect wires.
• NOTE: DO NOT leave connectors, cables, solder points exposed to heat, moisture, or debris.
 Loading...