Do you have a question about the SPL Phonitor 2 and is the answer not in the manual?
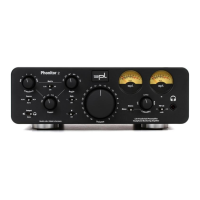
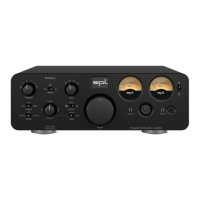
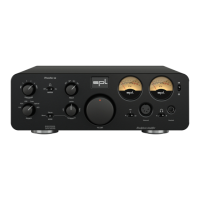
Introduces the Phonitor 2 amplifier, its 3.7W output, and 120V Rail Technology for superior audio performance.
Explains how to use interactive buttons to navigate the user manual content effectively.
Details the user-adjustable controls for interaural time and level differences.
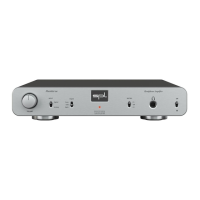
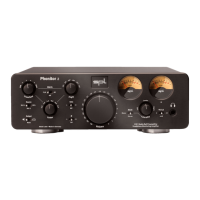
Covers the main volume knob and buttons for selecting audio sources.
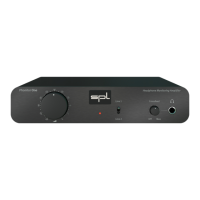
Identifies the primary connection port for headphone monitoring.
Describes the AC power connection, voltage selection, and main power switch.
Details the XLR and RCA audio input and output connectors on the rear panel.
Locates the button used for configuring remote control functionality.
Illustrates the location and factory settings of the internal DIP switches for customization.
Explains how the 120V Rail Technology enhances dynamic range, headroom, and overall sound quality.
Compares operating voltage and maximum audio levels against alternative circuit designs.
Presents measurements comparing dynamic range and total harmonic distortion plus noise (THD&N).
Explains how sound from speakers is perceived by both ears, including time and level differences.
Contrasts standard headphone amplification with the Phonitor Matrix's simulation of speaker listening.
Details how the matrix calculates interaural differences to create a speaker-like listening experience on headphones.
Explains how the Angle switch adjusts interaural time difference based on speaker placement.
Describes how Crossfeed defines interaural level difference and its relation to room influences.
Provides guidance on selecting Angle and Crossfeed parameters for optimal speaker placement simulation.
Outlines the steps for adjusting the Phonitor Matrix using Crossfeed and Angle controls for desired listening simulation.
Explains how to control the intensity of the center signal using the Center switch.
Details how to activate the Phonitor Matrix with or without Center control and for XLR outputs.
Describes how to choose between XLR 1, XLR 2, and RCA audio input sources.
Explains how to route signals to outputs and use the Mute function for signal interruption.
Describes how to use the Solo switch to monitor left or right channels individually.
Explains the Phase Ø switch for inverting channel phase and its use in mono mode.
Details the Stereo, Stereo with Laterality, and Mono modes available via the Stereo switch.
Explains how the Laterality control compensates for perceived volume differences between ears.
Describes the VU meters' display range and how to adjust their sensitivity using the VU Cal switch.
Provides a step-by-step guide on how the Phonitor 2 learns commands from an IR remote control.
Explains DIP switches 1 and 2 for boosting output levels by +12 dB or +22 dB.
Details DIP switch 3 for setting the RCA input from HiFi level to Studio level.
Describes using DIP switch 4 for direct input pass-through to XLR outputs without signal alteration.
Explains using DIP switch 5 to enable the Phonitor Matrix feature for the rear XLR outputs.
Lists impedance, CMR, and maximum input level for balanced XLR inputs.
Lists impedance and maximum input level for unbalanced RCA inputs.
Covers connector type, impedance, frequency range, crosstalk, THD&N, noise, and dynamic range for headphone output.
Lists the maximum output power delivered at various impedance loads for headphone outputs.
Details frequency range, crosstalk, THD&N, noise, and dynamic range for the unit's line outputs.
Details mains voltage, fuse types, and power consumption specifications.
Provides the unit's physical dimensions and weight, including shipping weight.
Contains copyright, developer credits, and general disclaimers regarding manual content and specifications.
States that the unit complies with relevant European Community standards and regulations.