4 5
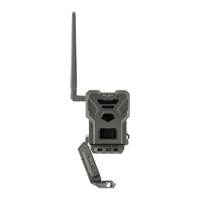
REMOVE THE CAMERA FROM THE MOUNTING BRACKET
• Push the tab to release the camera from the mounting bracket.
• Remove the camera.
CHARGING THE INTERNAL BATTERY
Charge the camera for 24-48 hours before use. While charging,
make sure the camera is turned off and the solar panel is facing
down so it does not interfere with the USB charging process.
Plug the 12V-USB cable from the 12V port at the bottom of the
camera and connect it to a USB port. Once plugged, the screen will
turn on and it will show the charging battery level for 10 seconds.
Press the OK button once more to see the battery level reappear.
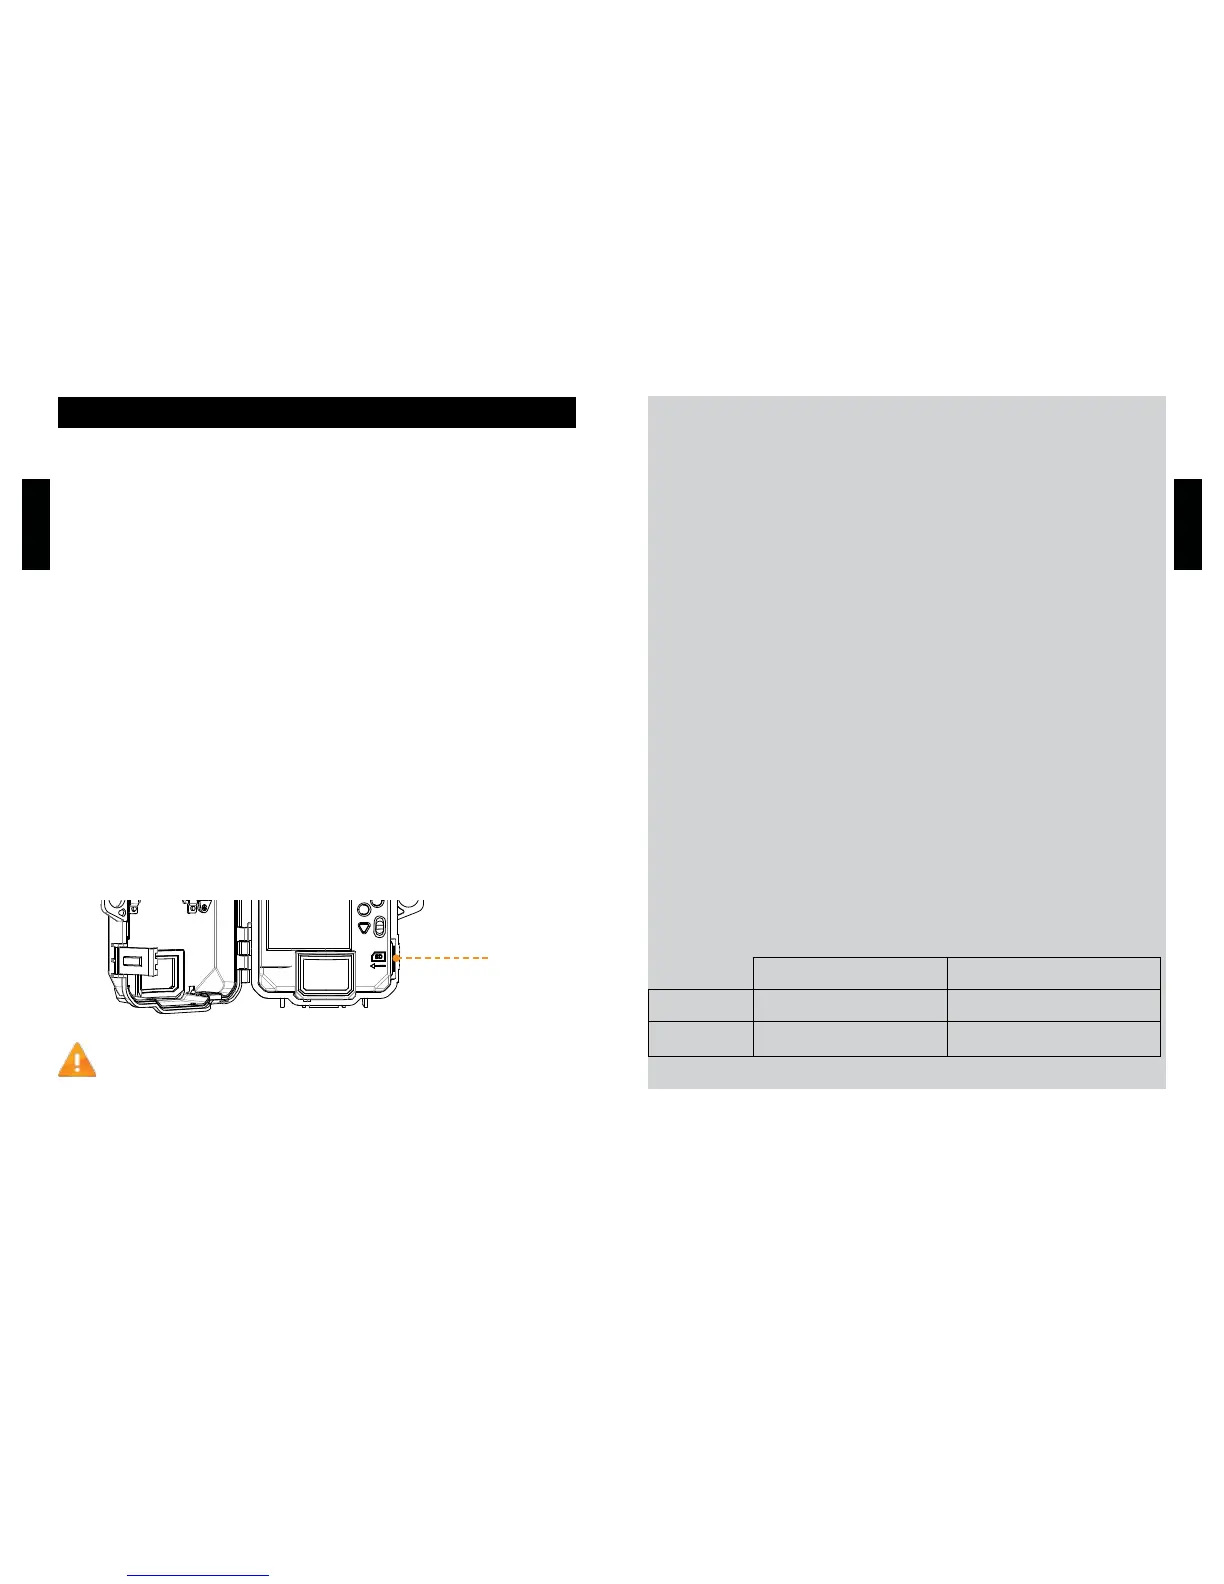
INSERT THE MEMORY CARD
Insert an SD/SDHC memory card (up to 32 GB capacity) in the card
slot with the label side facing upward. The card is inserted correctly
when a click is heard. Always ensure that the camera power is OFF
before inserting an SD card.
We suggest to format your SD card if it’s been in another
electronic device.
Getting started
PRO TIPS:
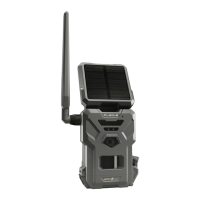
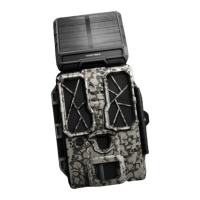
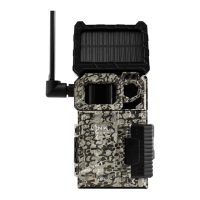
Solar panel & internal rechargeable battery
●You need at least 50% of the solar panel cleared for
maximum performance.
●Ifthepoweroftheinternalbatterybecomesinsufcient,the
camera will shut down. Once the battery has been charged
sufcientlybythesolarpanel,thecamerawillautomaticallyturn
on leaving the settings untouched.
● An optional power source can be added as a backup to the
internal rechargeable battery for safety.
Recommended installation height
●The camera should be installed at the same height as the
animal’s mid-body.
Ideal installation for quality pictures & videos
●Thetargetedanimalshouldbe25feet/7.5mawayfromthe
cameraforabettereldofview.
●Togetbrighterpicturesatnight,youshouldhaveelementsinthe
backgroundtoreectbacktheIRashtothecamera.
Recommended settings in photo mode
Usage in trails Usage by a feeder
Delay Instant 5 min
Multi-shot 1 1-3