6 7
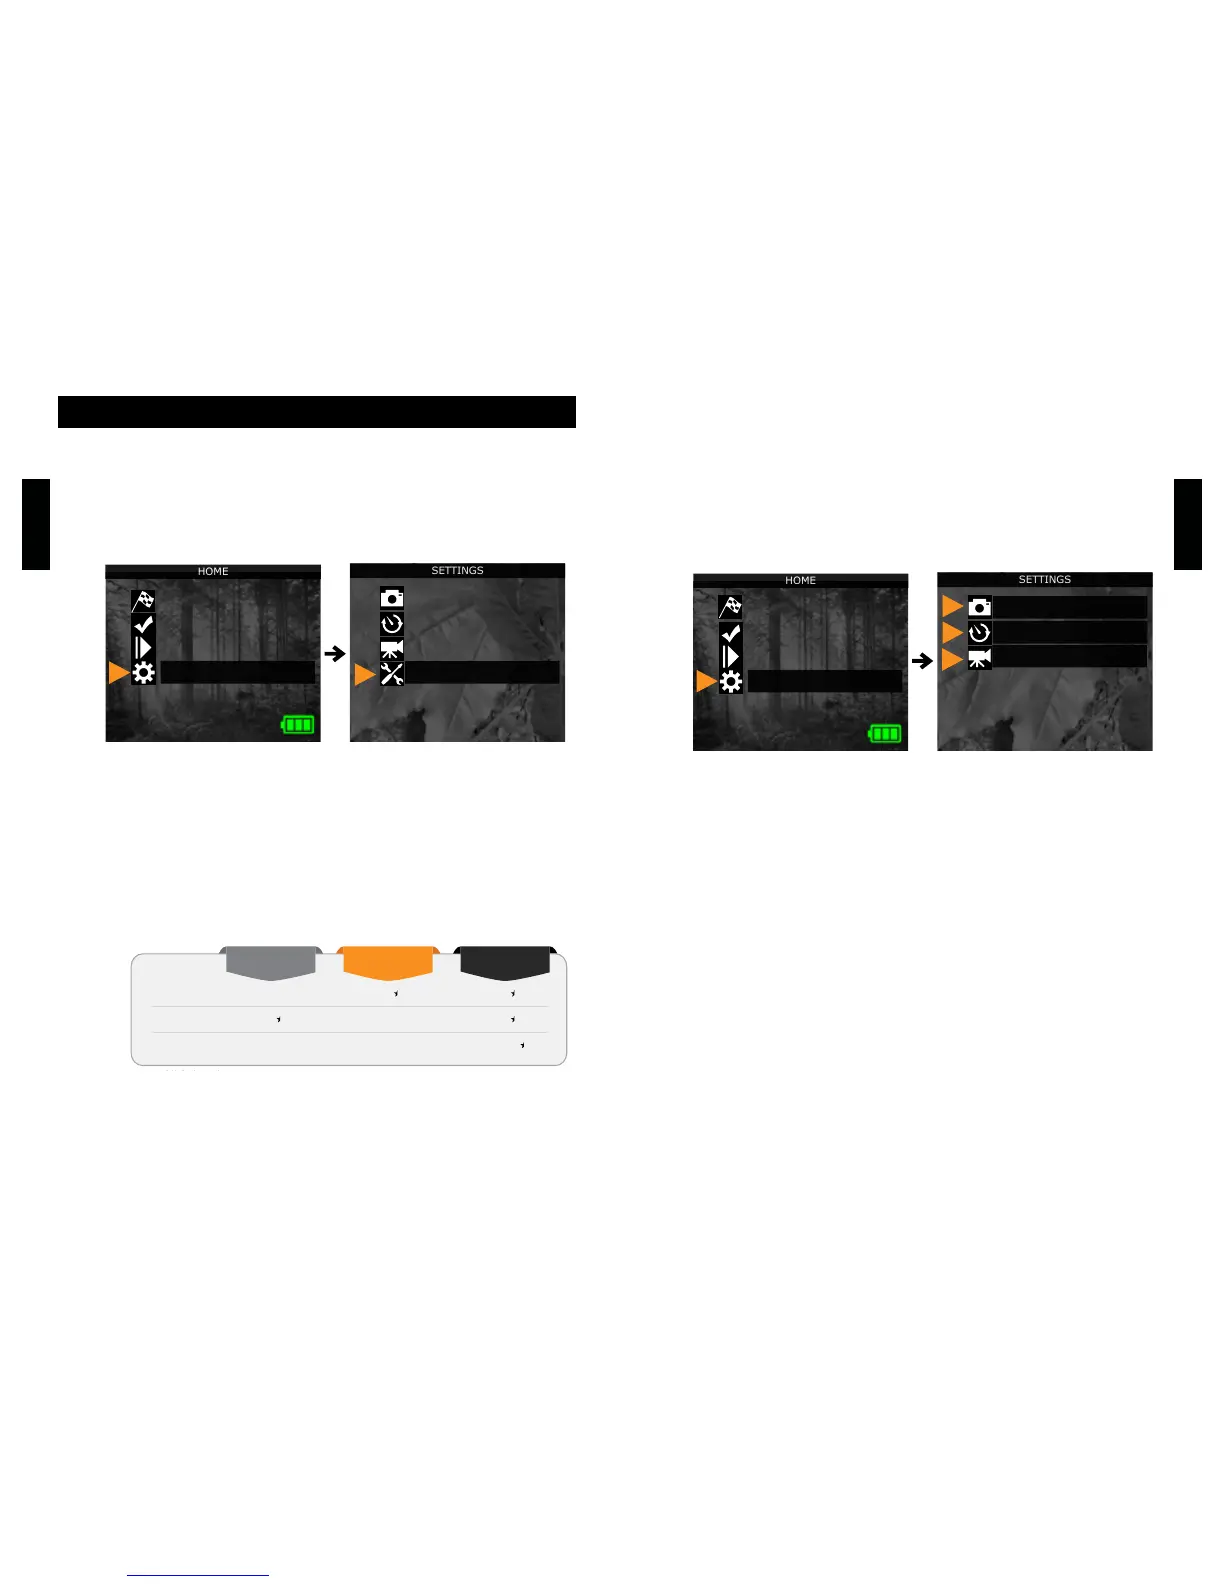
CONFIGURE THE SETTINGS OF THE
3 OPERATING MODES
In the home menu, select SETTINGS and then, PHOTO, TIME
LAPSE or VIDEO to access to the respective operating mode
menu.
PHOTO
Delay: Allows the user to choose the time interval between each
detection before the camera can record the next photo.
Multi-shot: Takes up to 6 consecutive shots at each detection,
with a 5 seconds delay between each photo.
TIME LAPSE
Interval: This option allows the camera to take photos at regular
preset intervals without detection.
VIDEO
Delay: Allows the user to choose the time interval between each
detection before the camera can record the next video.
Video length: Allows the user to select the duration of the
recording.
Photo rst: When this option is enabled, a photo is taken
immediately before each video.
Use the and buttons to navigate in the interface and to change
options.UsetheOKbuttontoconrmandtheBACKbuttontore-
turn to the previous menu.
CONFIGURE THE GENERAL SETTINGS
A. Use the ON/OFF switch to turn the camera ON.
B. In the home menu, select SETTINGS and then GENERAL to
access to the General settings menu.
C. Set the Date (MM/DD/YY or DD/MM/YY).
D. Set the Time (Hour/Minute).
E. Set the Night mode (Best option for photos)
Settings