Step 1: Selecting an installation location.
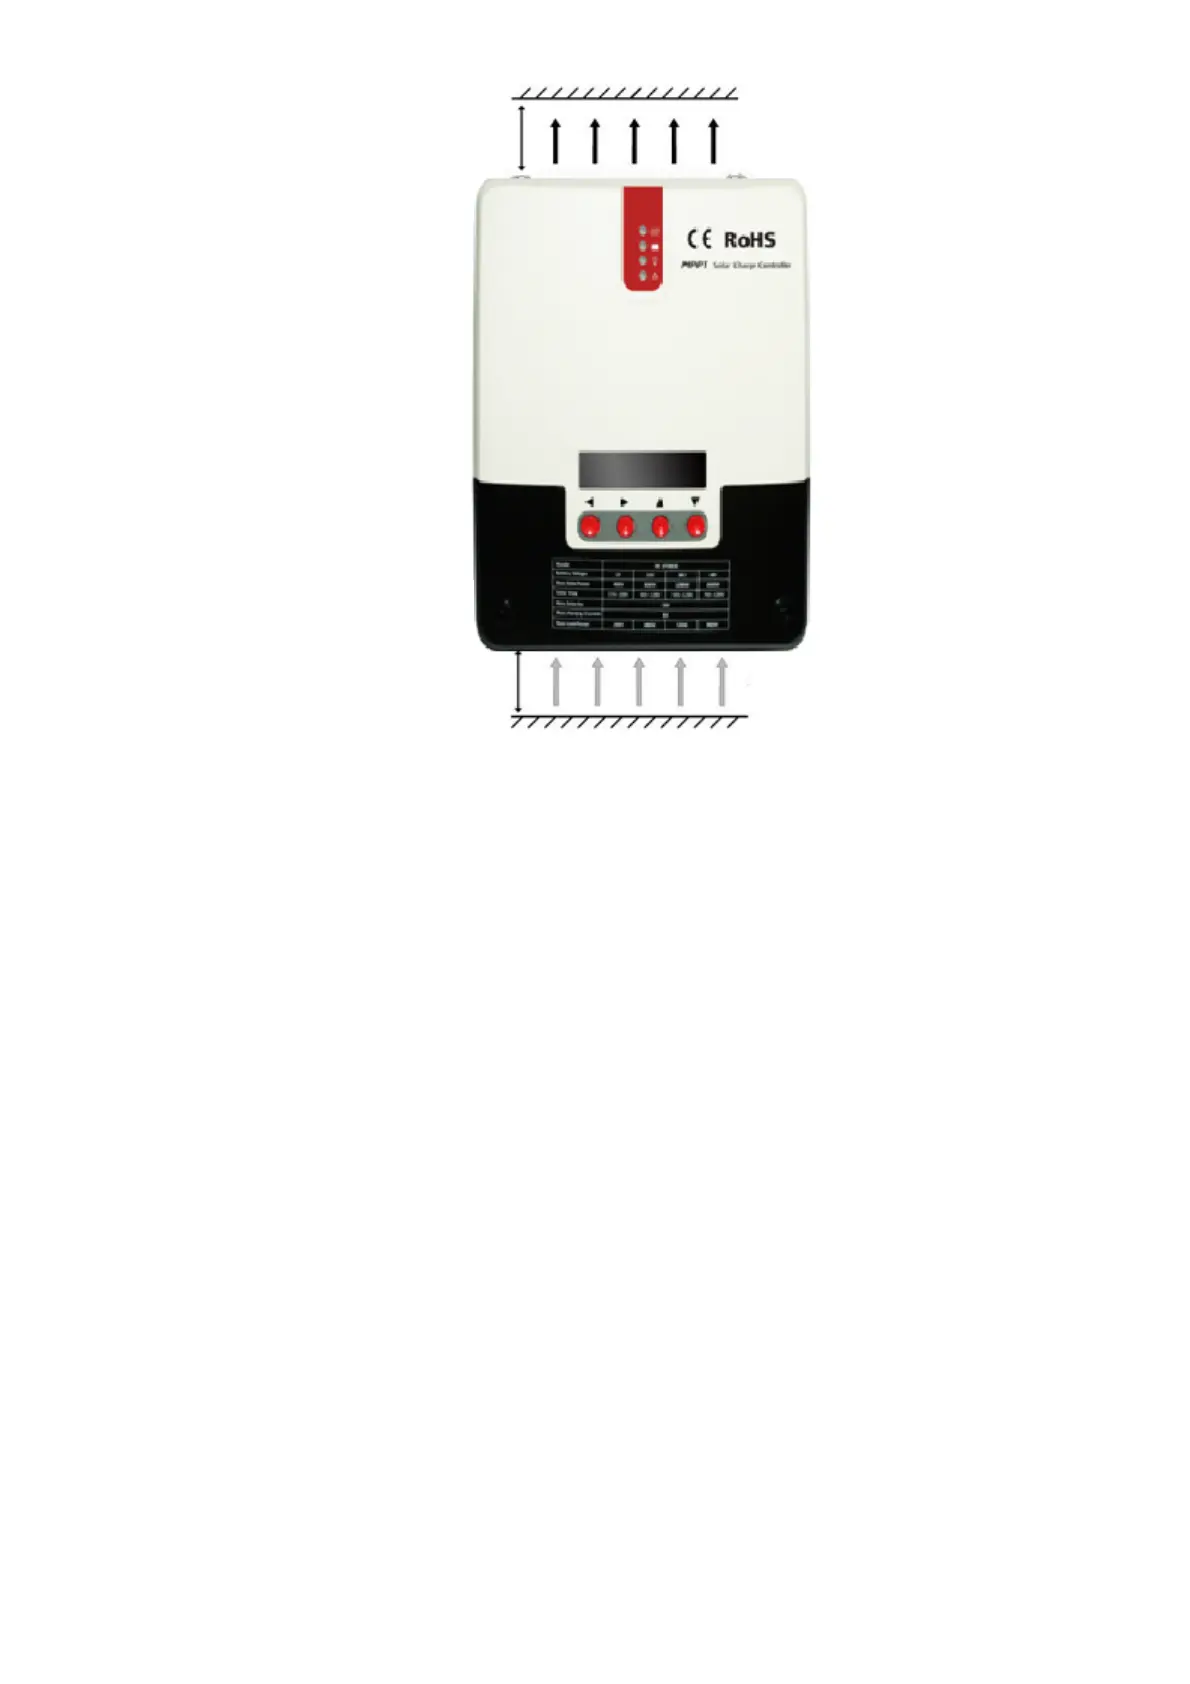
Avoid installing solar charge controller in a place where there is direct sunlight, high
temperature or easy water inflow. Ensure the surrounding area of the solar charge controller is well
ventilated.
Step 2
:
Fixed screw
First place installation guide plate at proper position, then use pen and mark on installation
location, drill four installation holes at marked places of suitable size, and fixe with screw.
Step 3: Fix the solar charge controller.
On the installation surface, use a pen to mark the positions of four mounting holes, and then
move away solar charge controller. Drill four size-suitable mounting holes at four marked positions,
and fix screws in advance, align fixing holes of solar charge controller to on the four fixed screws,
and then hang it up.
 Loading...