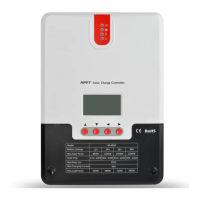
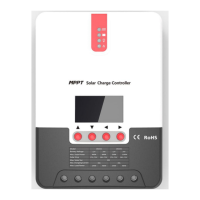
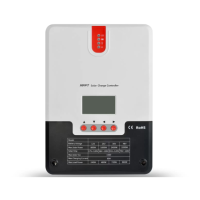
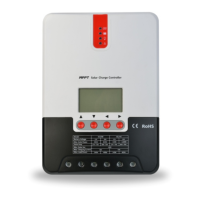
Step 4: Wiring
Remove the two screws on the solar charge controller panel, and then start wiring.
For installation security, we recommend the following wiring sequence. However,
wiring without following this order will not damage the solar charge controller.
4.1
External temperature sampling interface connection
4.2
Battery voltage sampling line connection
4.3
Communication cable connection
4.4
Connect power line
Warning: Risk of electric shock! We strongly recommend access insurance or circuit
breaker at photovoltaic array end, load end and battery end, to prevent electric shock from
occurring during wiring or misoperation. Before wiring, ensure that insurance or circuit
breaker is disconnected.
Warning: High pressure danger! Photovoltaic array may generate very high open
circuit voltage. Before wire connection, disconnect the breaker or insurance. Be careful in the
process of wiring.
 Loading...