UM0289 Using eMotion
23/29
5 Using eMotion
5.1 Evaluate eMotion kit
In order to start eMotion system all this items should be available:
● eMotion GUI
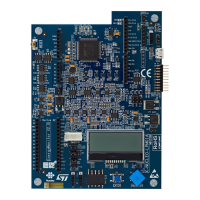
● MDK-ST10 board
● Feedback board
● At least 1 powerSPIN board (Eval 6205 / Eval 6235)
● At least 1 BLDC or 1 DC motor (respectively to be used with Eval 6205 or Eval 6235)
● eMotion firmware
5.1.1 Installing eMotion GUI
To install the eMotion GUI, launch the setup file named eMotion_GUI_XX_Setup.exe. After
the acceptance of the license agreement, a new menu item (STMicroelectronics \ eMotion )
will be created; use this link to launch the software.
The eMotion software is compatible with the Windows XP OS.
5.1.2 Board configuration
MDK-ST10:
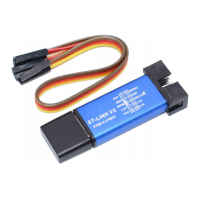
ST10 FLASHING: The first operation to perform, before starting to use eMotion kit, is to
flash ST10 microcontroller with eMotion firmware; in order to achieve this task, ST10Flasher
(V2.4B or above) software has to be used (i.e. a software windows compatible useful to
program the internal flash of ST10).
Connect MDK-ST10 to PC via a RS232 straight cable and puts ST10 in BSL mode (turn on
bit 5 of switch 3 and reset the board). Using ST10Flasher, load file named "emotion.hex"
and perform the flashing of microcontroller, so turn off bit 5 of switch 3 and reset the board.
Now MDK-ST10 is ready to be used with eMotion kit (EA jumpers has to be switched to 1)
J206 jumpers: In order to use the power spin boards, J206 jumpers have to placed in
"Practi" position.
VCC Practi X Jumpers: leave open the Jumper VCC Practi1,VCC Practi2 and VCC Practi3.
SW3: All OFF
SW5: CSSEL0 ON,CLK1 ON, all the remains bits OFF.
Feedback board:
Connect the feedback board to the four expansion connectors of MDK-ST10 (the connectors
surrounding microcontroller).
The correct connection for incremental encoder of motors is shown in Tabl e 11