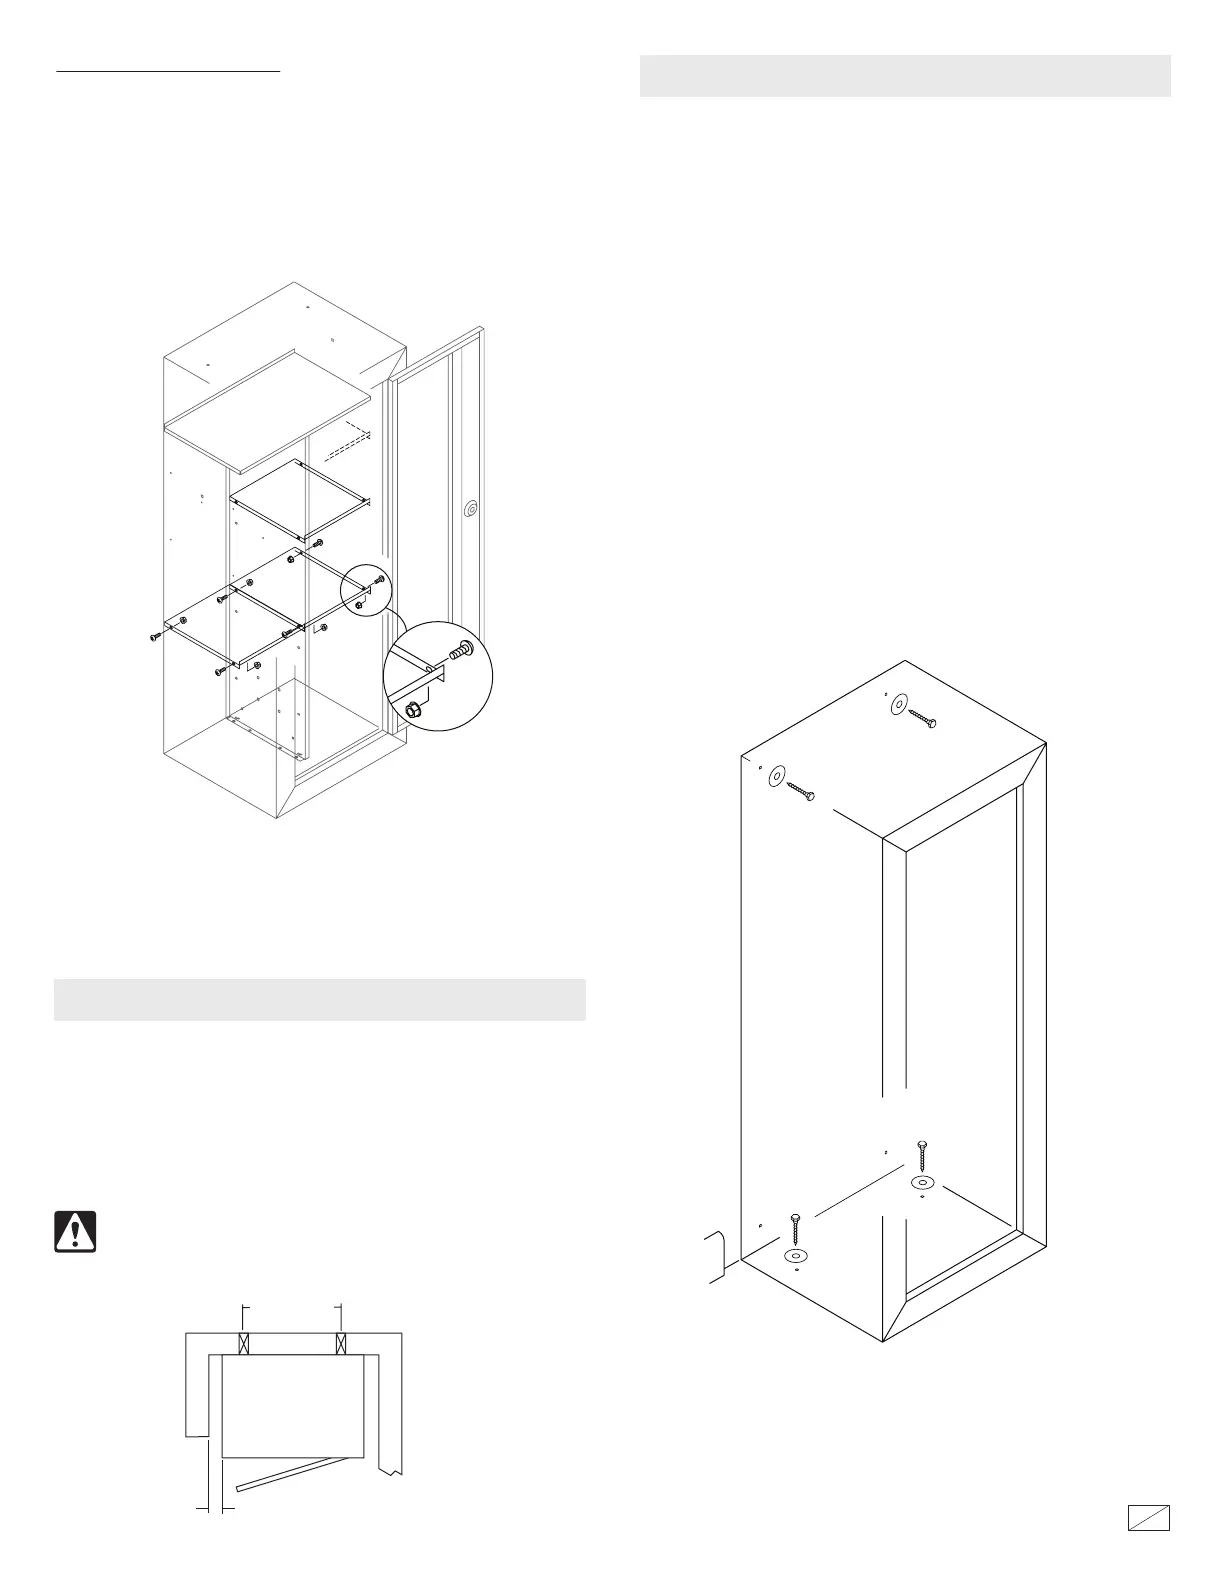
To assemble two shelves at the same height, assemble the shelves as
shown. It is important to note that you will be using the same screw to
support both shelves through the Center Partition.
Tip: It may be useful to work from the le side of the cabinet and work
towards the right side. We recommend not tightening the screws until
both your shelves are in place.
Side By Side Shelf Assembly
SELECTING A LOCATION
16"
CENTERS
CABINET
TOP VIEW
MINIMUM
e cabinet must be mounted to wall studs and the oor. For
optimal safety and security, the cabinet should be installed adjacent
to the side wall of a closet with minimal space on either side of the
cabinet, in an isolated, dry and secure area. e cabinet should be
at against the wall at the back of the unit, as well as at on the oor.
Remove the baseboard if necessary.
THE CABINET SHOULD ALWAYS BE KEPT OUT OF
THE REACH OF CHILDREN.
SECURING THE CABINET
NOTE: is cabinet must be mounted to wall studs and the
oor. Failure to do so will compromise the safety and security
of the cabinet.
Drill (2) 3/16" pilot holes into the wall studs lining up with the top
(2) mounting holes in the back of the cabinet. Secure the cabinet to
the wall using (2) lag bolts and washers.
Drill (2) pilot holes and secure the cabinet boom to the oor with
(2) lag bolts and washers.
NOTE: e cabinet must be secured to wall studs in the top holes
in the back of the cabinet so that it is anchored to the wall studs in
two locations. e cabinet must also be mounted to the oor. Use
the hardware provided or consult your hardware retailer for
fastening hardware for your particular mounting surfaces
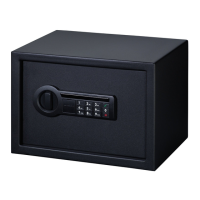
Insert the plastic plugs in the cabinet's top mounting holes if you
are not installing the a Pistol-Ammo cabinet on the top of the
security cabinet.
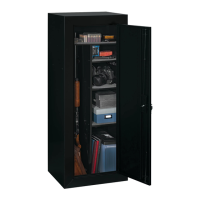
Aer selecting the conguration that ts your needs, load the cabinet
with your guns and equipment. If you are satised with your cabinet
conguration, proceed with mounting the cabinet to the wall and oor
as described later in these instruction.
21
4
40112-1309
Before you install the cabinet to a wall and the oor, install the interior
components as described in the assembly instructions.
 Loading...